We use cookies to make your experience better. To comply with the new e-Privacy directive, we need to ask for your consent to set the cookies. Learn more.
Cube Shelves Routing Project
A versatile shelving unit designed to be hung horizontally or at a 45 degree angle, your choice!
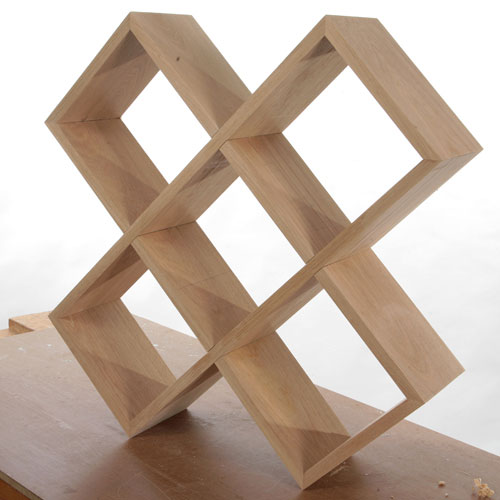
The simplest looking projects often involve a lot more work than you think, and this was certainly the case with this cube shaped rack.
The initial problem was deciding how to joint the long pieces to form the criss cross in such a way that they all lined up perfectly and remained strong. I did contemplate using just two long pieces and then fixing on the other pieces dowels or biscuits, but this was soon dismissed for several reasons. For a start I thought it would be difficult to get them all perfectly aligned, any slight discrepancy would be immediately obvious. Secondly, the joints would be quite weak and probably wouldn't withstand the leverage if the shelves were to be loaded up with books.
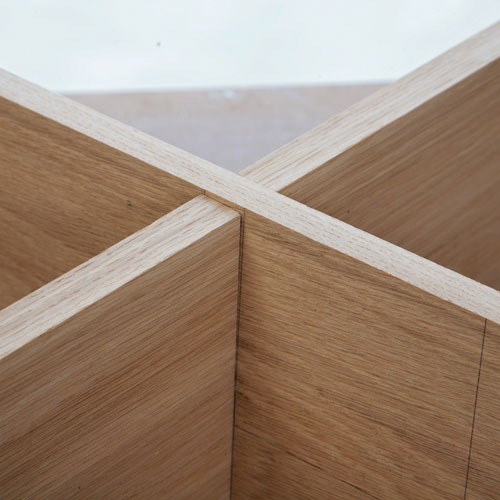
In the end I settled on using 4 long pieces and cross halving them to maintain maximum strength, and there then is no way the resulting boxes can end up out of line. The next problem was deciding on a joint for the short end pieces. They could just be butted on but I felt this would look too chunky. Another alternative was to dovetail them using a router jig, but the material was a little too thick for this and I there was certainly not enough budget to do it by hand! In the end I settled on a straightforward mitre joint but strengthened with a biscuit using the jig described elsewhere in this issue.
It was originally designed to hang upright to give a lot more horizontal shelf storage, but in the process of hanging it I discovered the angled option and rather preferred it. You can make your own decision!
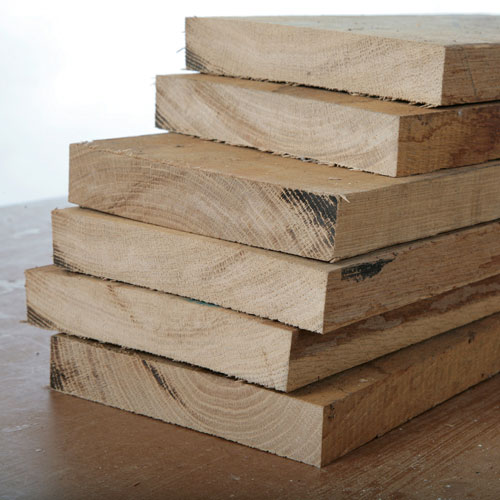
Step 1 - Selecting and Preparing the Timber
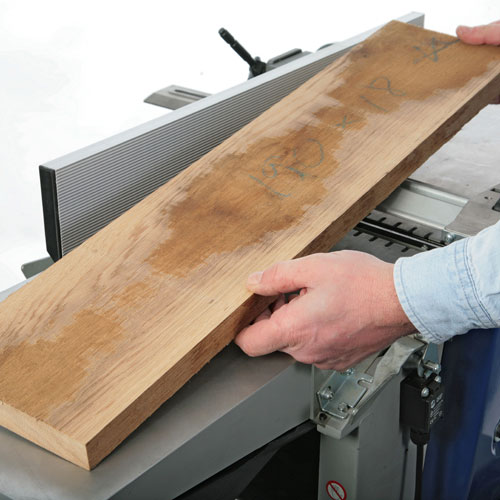
The chosen timber was European oak, kiln dried but rough sawn.
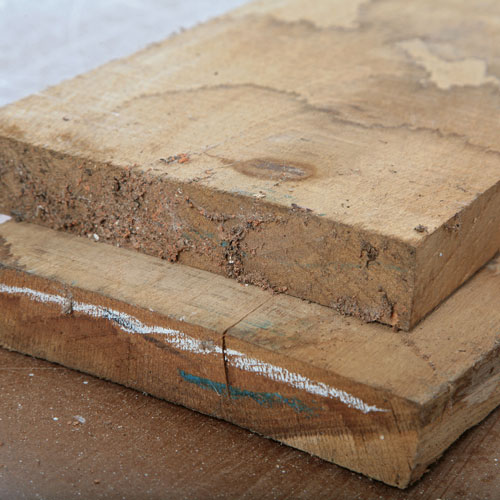
Check the ends of the boards carefully as they are often split quite deeply and may also be impregnated with all sorts of grit and dirt that can wreak havoc with your planer blades.
Cut the ends off and keep cutting back until you get to sound timber, which may be a lot further than you thought (or wanted!).
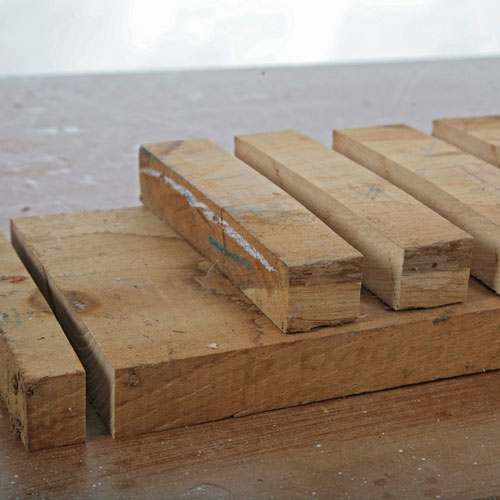
Cut out the long lengths first, the remaining shorter offcuts can be used for the end pieces. Leave everything a bit over-length at this stage.
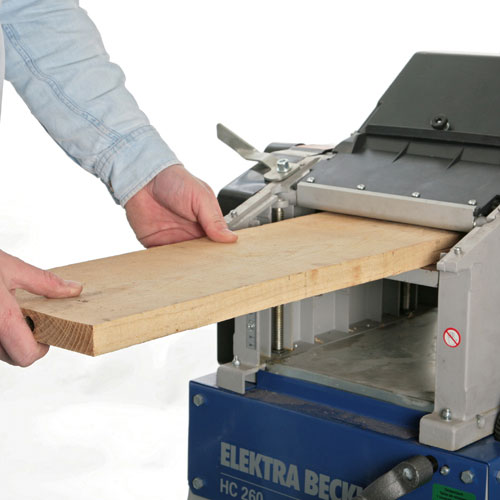
Start by planing up the concave surface first placing any cupping face down on the planer table. Initial cuts will only remove material from the ends and/or sides.
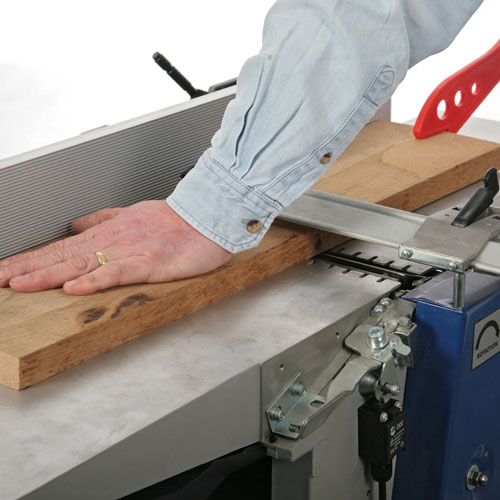
Keep the downward pressure firm on the outfeed table to take out any bending along the length; a push stick is essential for these thin boards.
Feed slowly or you will end up with a rippled finish. This may also be a characteristic sign of one knife being slightly higher in the block than the other, so check the settings carefully if this is a problem.
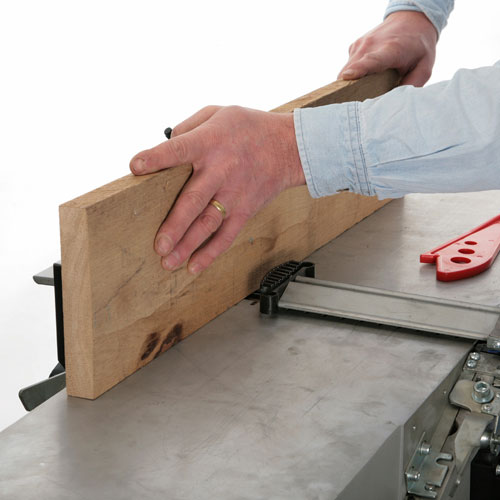
Plane an edge as well, holding the planed face against the fence after checking that it is square to the table.
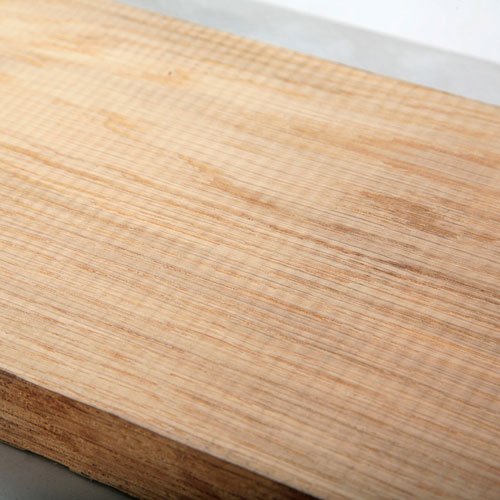
Thickness down to the required size, taking light cuts from both faces once you have got them parallel. A thicknessed finish is always better than a planed one.
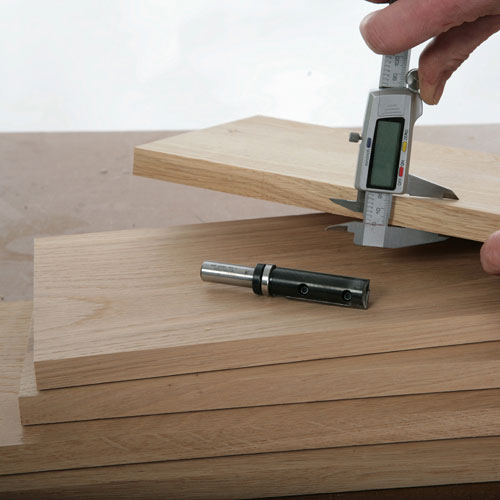
You need to end up with a thickness to match the diameter of the cutter you will be using to form the joint slots. In reality make this a fraction less, as you don't want the joint to be too tight.
If you have to start hammering it all together at the assembly stage the short grained bits start breaking!
Step 2 - Slotting
Slots within the material need to be formed and then fitted.
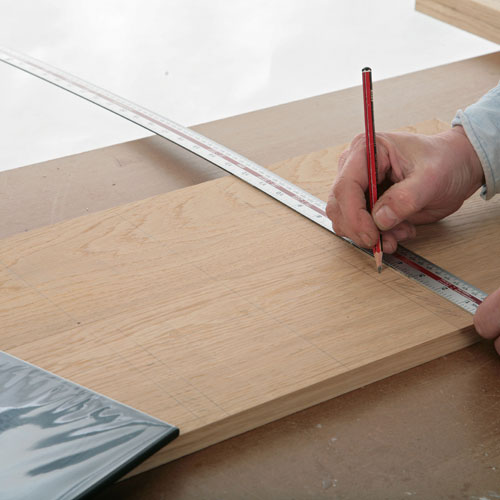
Thickness the boards to width as well and then put two side by side to mark out the joint positions.
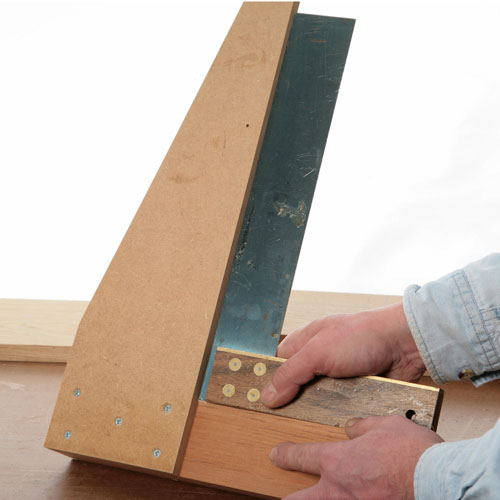
To cut the slots I use a simple cross fence which is just a piece of 10mm mdf fixed at a perfect right angle to a thicker hardwood stock.
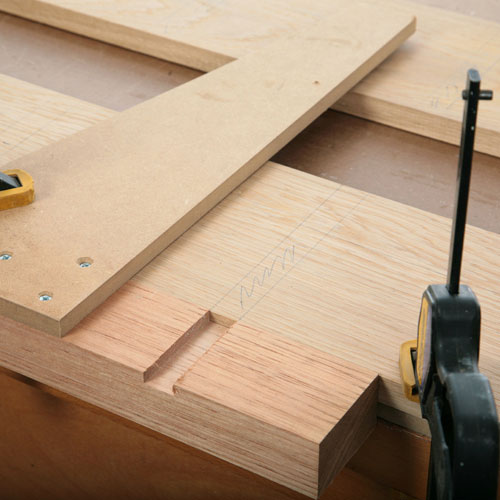
'Christen' this by machining across it into a piece of scrap timber with the router and cutter combination you are going to use for the joint.
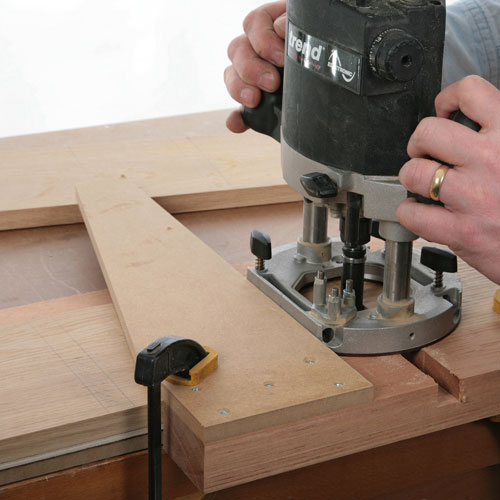
Then you just have to line up the groove in the stock with the marked line, clamp it in place and cut away. However I did remove the bulk of the waste for each slot using a jigsaw first and just cleaned them up with the router.
The slots need to be cut halfway across each piece, you can fix a stop on the cross fence if necessary, but it is easy enough to do by eye.
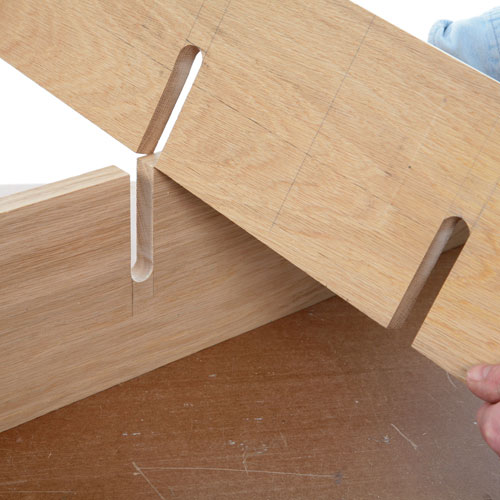
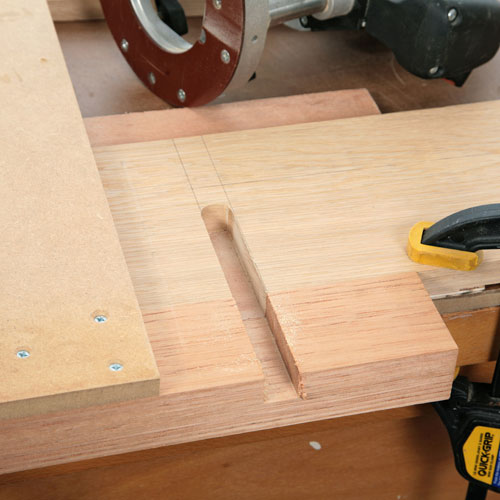
Make a trial fit to see that they do actually slot together, the joint is surprisingly strong.
My finished slots were not quite long enough, I had forgotten to allow for the radius on the ends, but was easily solved with a sharp chisel squaring up the ends.
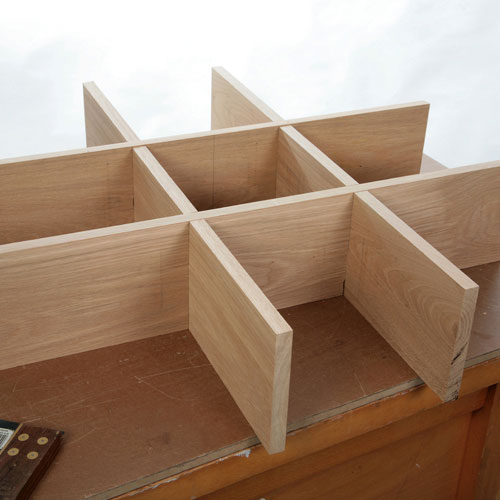
All the pieces are interchangeable at this stage, but when you find a grain arrangement you like mark each joint to make sure you can reassemble it later.
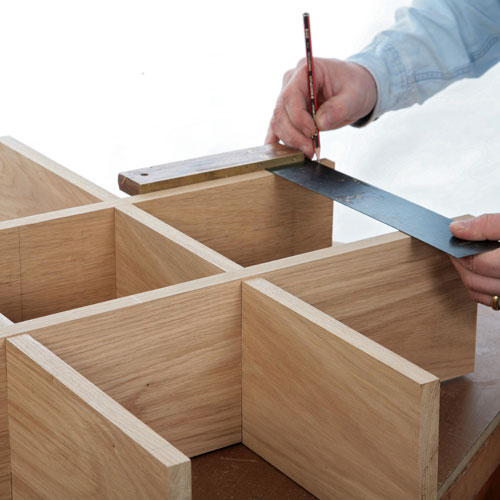
Mark across the ends of the assembled unit to find the position of the end joints.
Step 3 - Cutting the Mitres
Cut the mitres slightly oversize on a mitre saw.
I never find that these are accurate enough when you cut wide pieces, so they need to be trimmed.
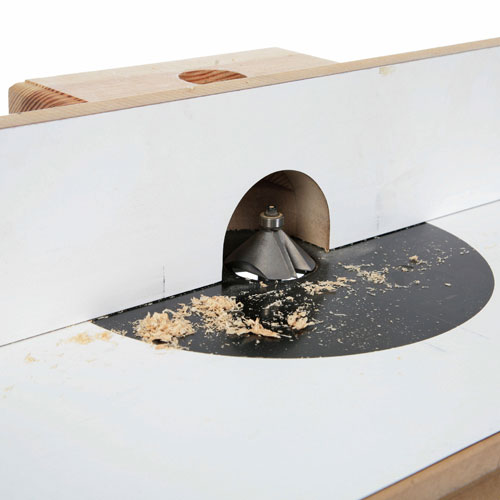
My technique for perfect mitres is to use a large chamfer bit in the router table.
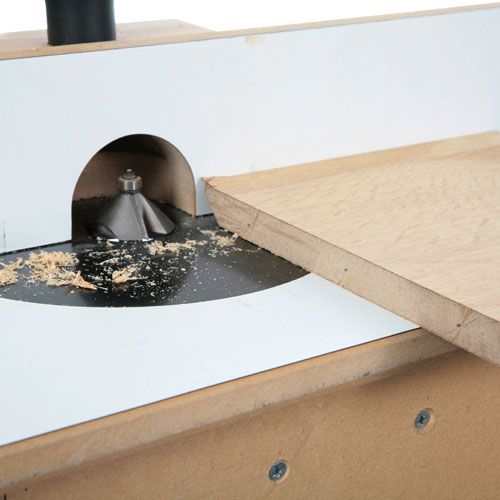
As my homemade table has no proper mitre fence I use a piece of scrap mdf cut with 90 degree corners as a guide.
Trim the mitres on the saw to within a couple of mm.
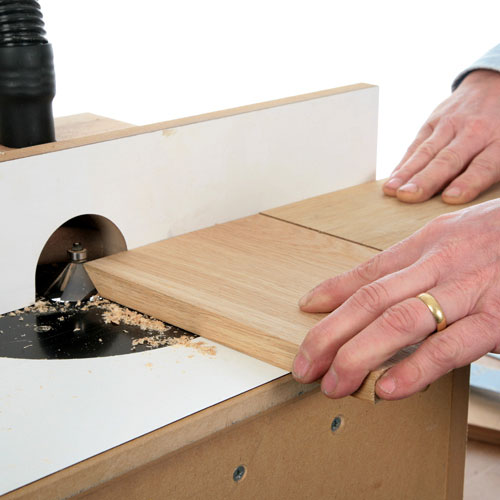
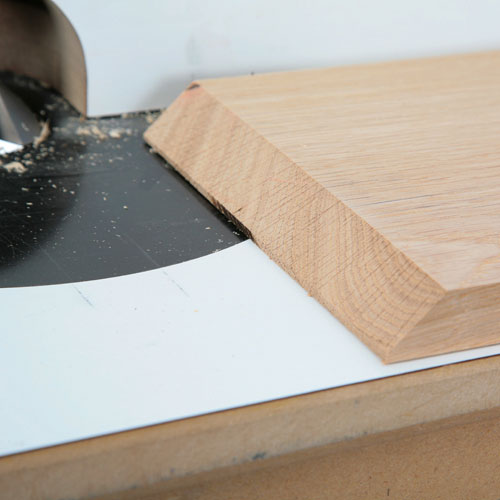
Feed them past the cutter using the scrap MDF as a guide.
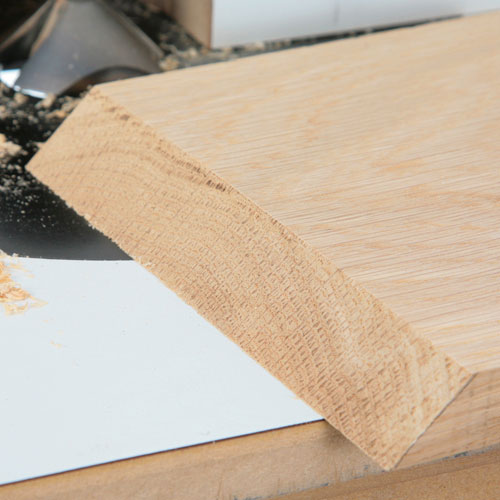
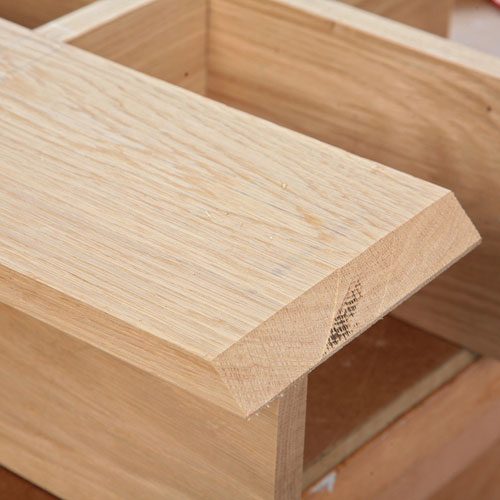
You should end up with faultless, clean cuts that fit together perfectly.
Step 4 - Clamping and Assembly
The shelves need to be constructed and sanded for the final presentation.

Lay it all out on the bench aligning the ends to get the best grain alignment with the sides.

To strengthen the mitres, use the mitre biscuit jig on the router table with a 4mm grooving cutter in the router.
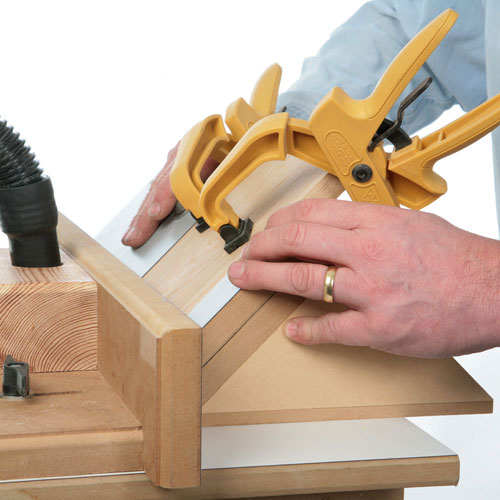
Clamp the work firmly in the jig and feed it onto the cutter, using pencil lines on the fence to determine the length of the slot. I wanted it long enough to take two biscuits.
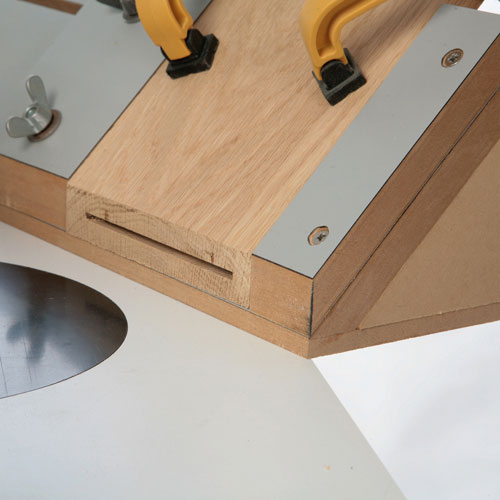
The slots in the shorter pieces are easy to form.
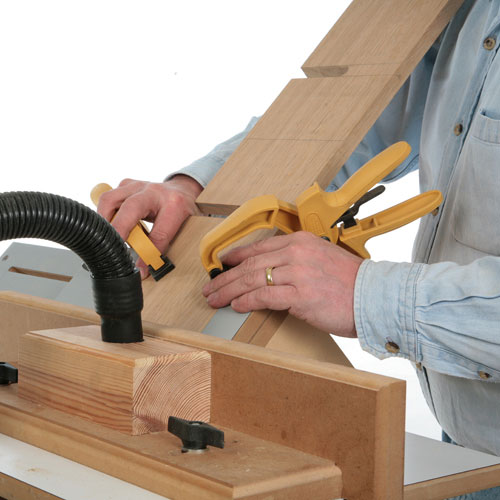
But you need to take a little more care with the long pieces as the tiniest misalignment leaves the slot slightly angled.
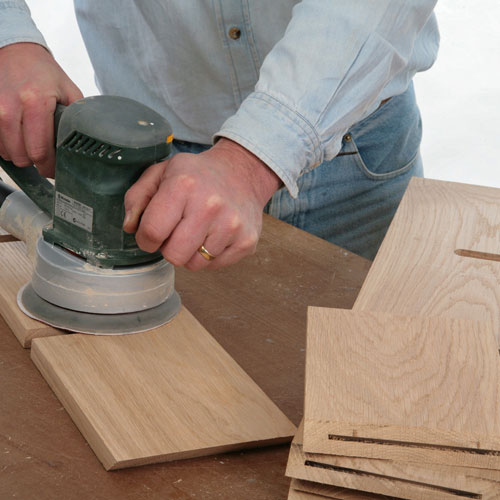
With the joints cut, give all the pieces a good clean up with the sander, but don't overdo it or the cross halving joints will end up too loose.
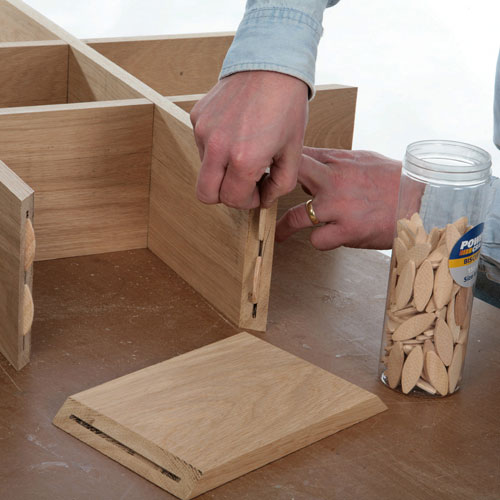
I didn't actually put any glue on the main joints, just on the end ones working the glue well into the biscuit slots on each half of the joint.
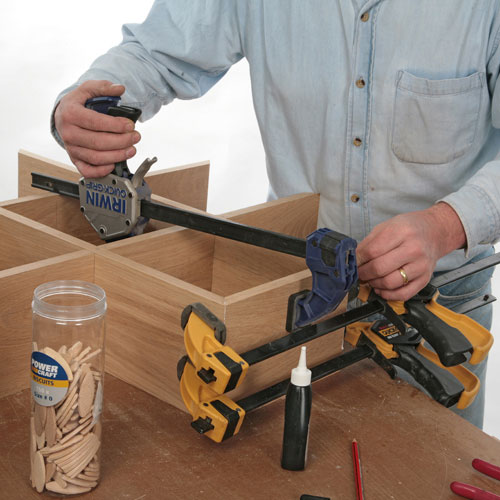
Pull the joint together with a couple of cramps, the biscuit should stop the pieces sliding around.
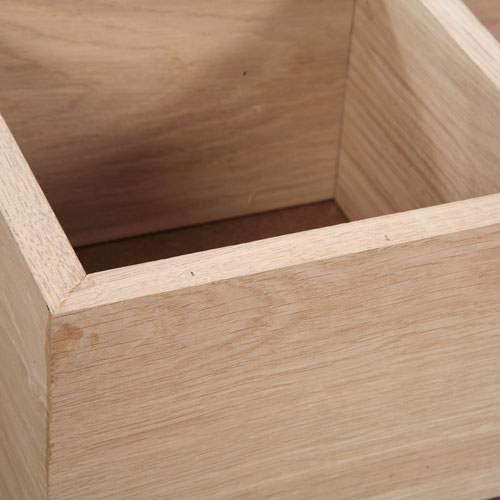
The finished joint should only need a light cleanup with the sander to remove the excess glue.
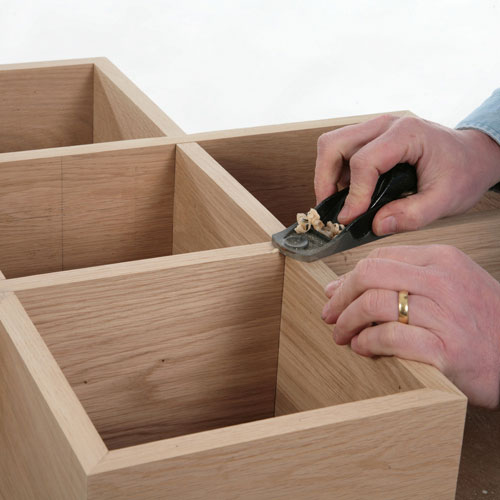
If necessary plane the intersecting joints flush using a sharp block plane.
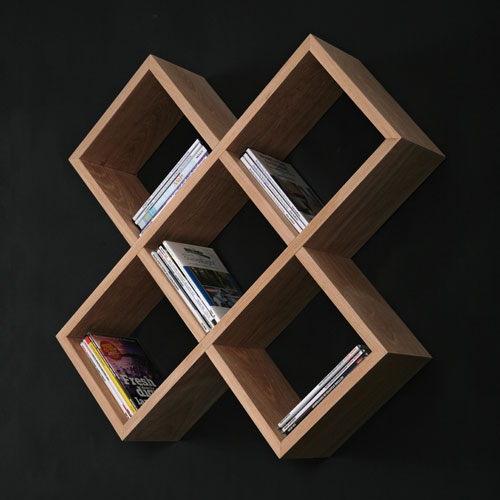
This is the completed Cube Shelves Routing Project.