Simple Stool Project
Making a simple stool with the trend pocket hole jig.

Pocket Hole joinery is a very fast and easy way to make strong joints that follow traditional styles but without the complex work involved using traditional methods.
Projects are quick to achieve and with good design, the pocket holes can be placed in unobtrusive and unseen areas leaving the areas on show looking like they have been traditionally constructed.
The Trend Pocket hole Jig is able to be stripped down to allow the pocket hole guides to be used separately making the jig very adaptable and ideal for repairs, placing single fixings on narrower stock or into tighter spots alongside the standard work achievable with the jig.
This simple slatted stool/table makes good use of standard, easily available off the shelf stock, making it a great starter project, requiring just 16 components and three different timber sections, 44mmx45mm, 45mmx19mm and 70mmx19mm. You may find slight variations on these sizes at different timber merchants or you can machine your own stock if you want a diffent section
Step 1 - Selecting and Preparing the Timber
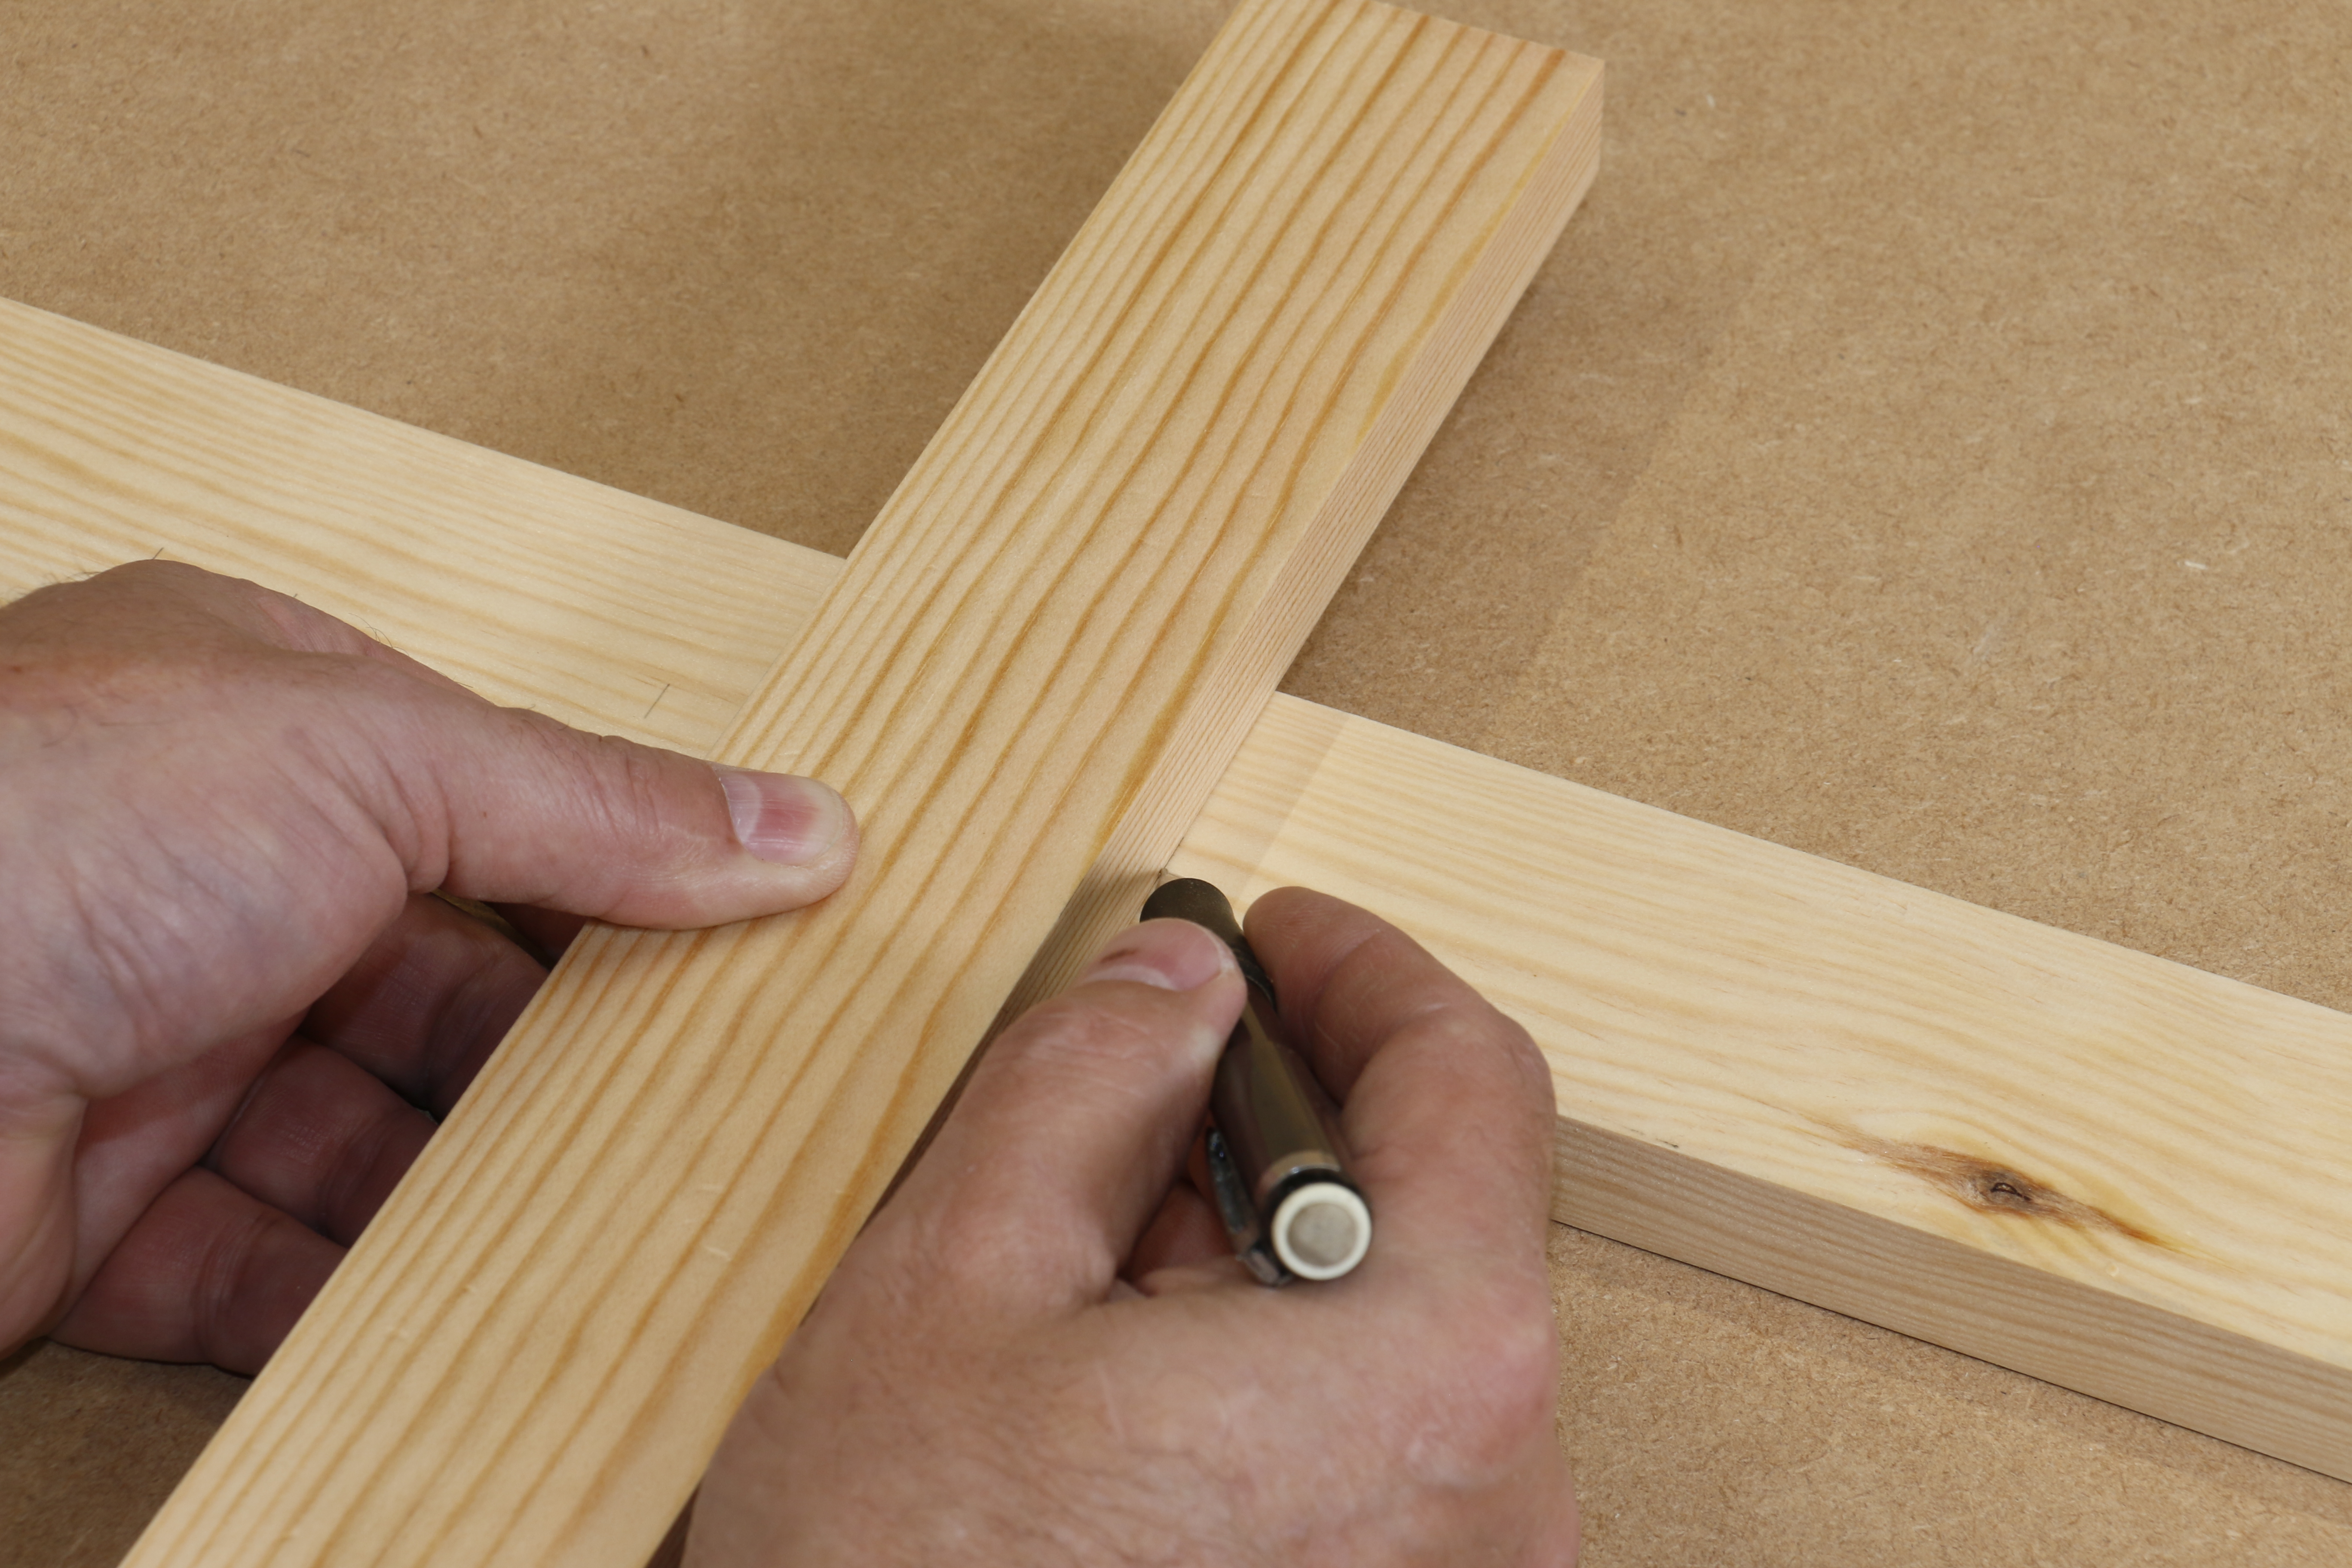
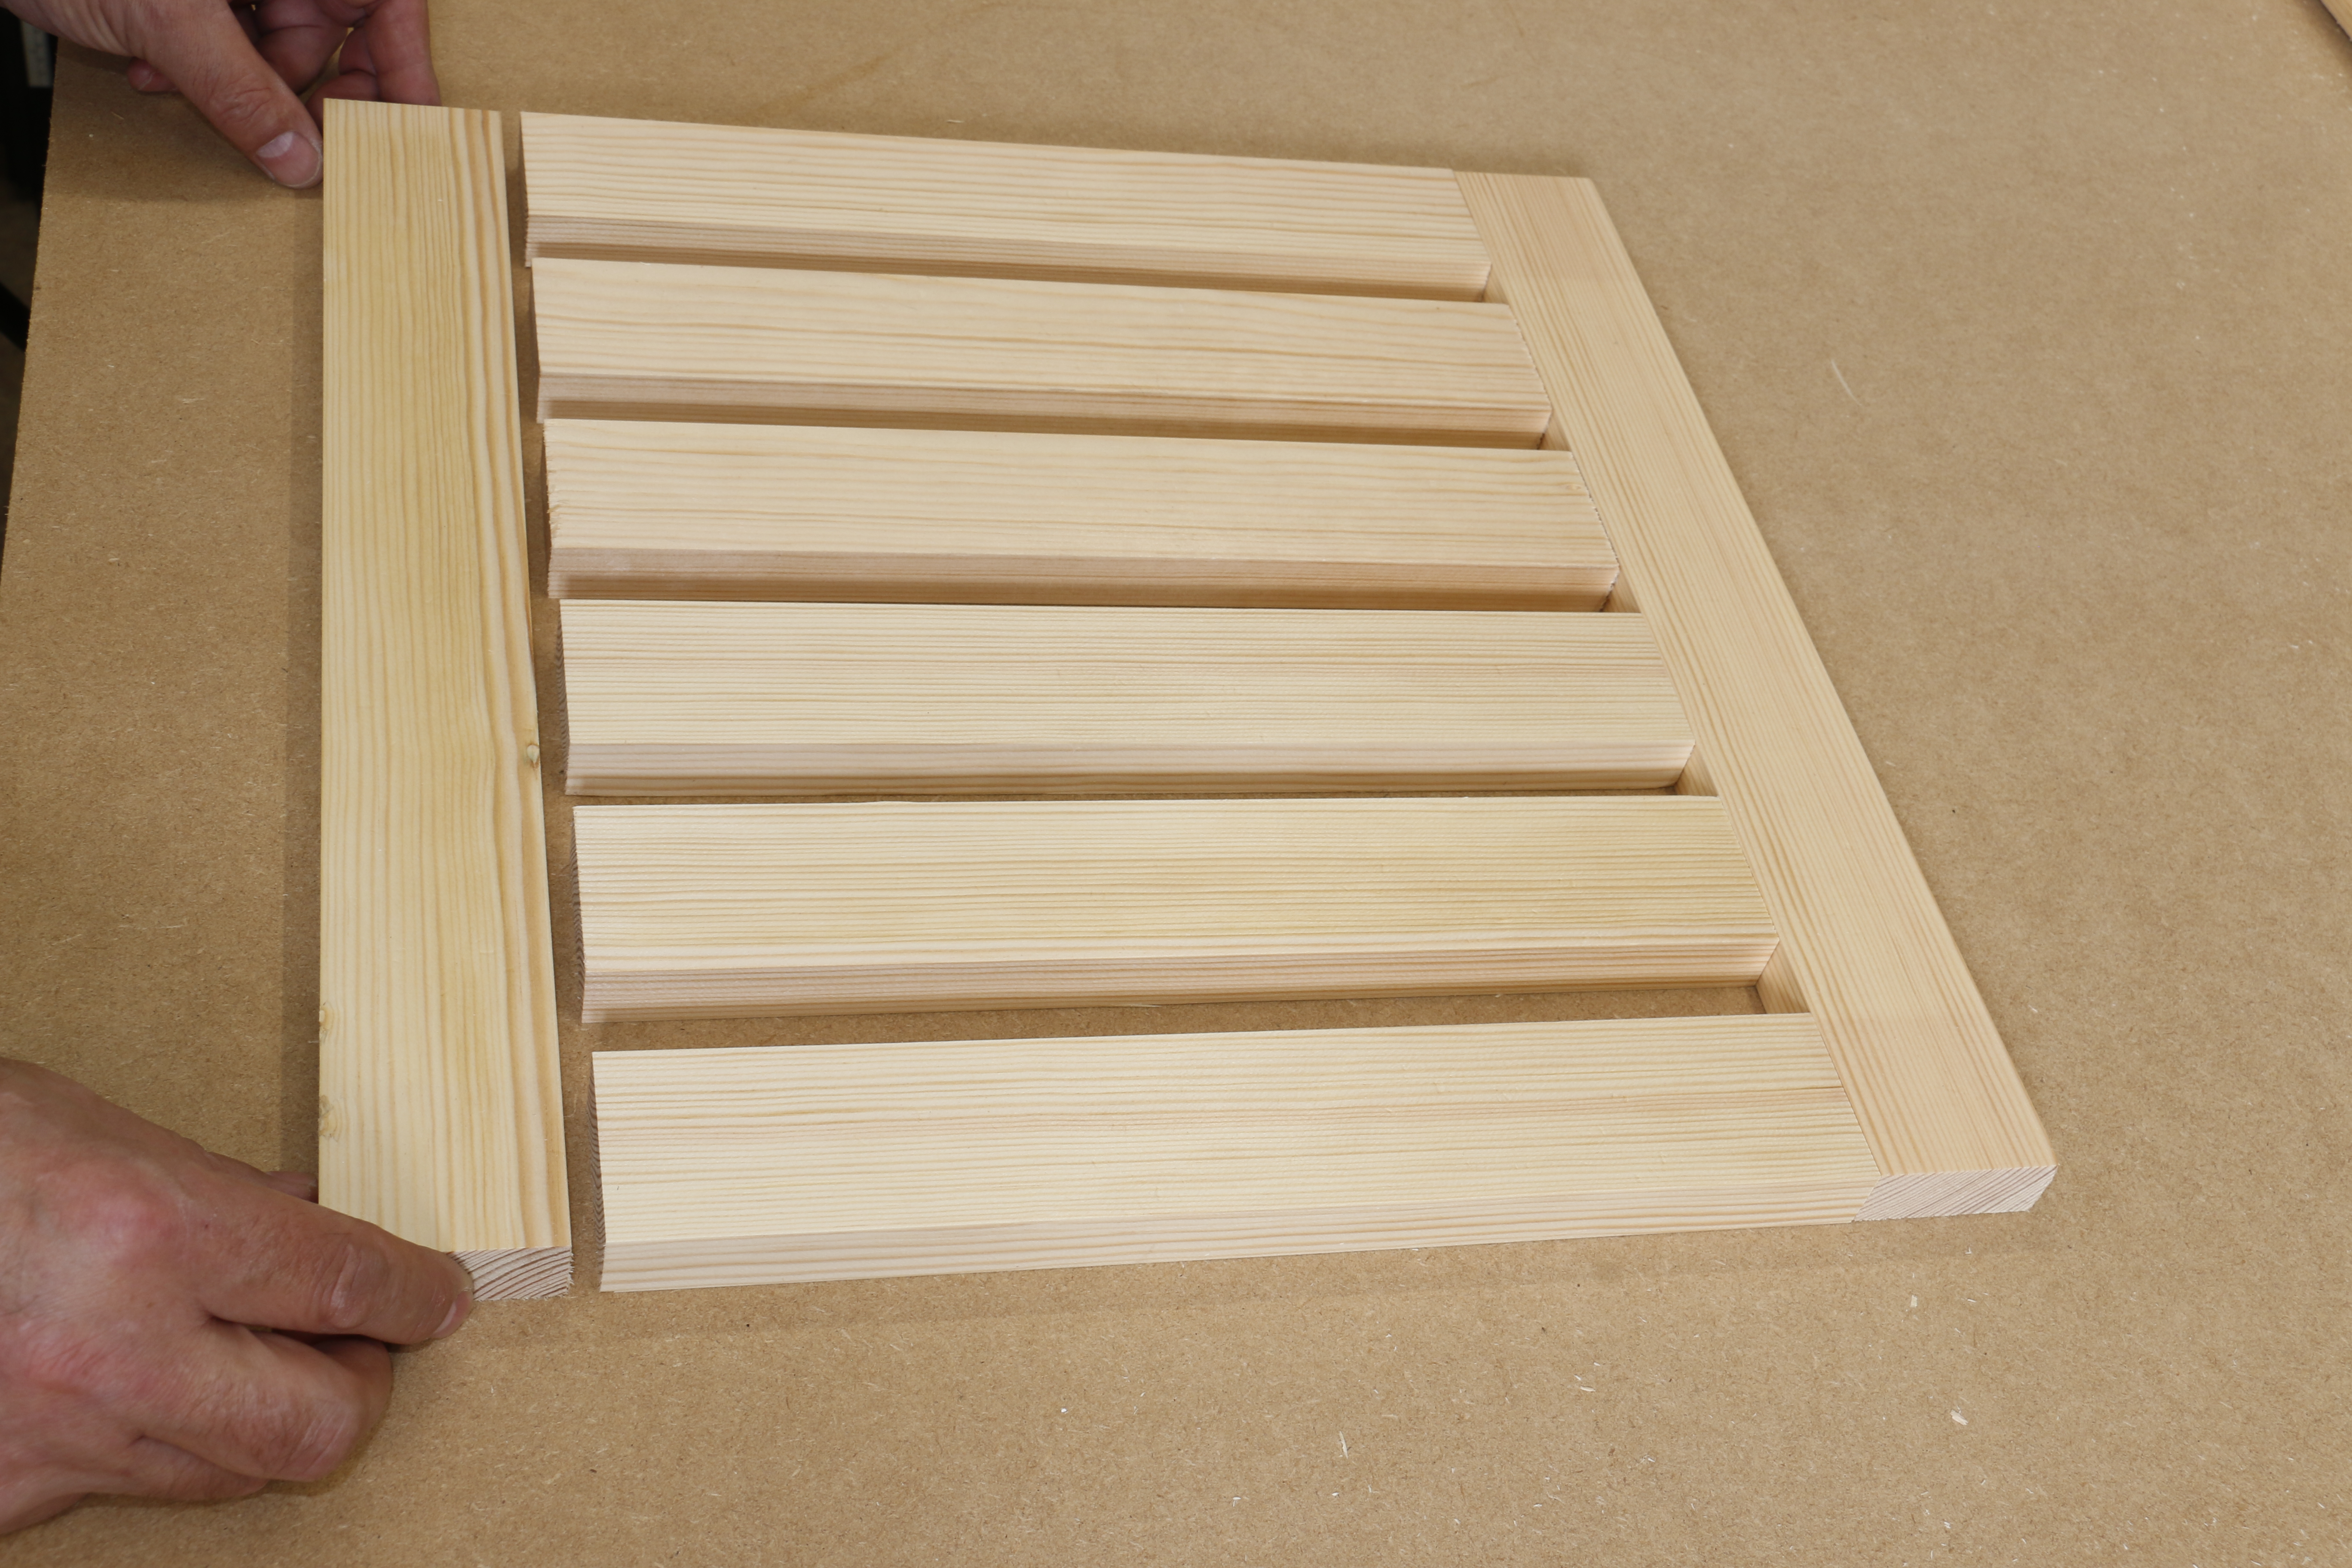
A full sized setting out rod can be made but as this project is so simple, the only measurements that need to be determined for easy assembly are the rails for the top. Using a section of the 45x19mm stock, a basic length rod can be used to step out the slats to determine the finished size of the two long slats and the shorter ones that fit between them.

Stepping the slat spacings out by using the timber flat, on edge, flat, on edge and so forth, the overall size can be easily achieved without having to measure or calculate anything. You can of course, alter the spacings to your own preference and calculate in the traditional manner, or make a close boarded design for a top with no gaps . The six slat layout used here will give a top of around 365mm square
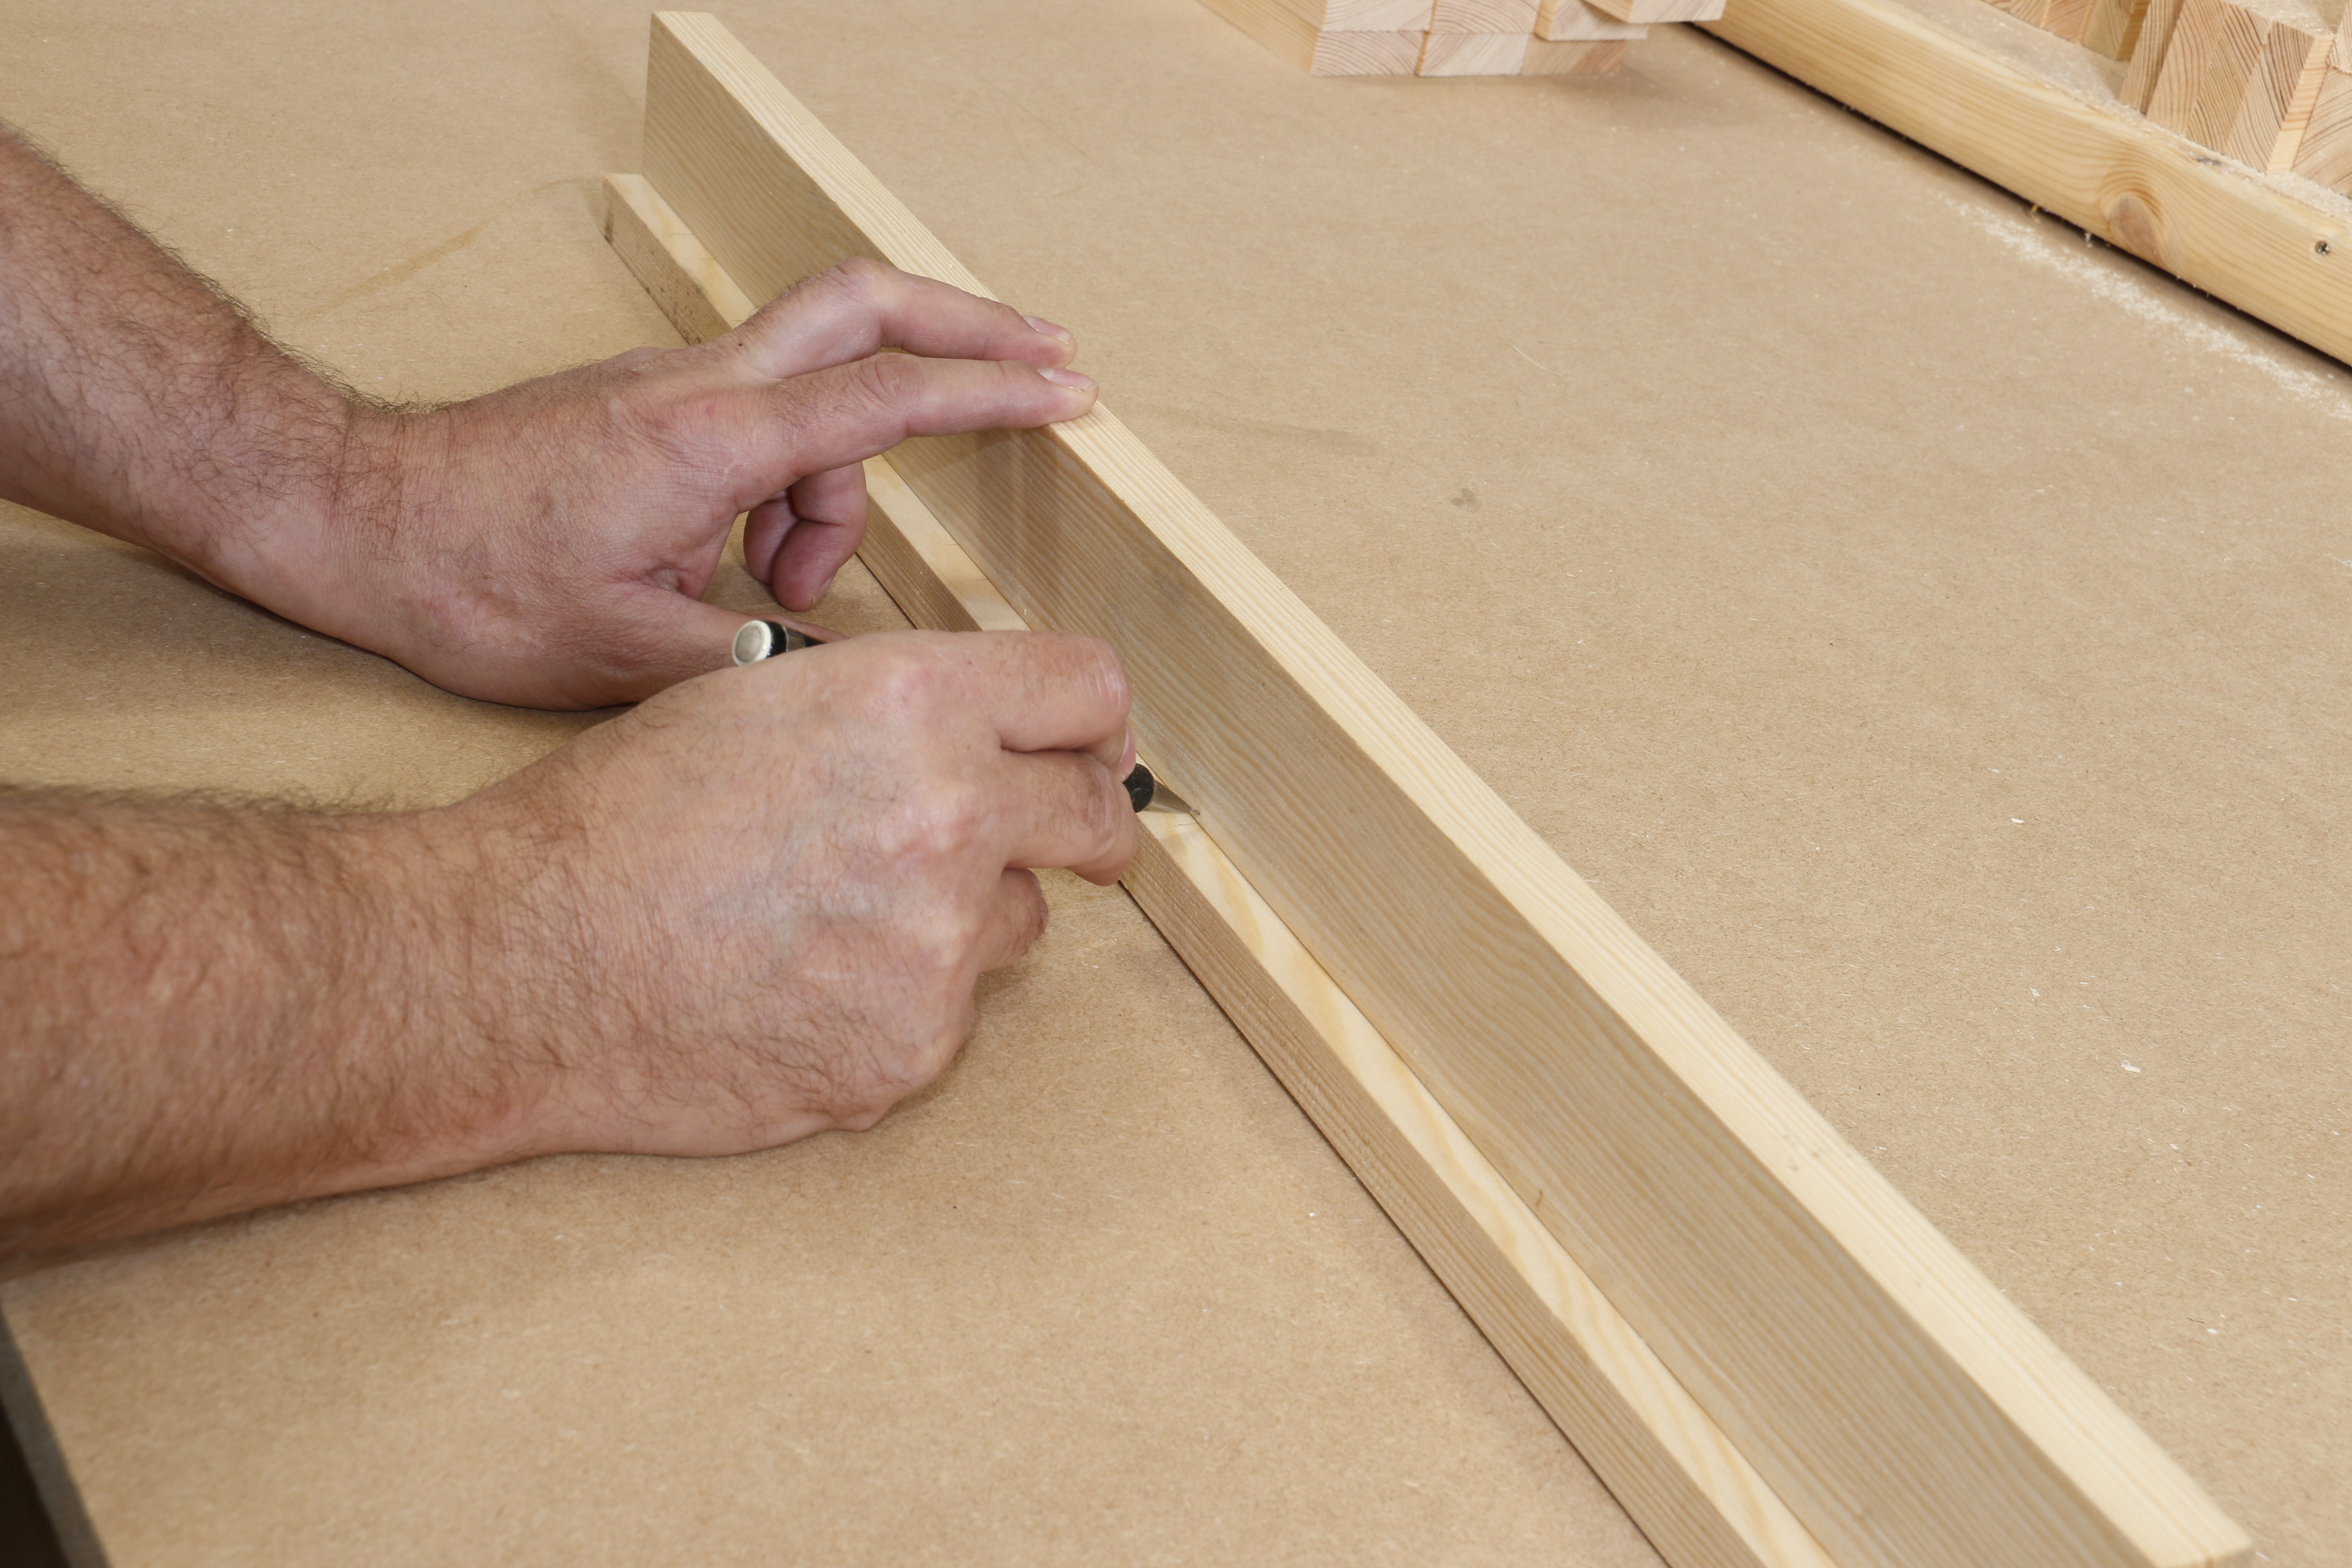
Using the rod, mark the length of the two long slats by keeping on end of the rail flush with the rod and mark the position of the final flat positioned slat.

The shorter top slats are set using the inside edges of the first and last slat positions. The apron pieces are also marked to this setting.
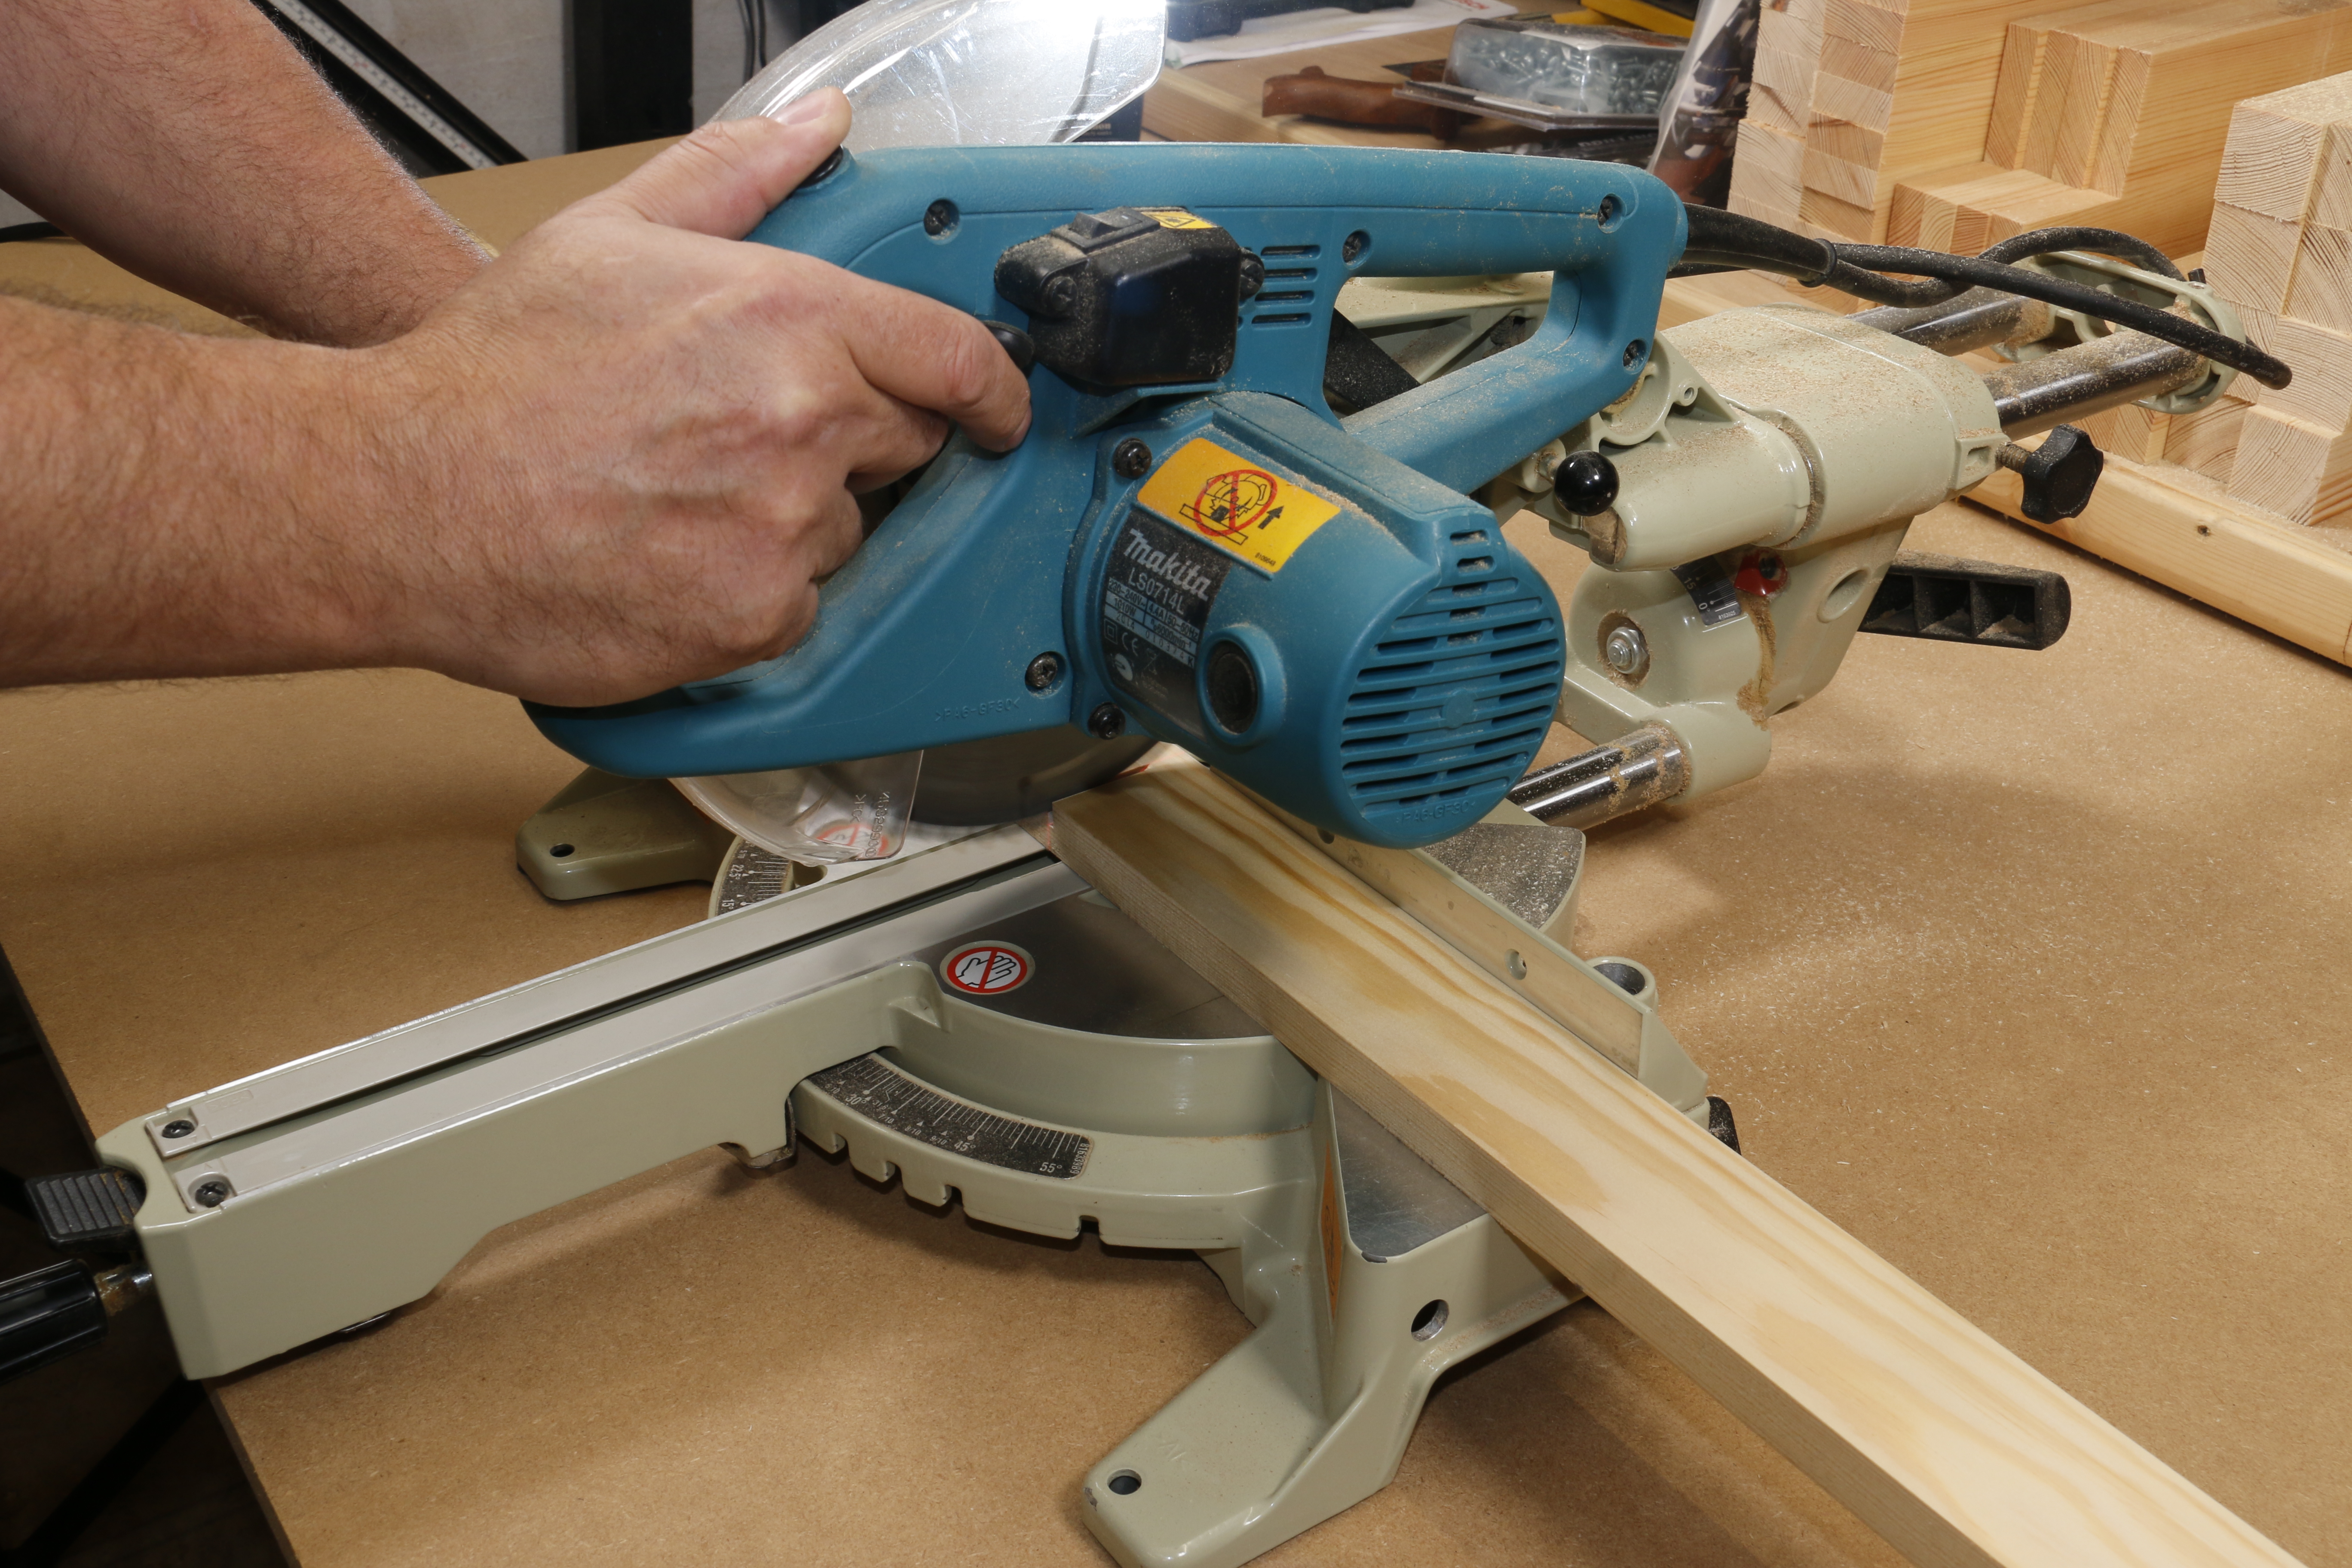
A chop saw is ideal for cutting all the components accurately to length as it ensures the ends are clean and square so that the joints come up tightly and squarely once assembled.
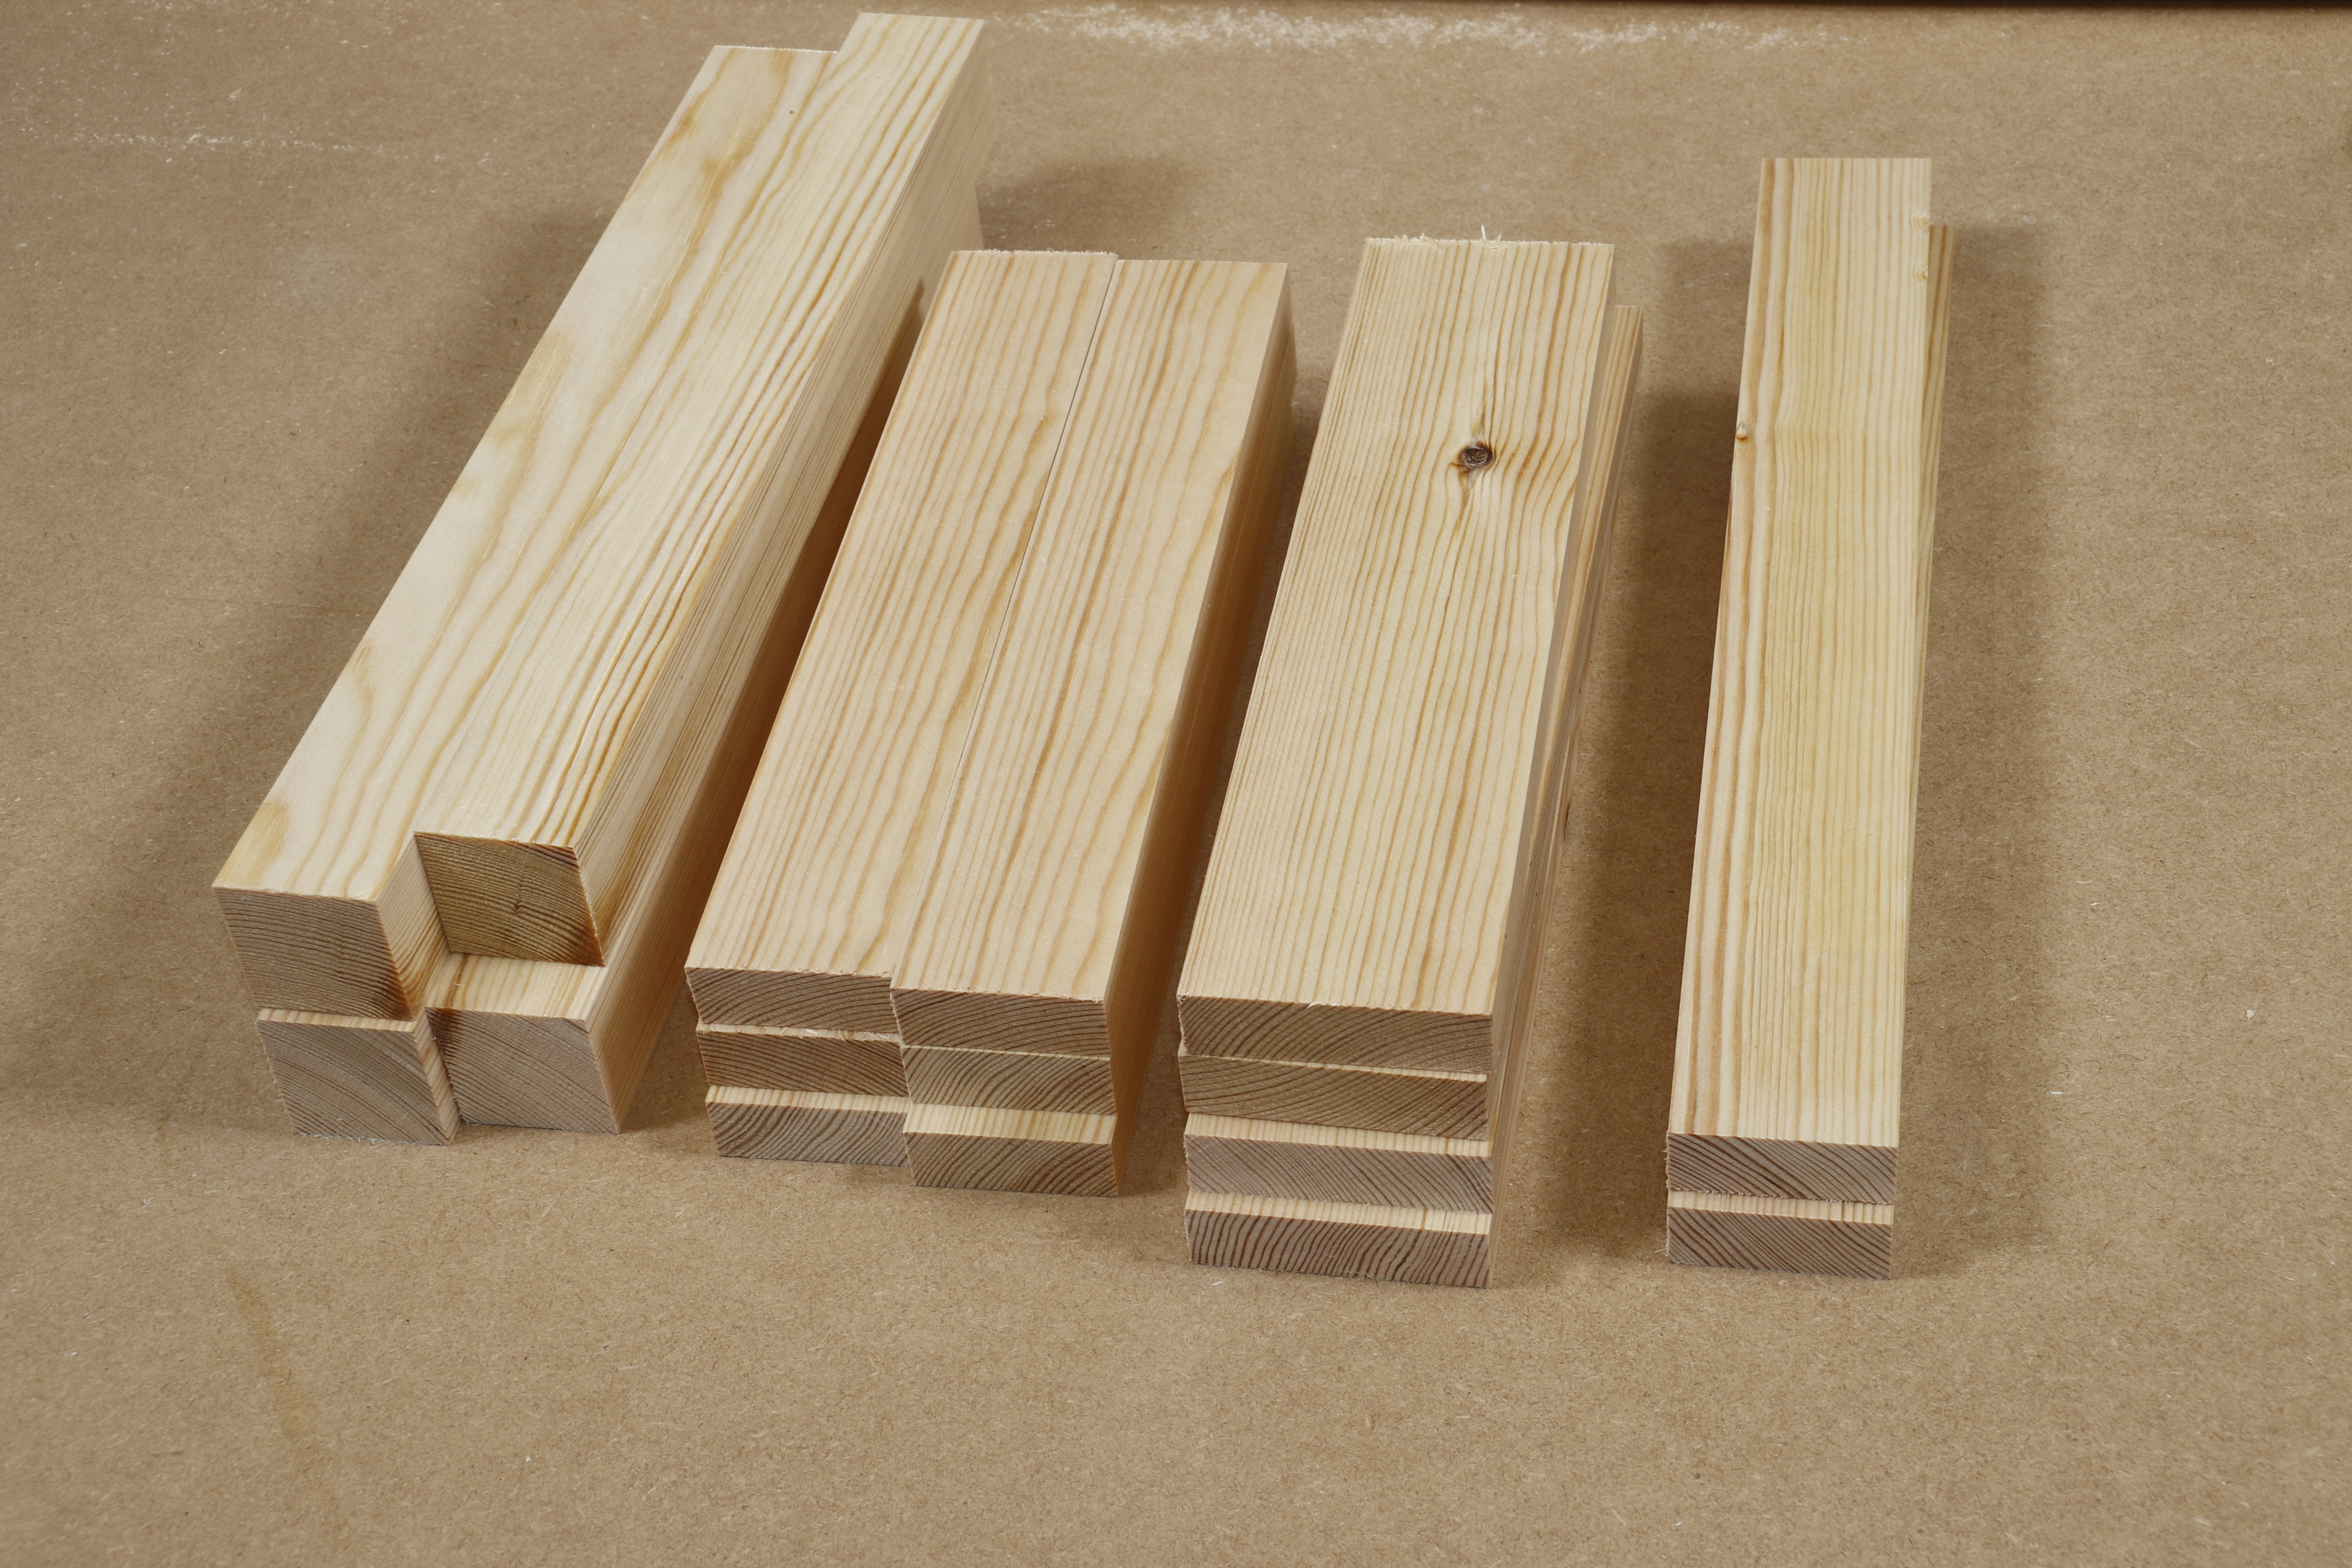
With everything cut, you should have two long slats and 6 short slats for the top, four apron pieces the same length as the shorter slats, and four legs. The leg length can be cut to suit your needs. 400mm is a good height for a small stool or low table. Longer legs can be used, but a lower stretcher rail may be needed to prevent the legs from splaying
Although the rod method of marking out using the components as gauges should eliminate any mistakes, a dry run of the top layout can be made to check everything is correct before moving on to the next stage.
Step 2 - Routing Application

A small chamfer detail is used throughout this project to break the meeting points and to ease the corners of all the components.

Using the crosscut fence to hold the work stable, make a chamfer cut on the end grain of all of the components at both ends and on all four sides.
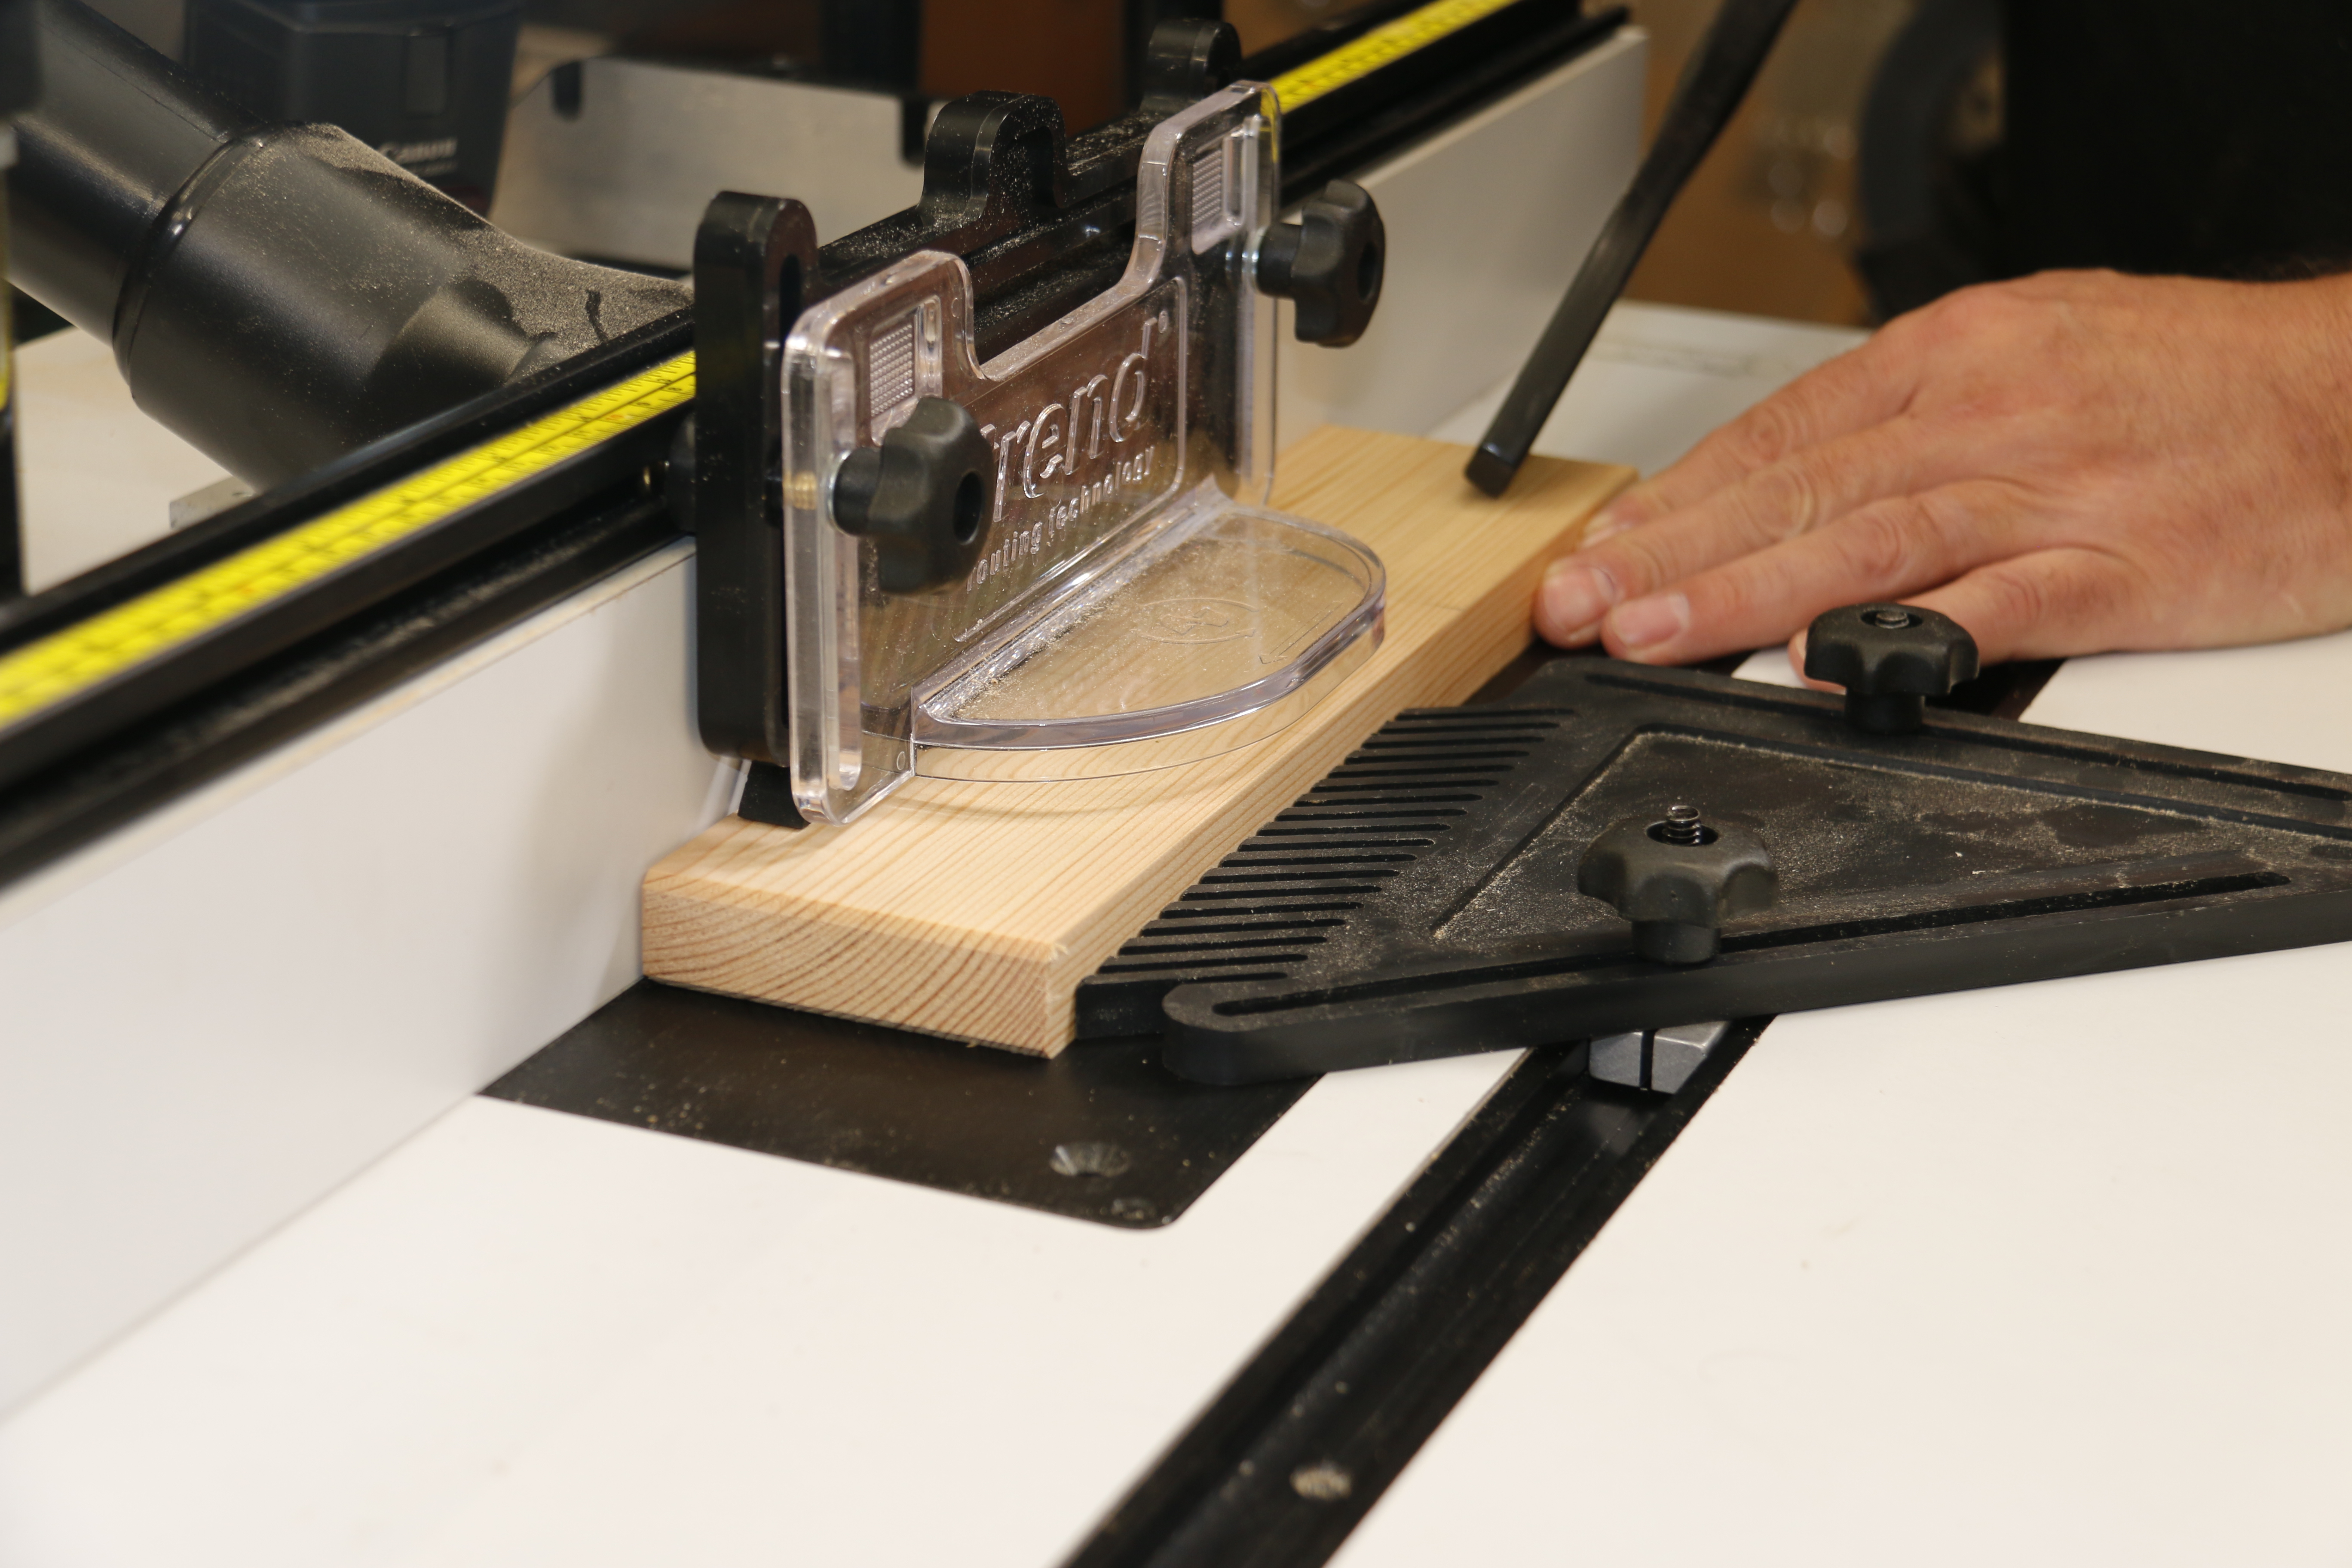
Repeat the process on all of the long edges. By chamfering the end grain first, any minor breakout is removed by the subsequent long grain cut.
Step 3 - Pocket Hole Jig Application
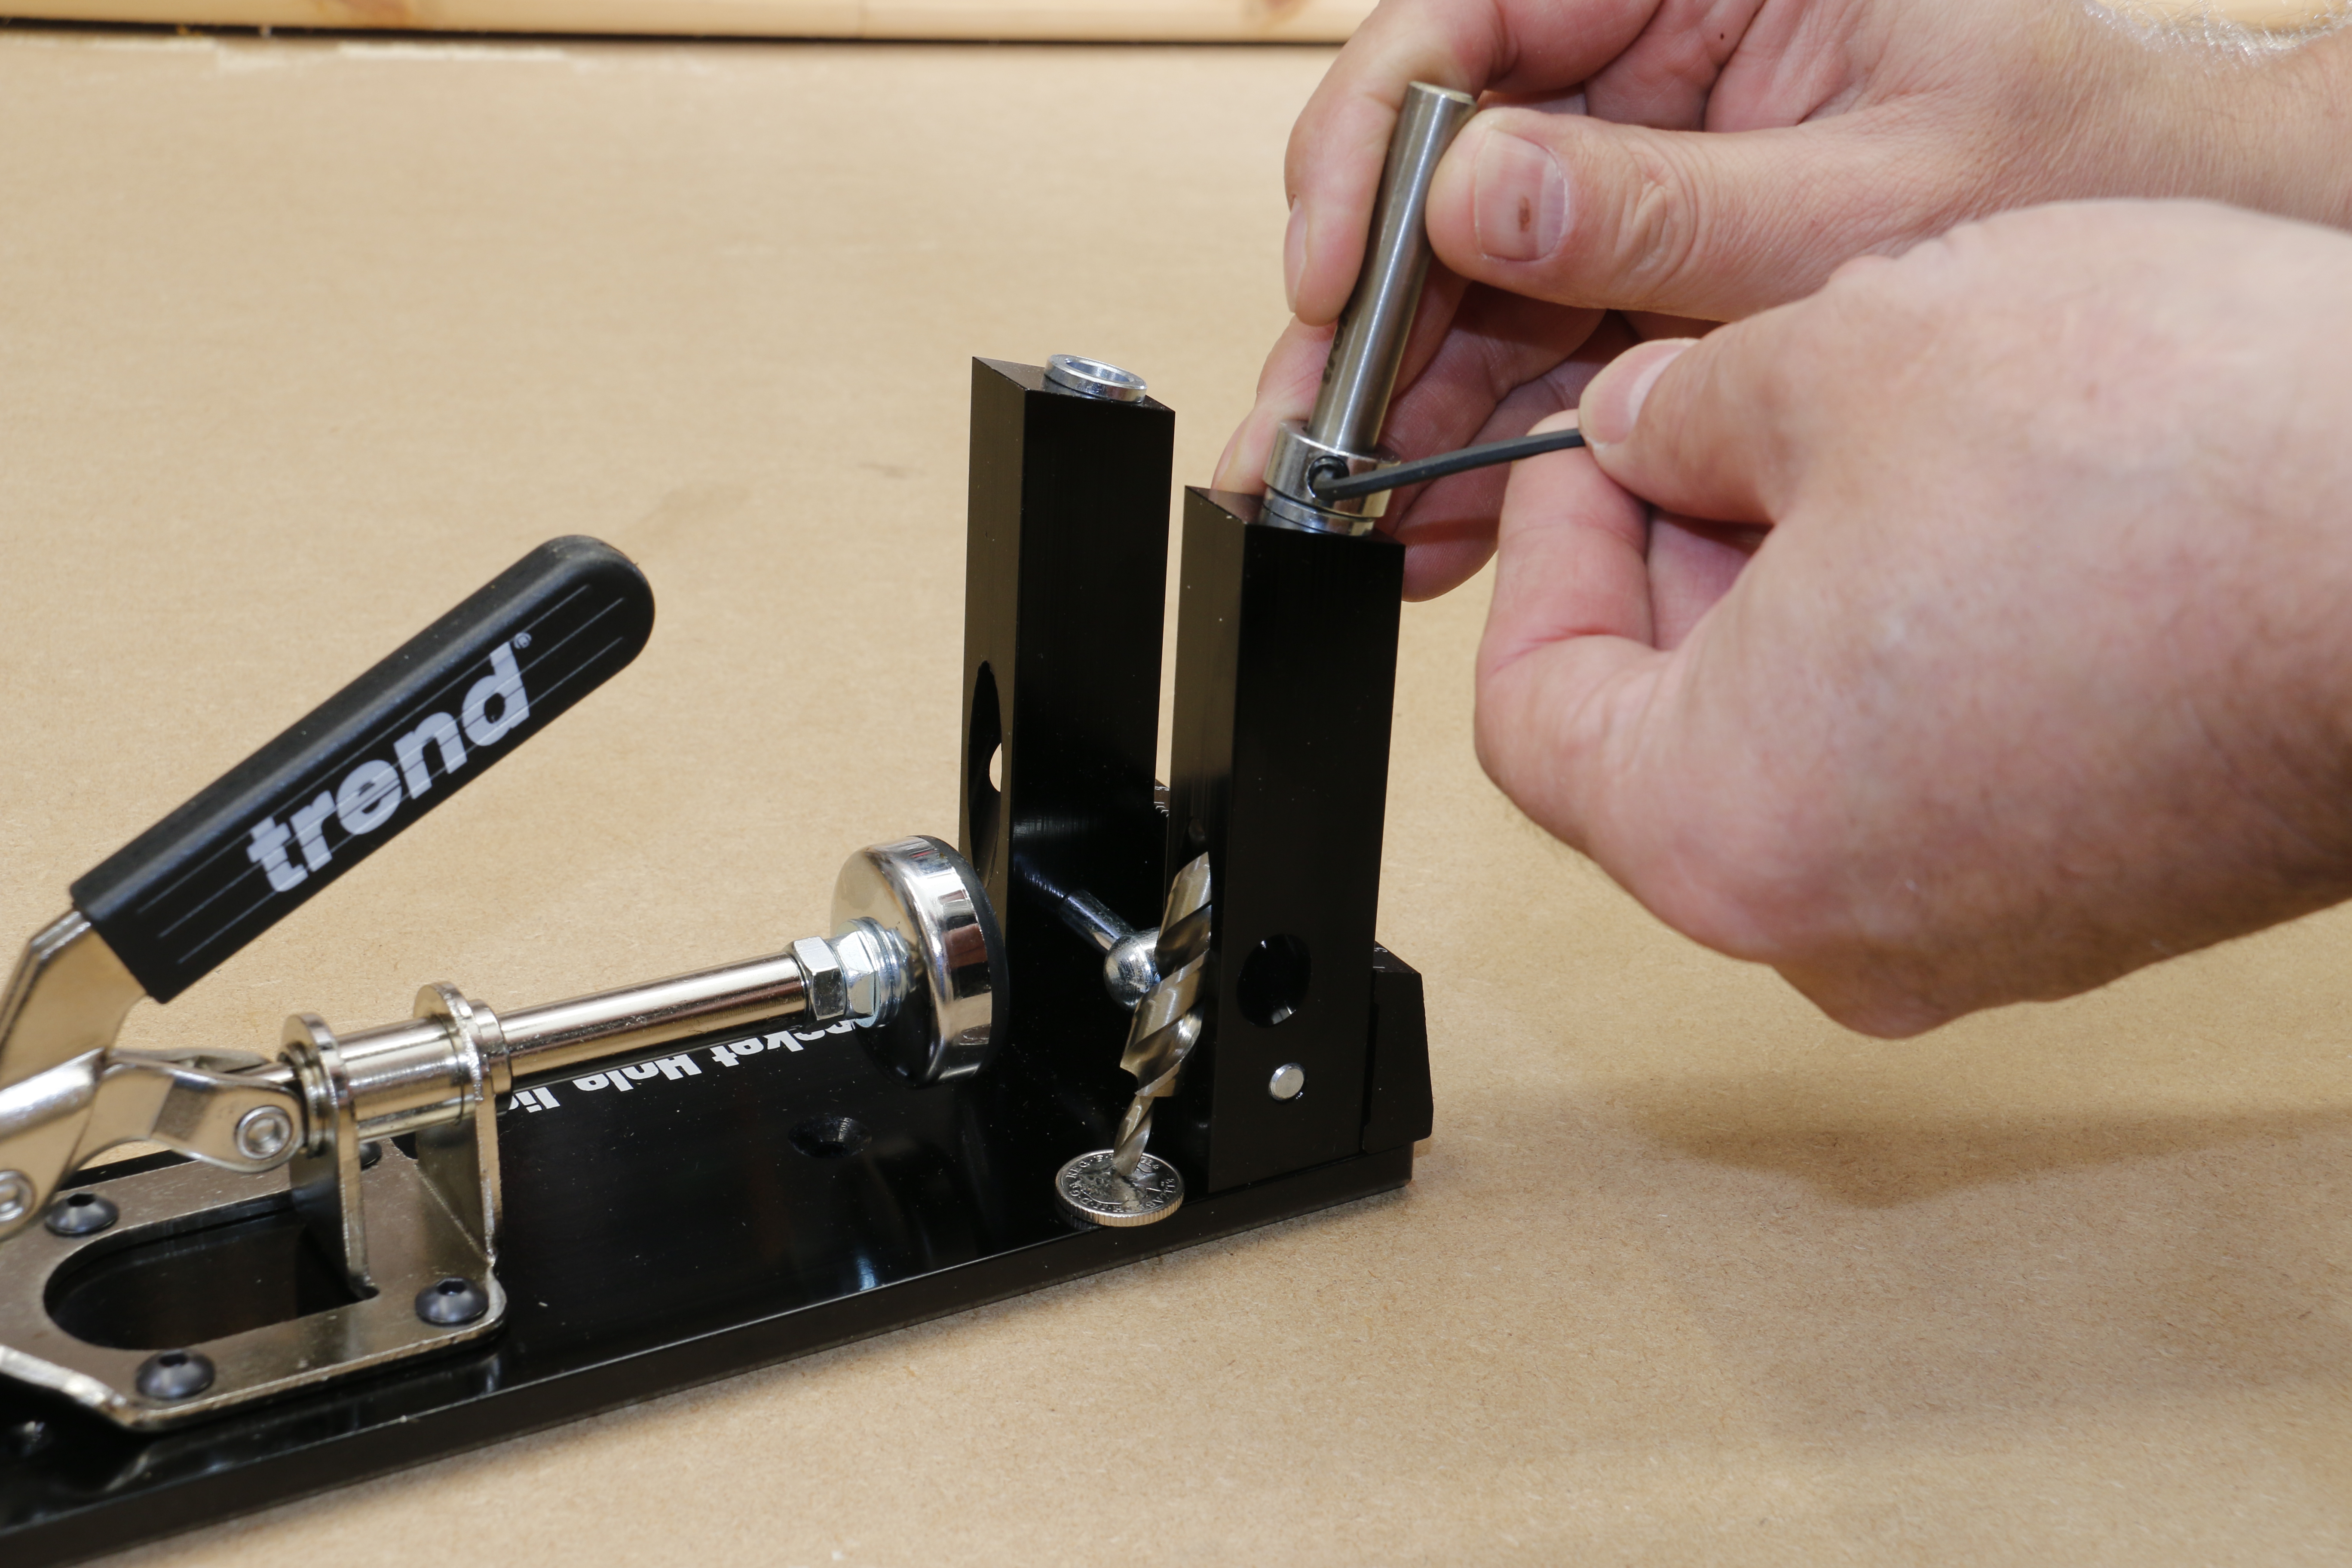
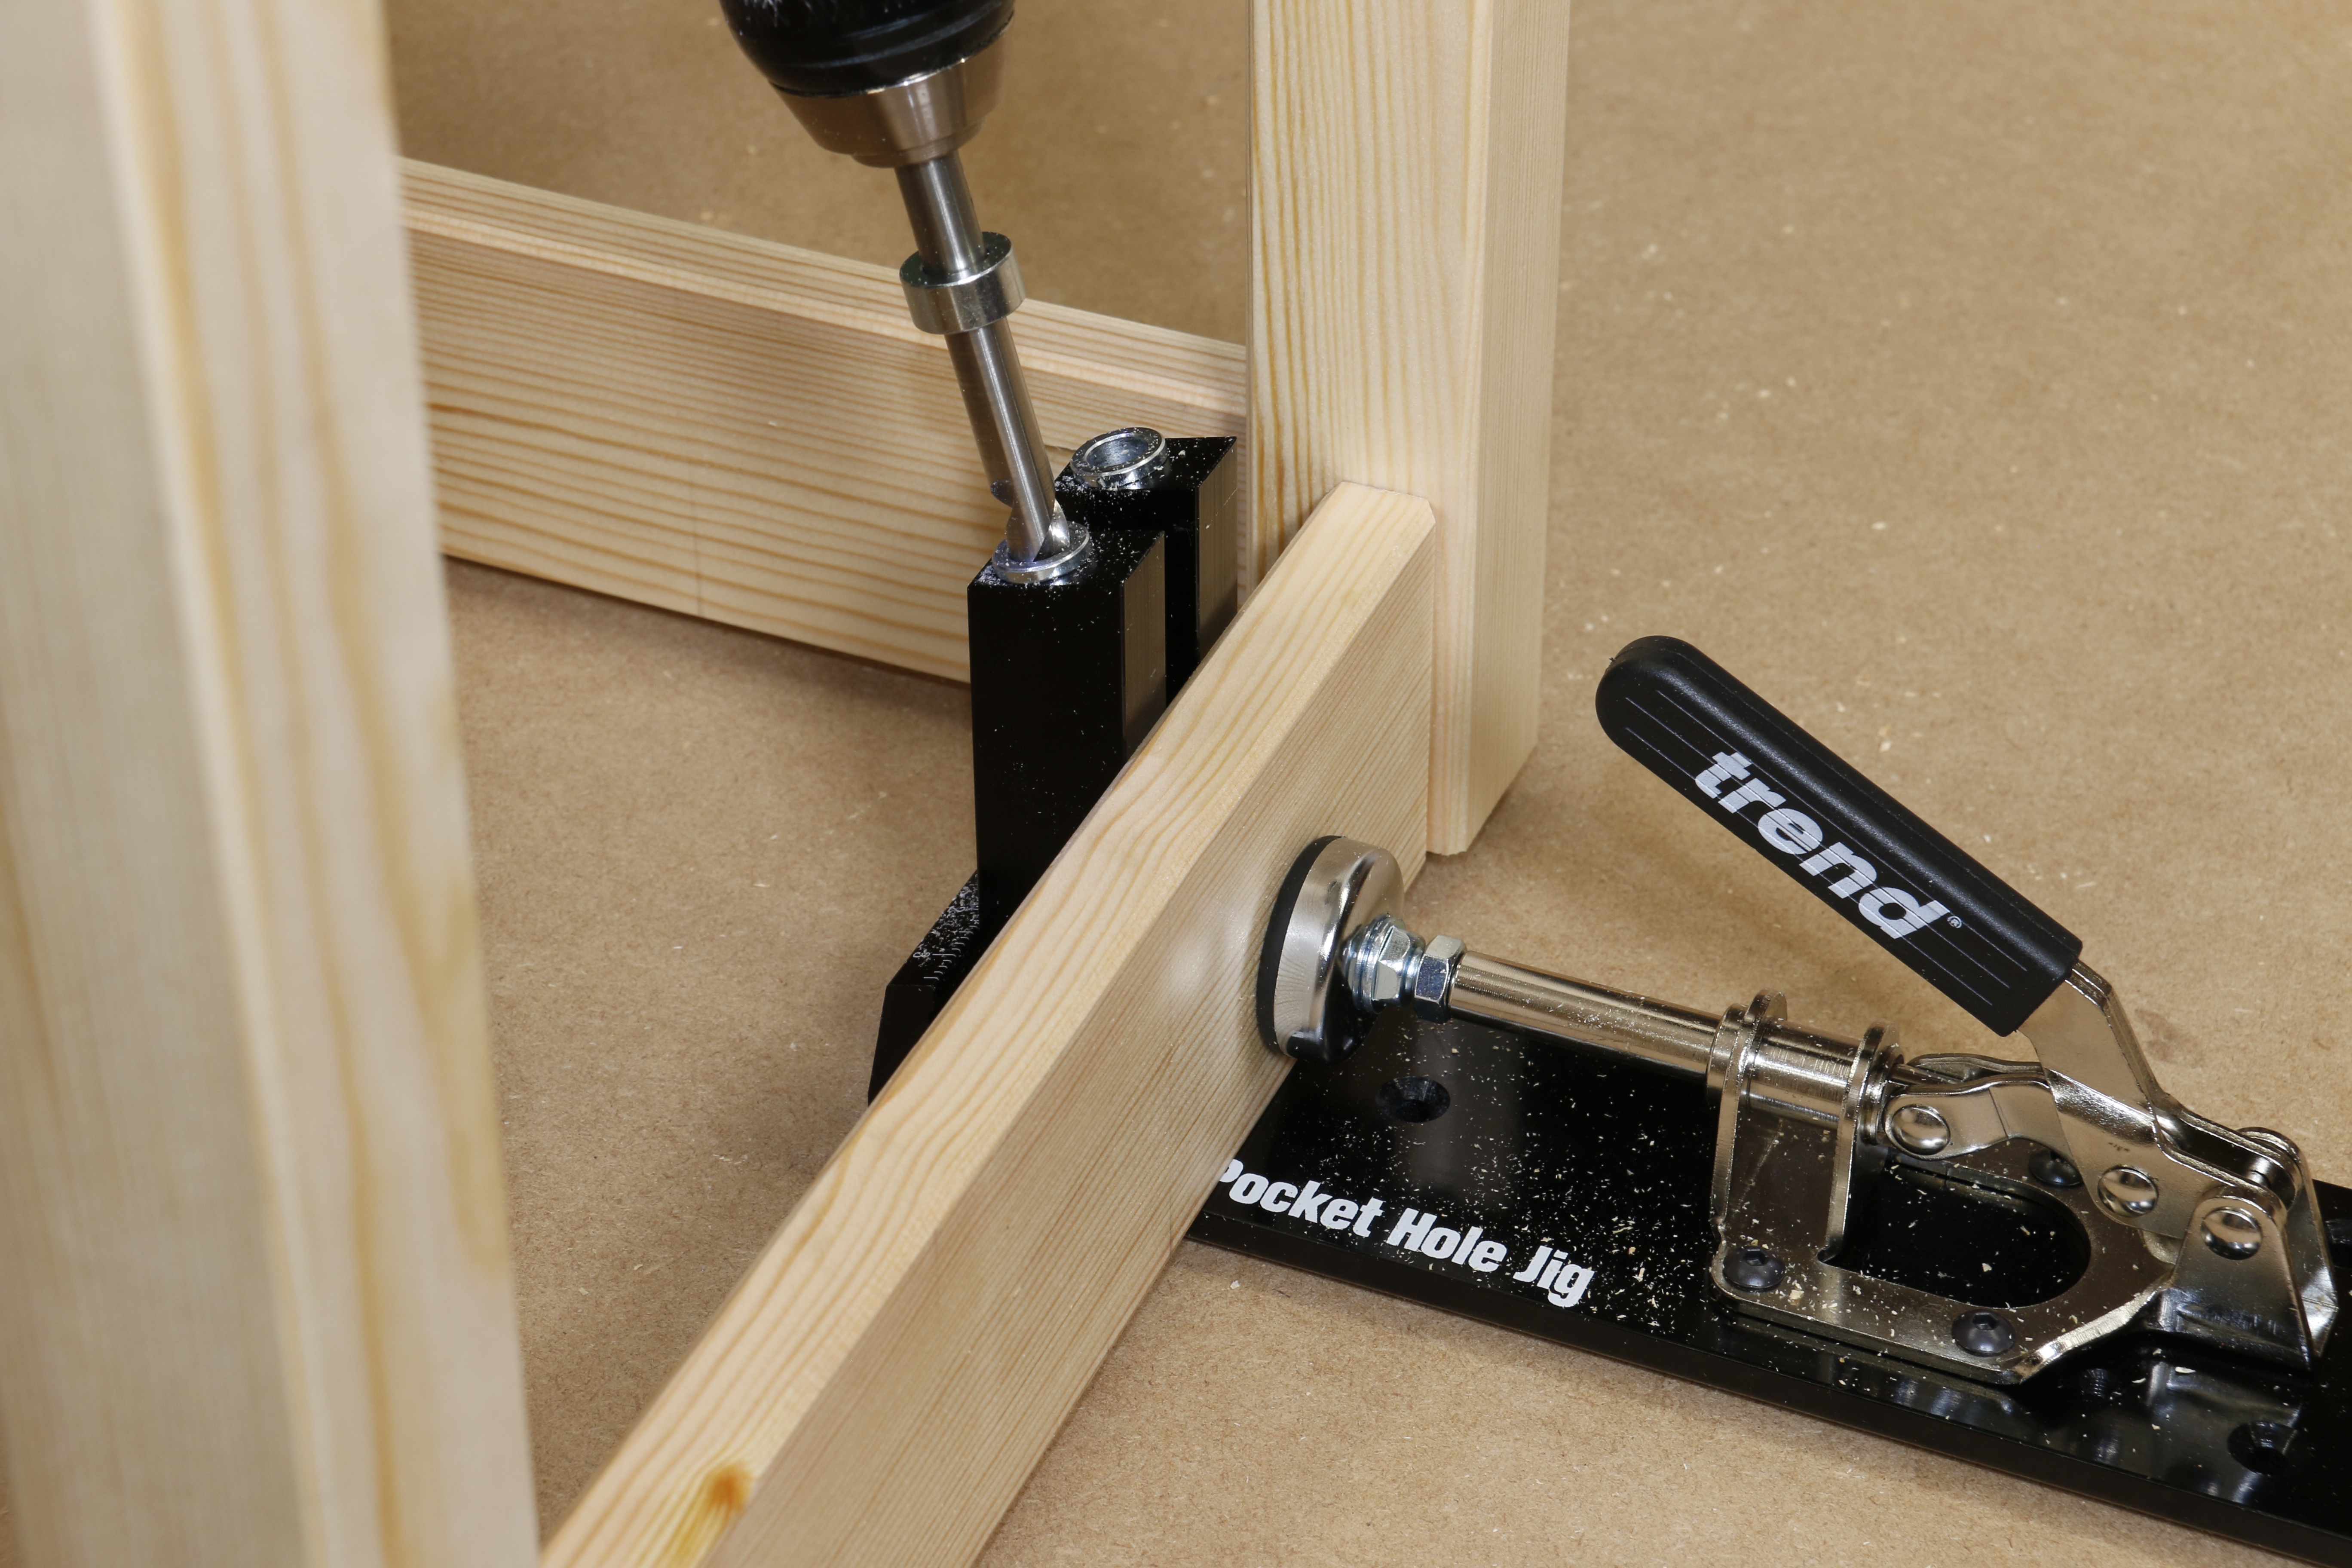
Set up the Pocket Hole Jig by placing the drill on a coin to stop it drilling into the jig base and slide the depth setting collar in position and tighten off.
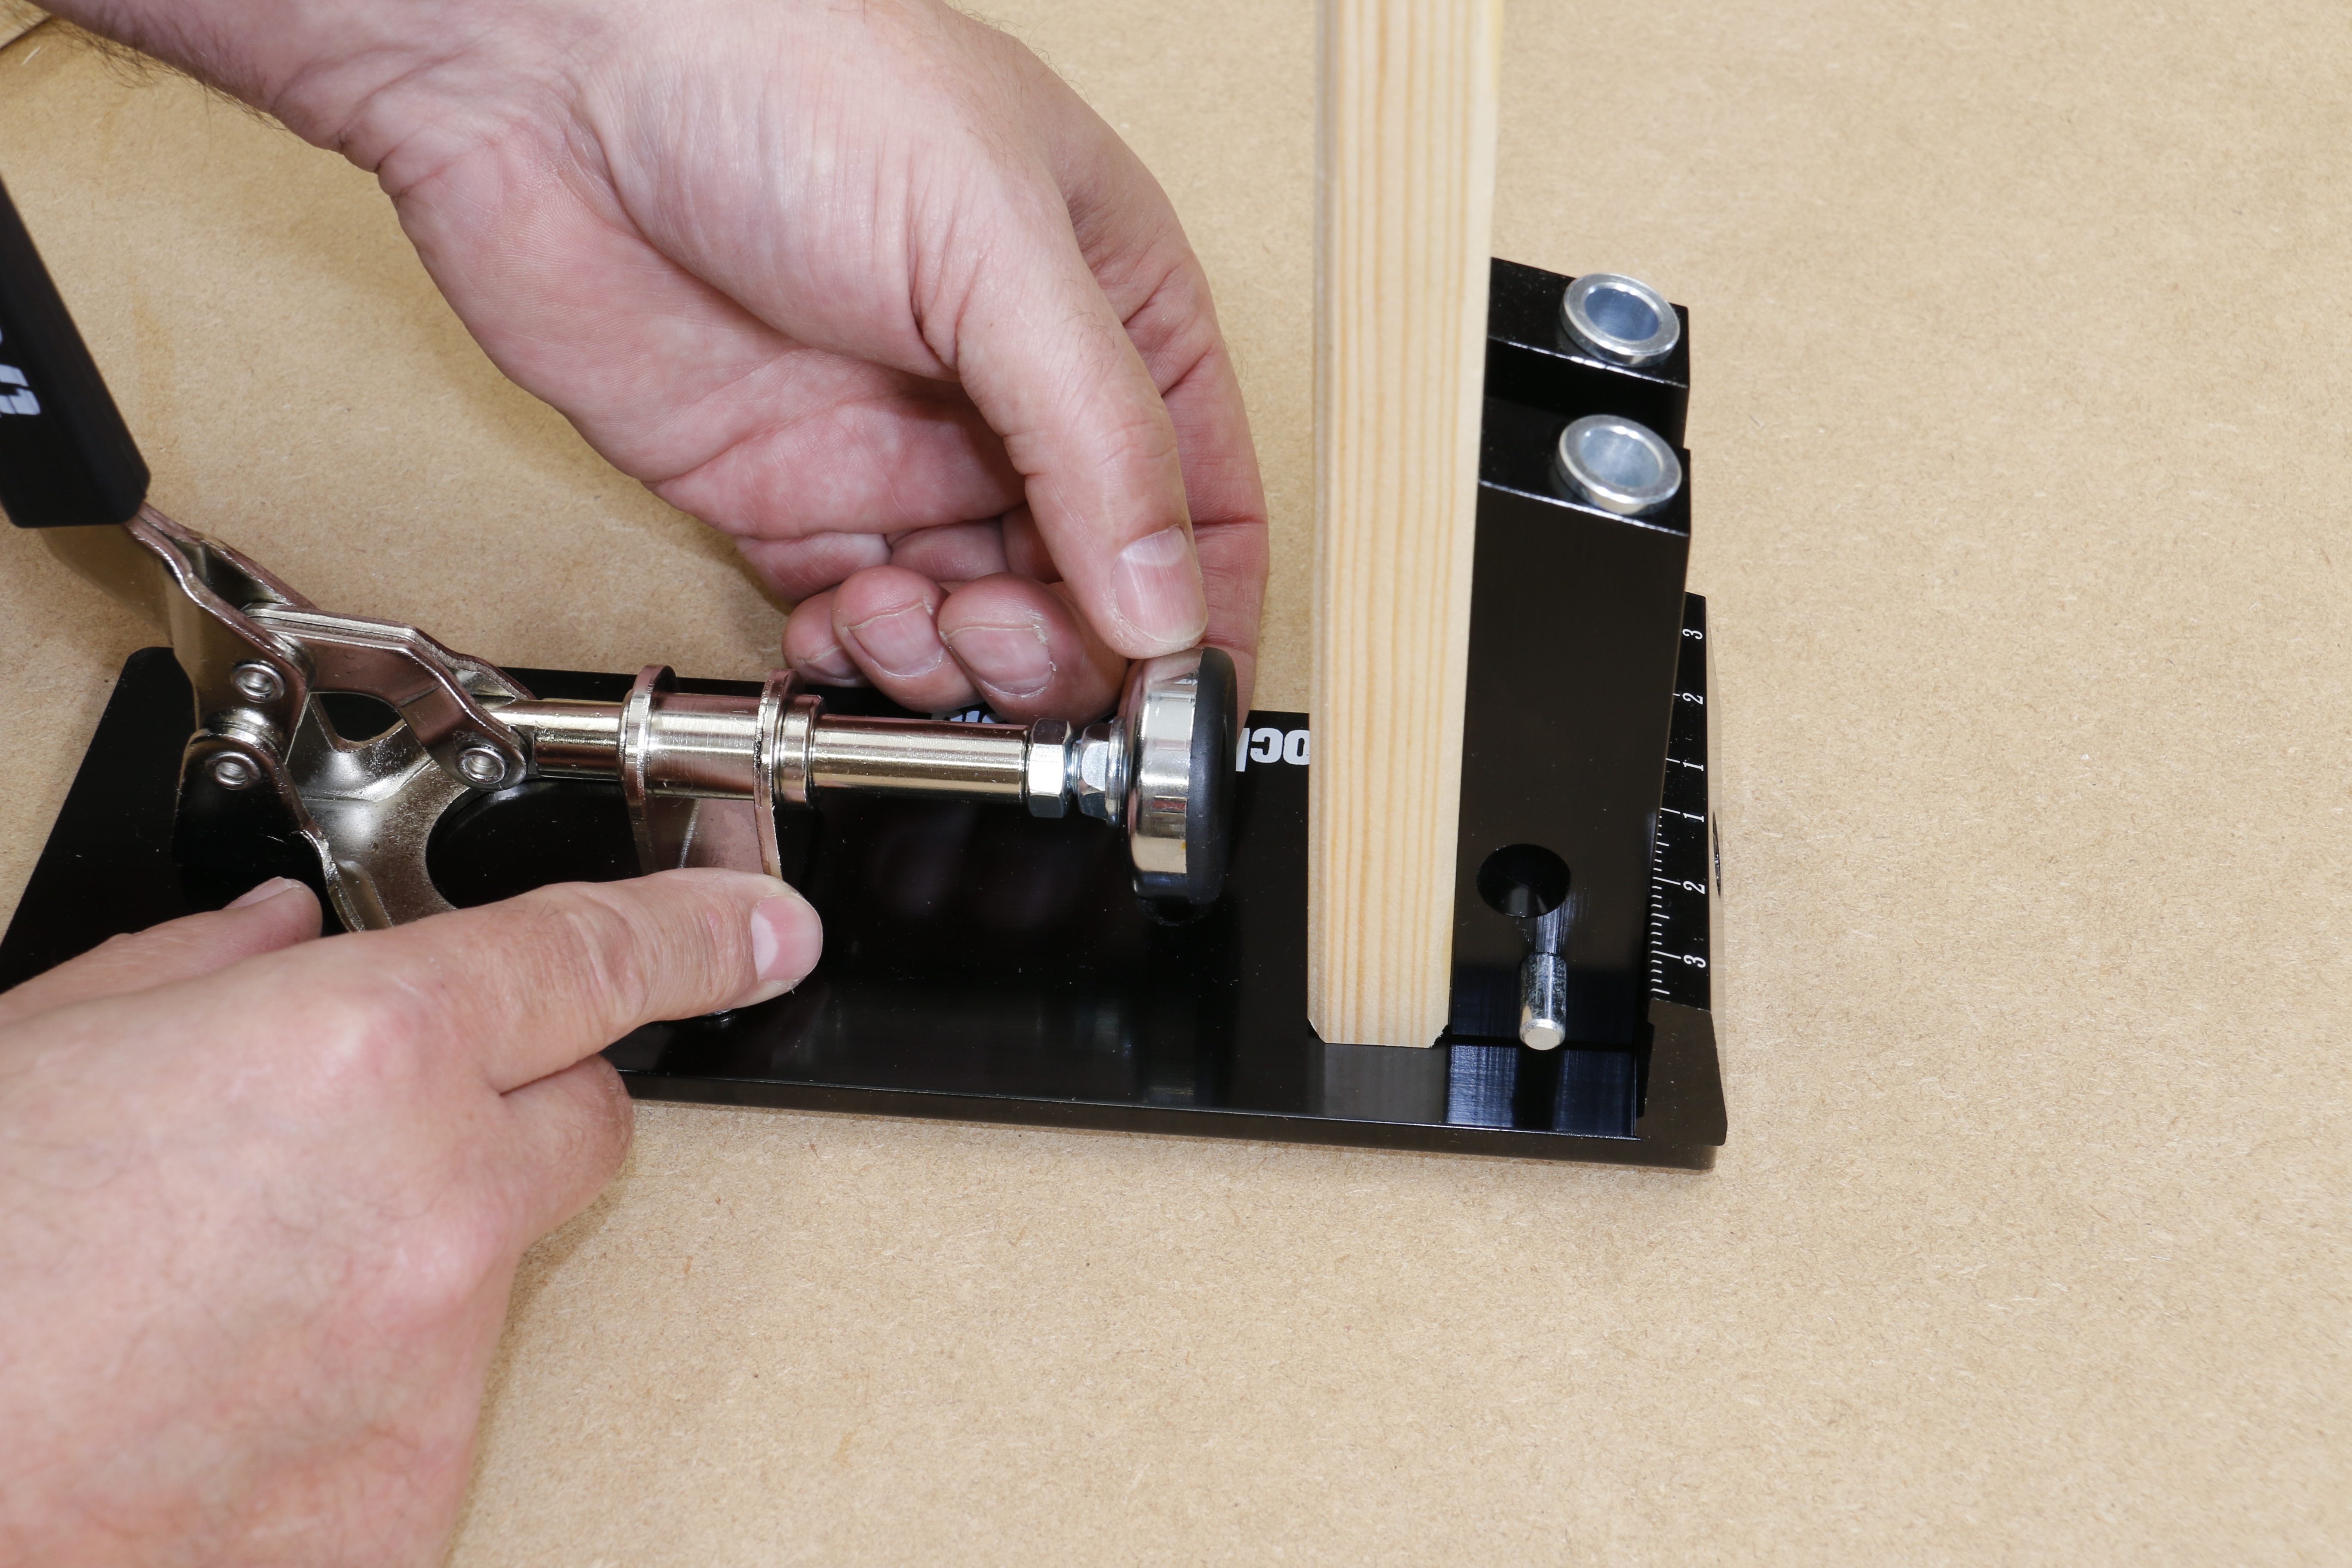
Adjust the clamping foot until it engages the work with light pressure to secure it in place for drilling.
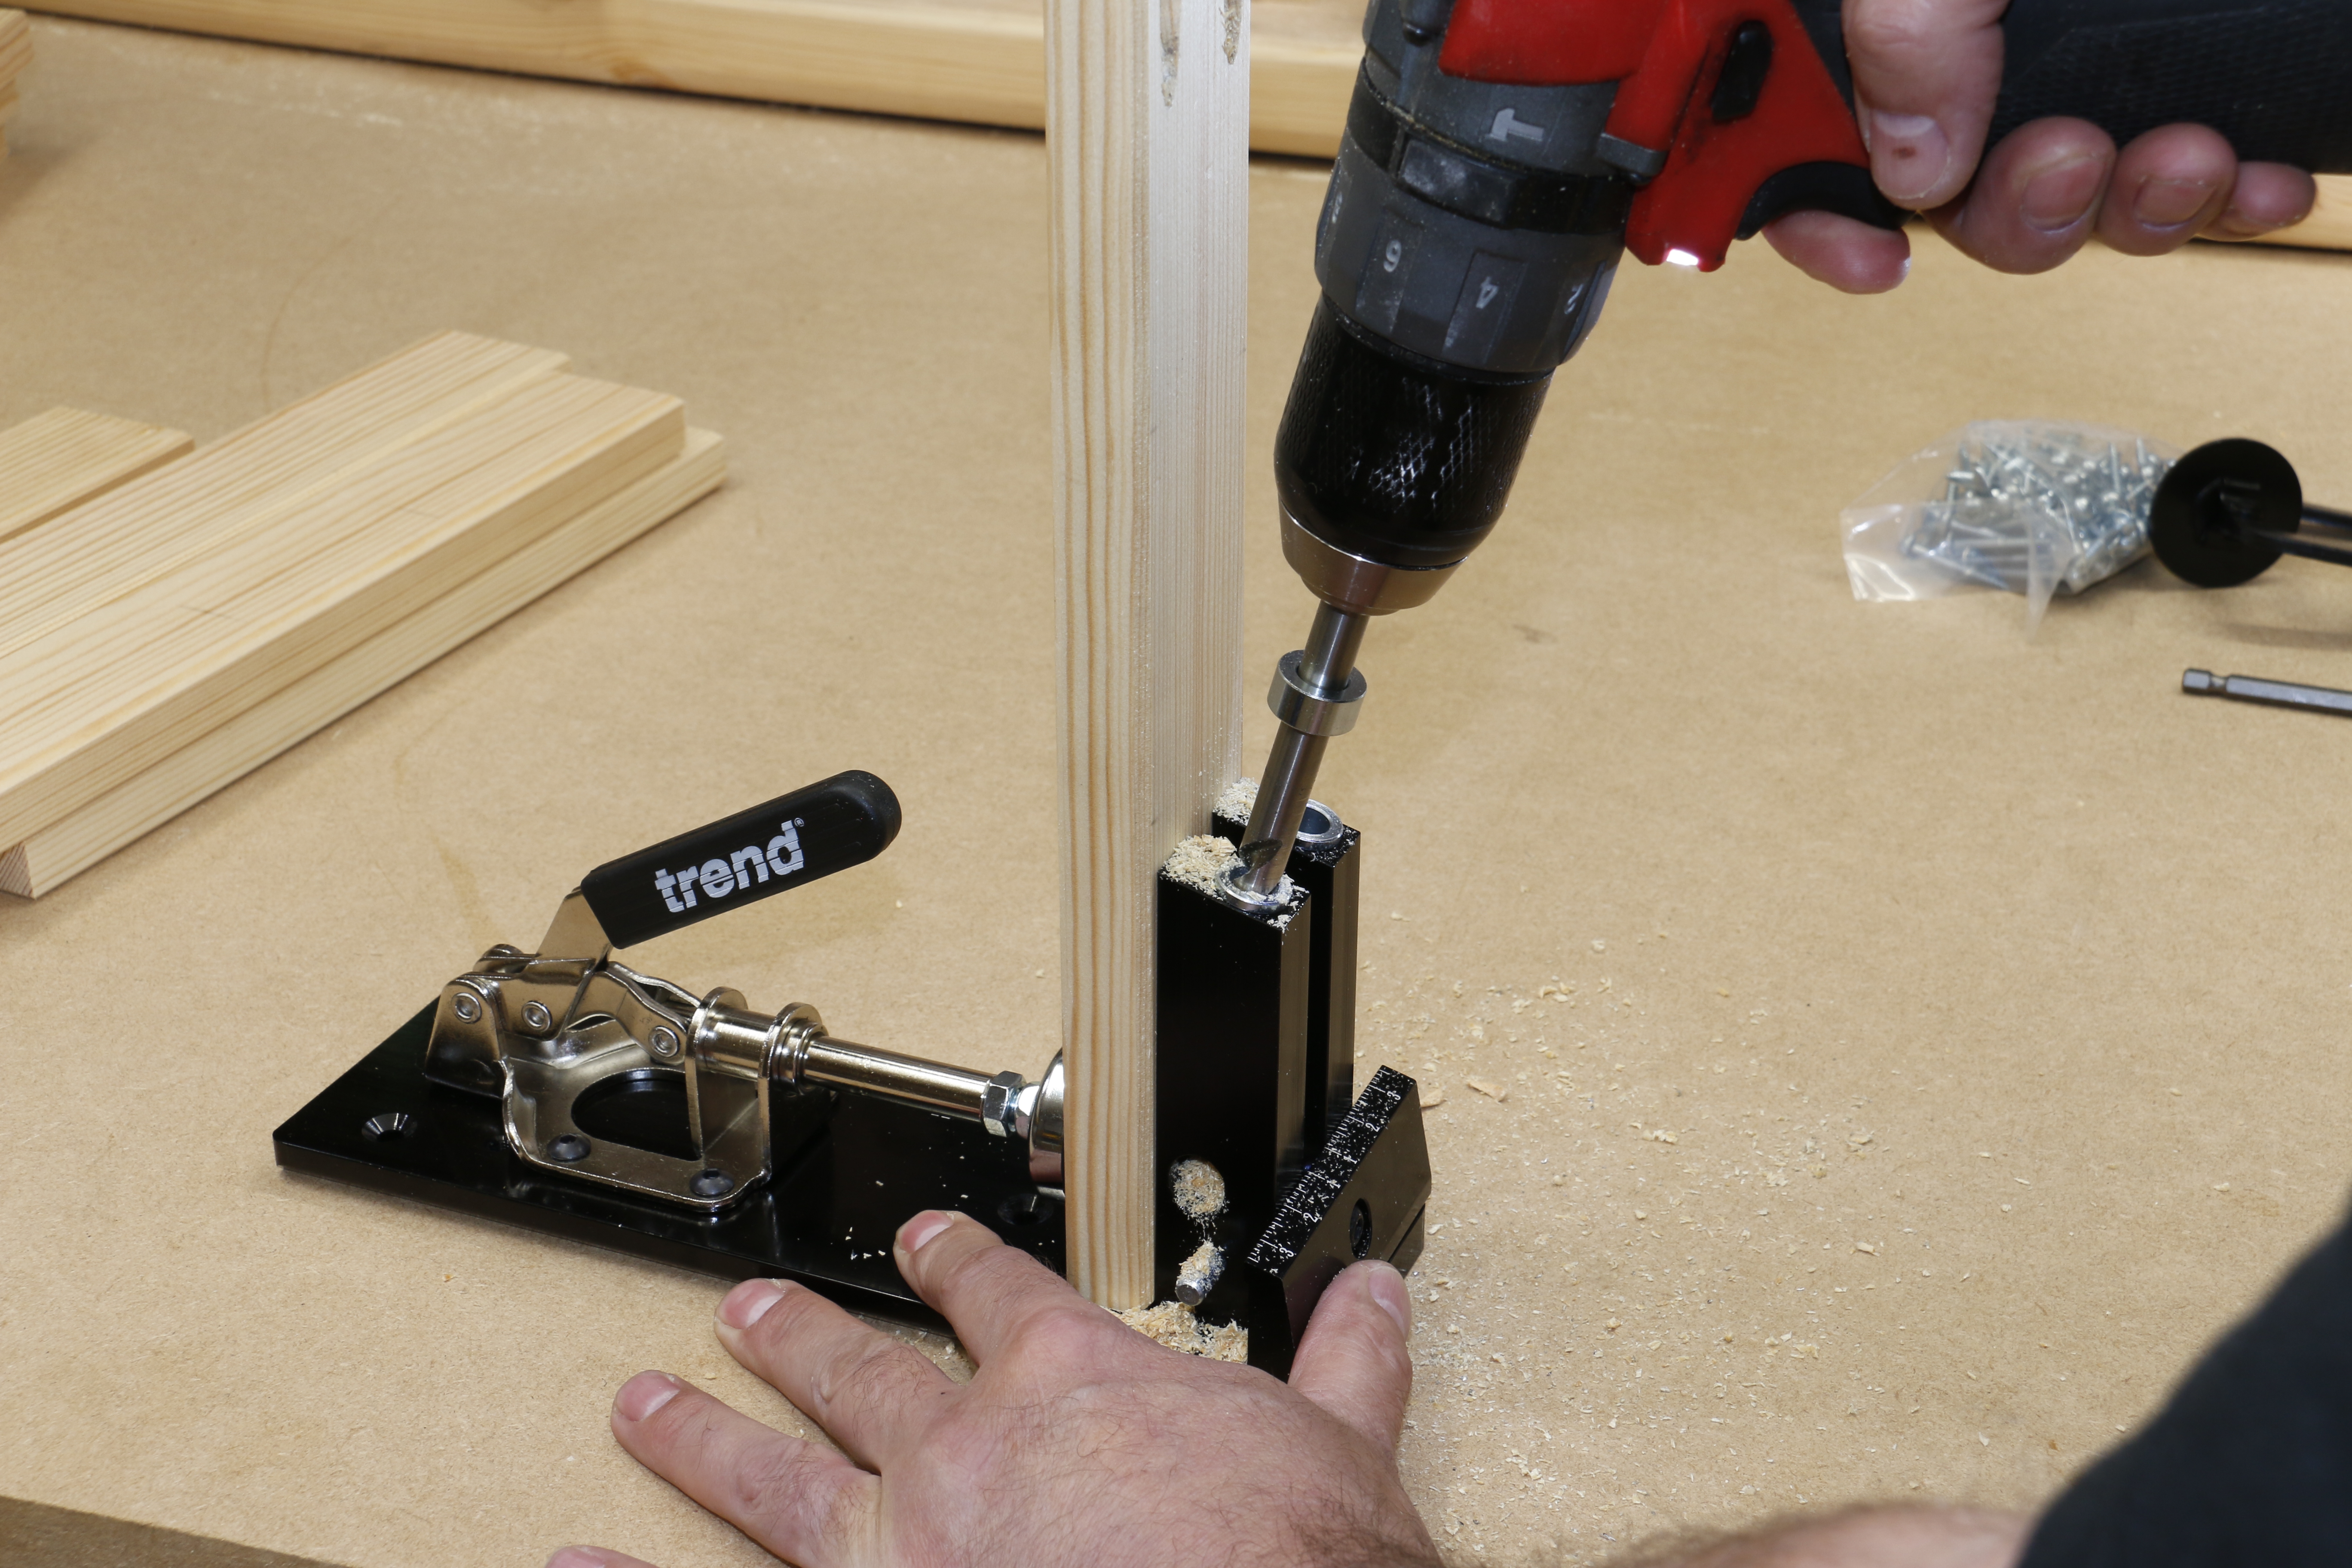
Drill a pair of holes in each end of the short slats and all of the apron pieces. The long slats and legs are left undrilled.
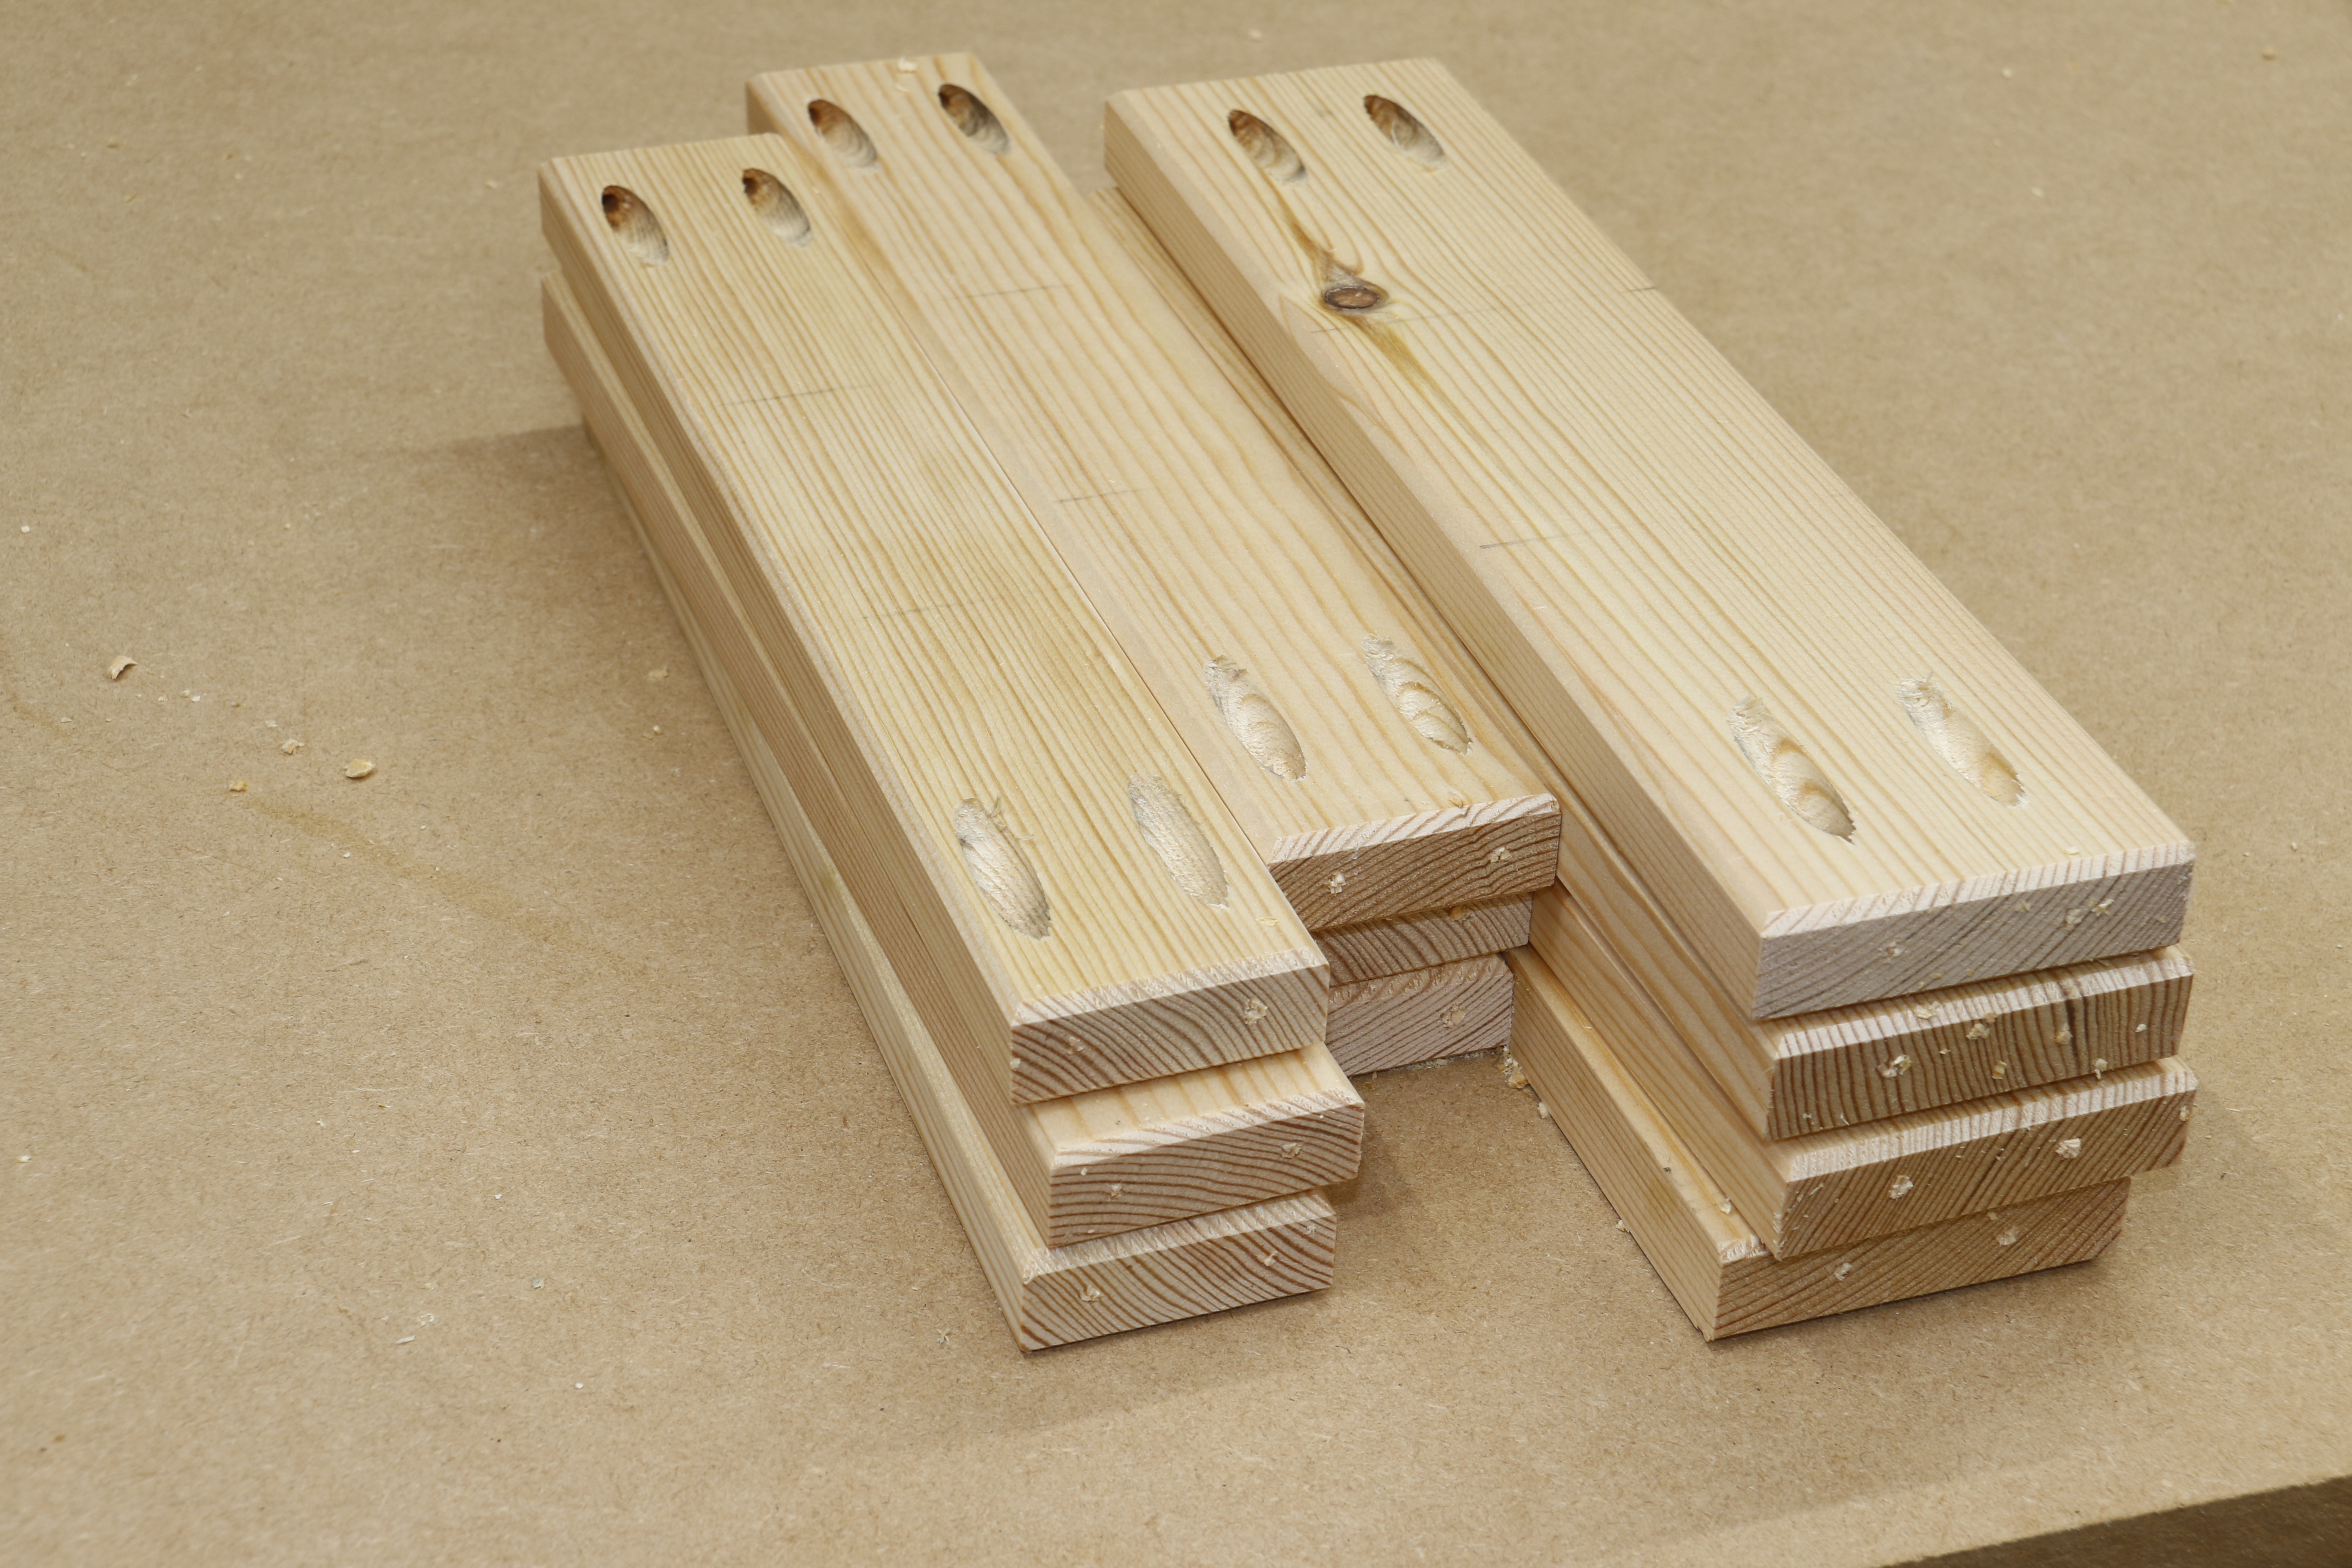
Once all the components are drilled you should have six short table top slats and four apron rails with a pair of holes at either end.

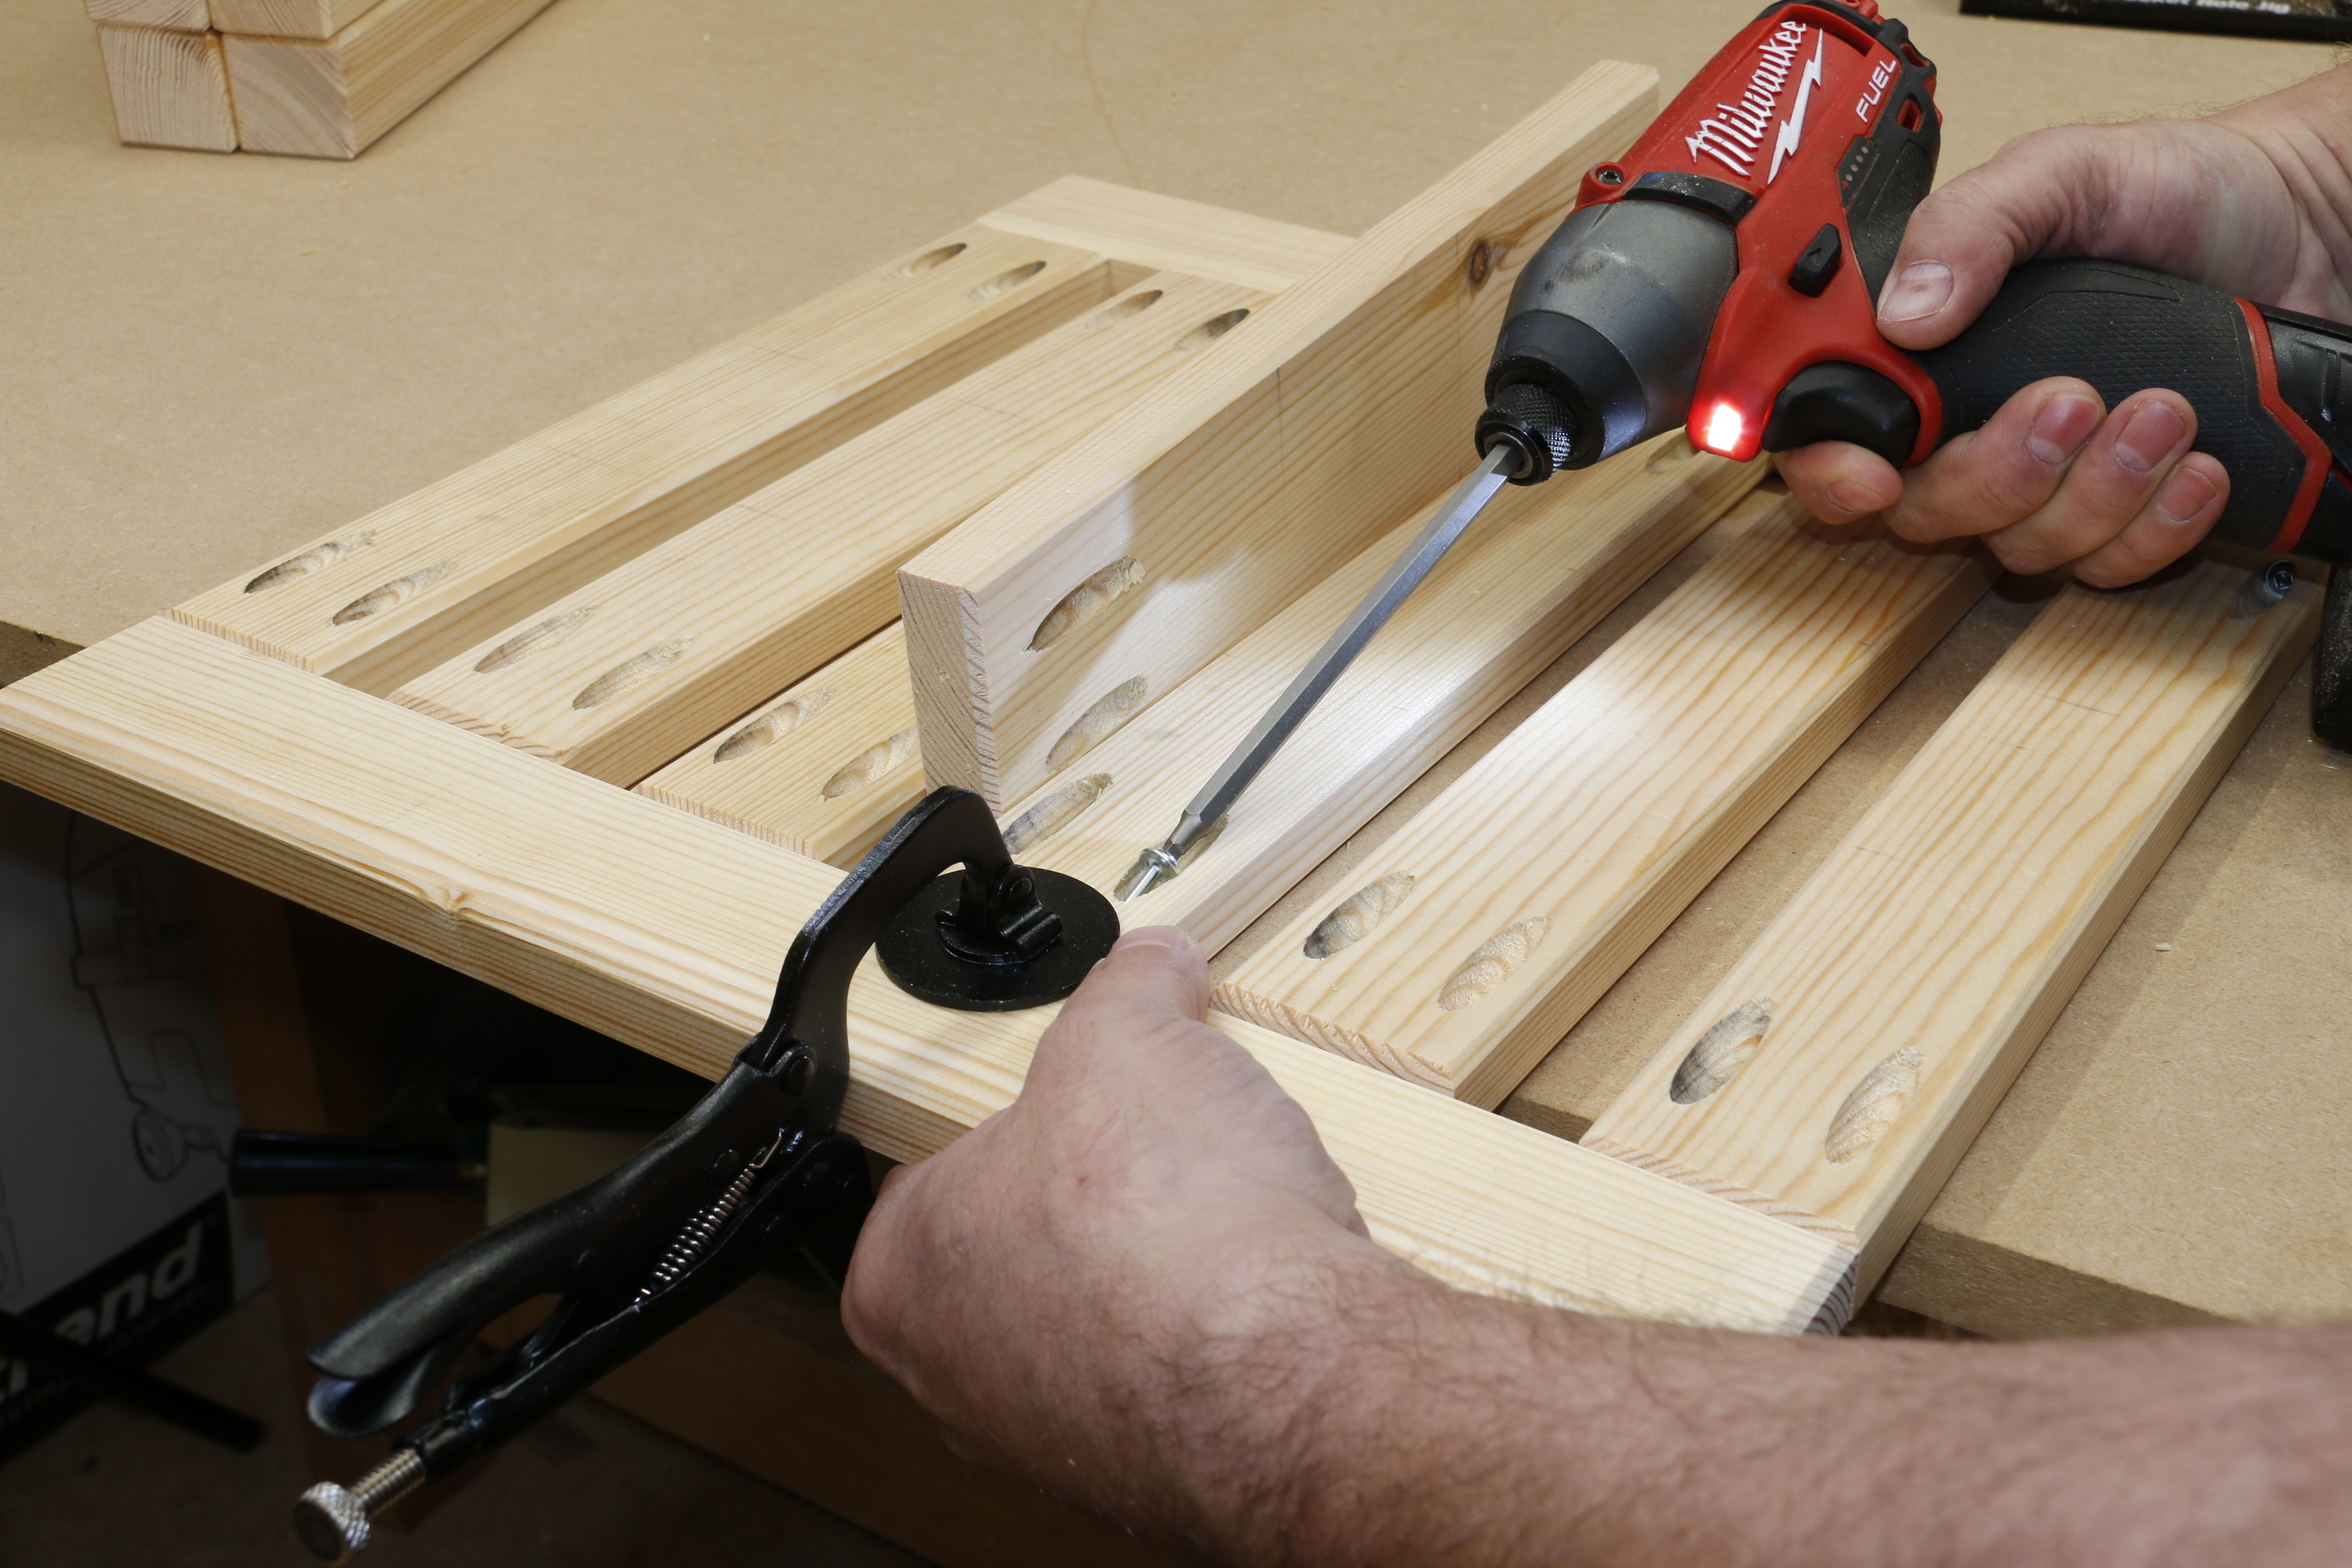
Using the face frame clamp, fix the first short slat to the long slat with two screws keeping it flush to the end.
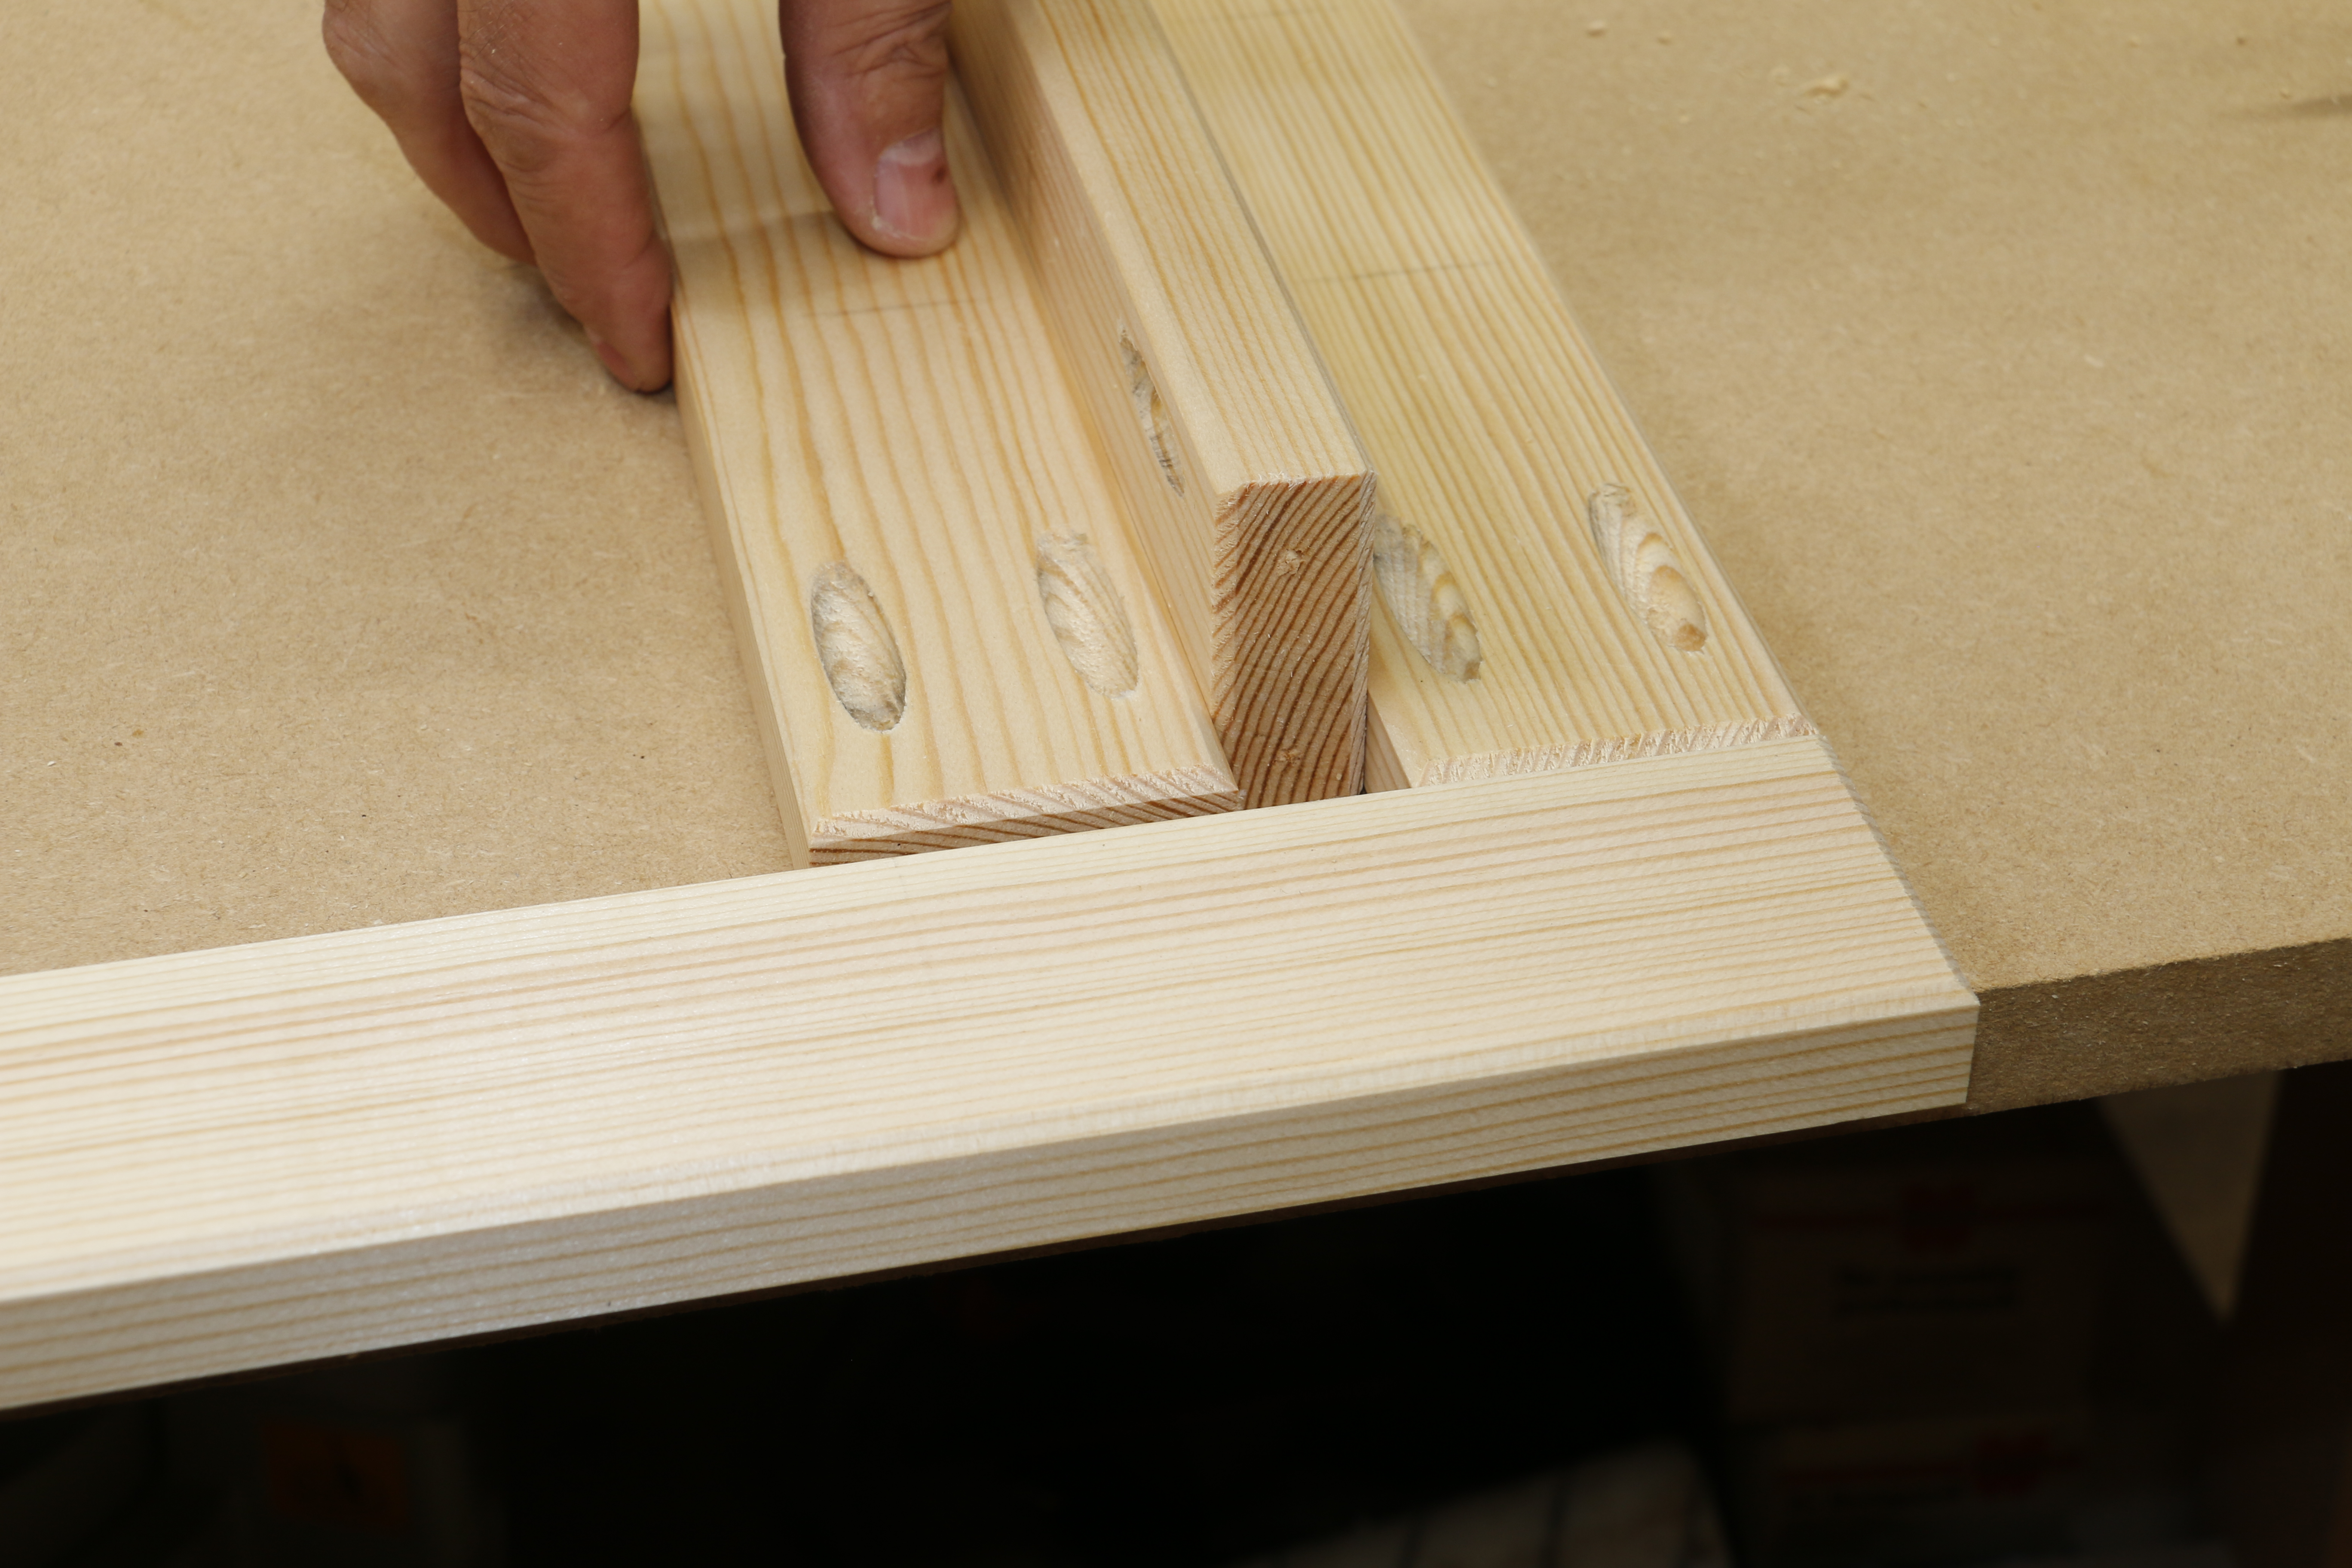
Using a slat or offcut of the same thickness as a packer, position the next slat and secure it in place and continue the sequence until all the slats are secured to one long slat.
Repeat the process with the second long rail, spacing each one in the same way to complete the table top.

Using a piece of 6mm MDF as a packer, place the apron on top and bring the leg into position and run the screws in to give the apron a stepped back profile.
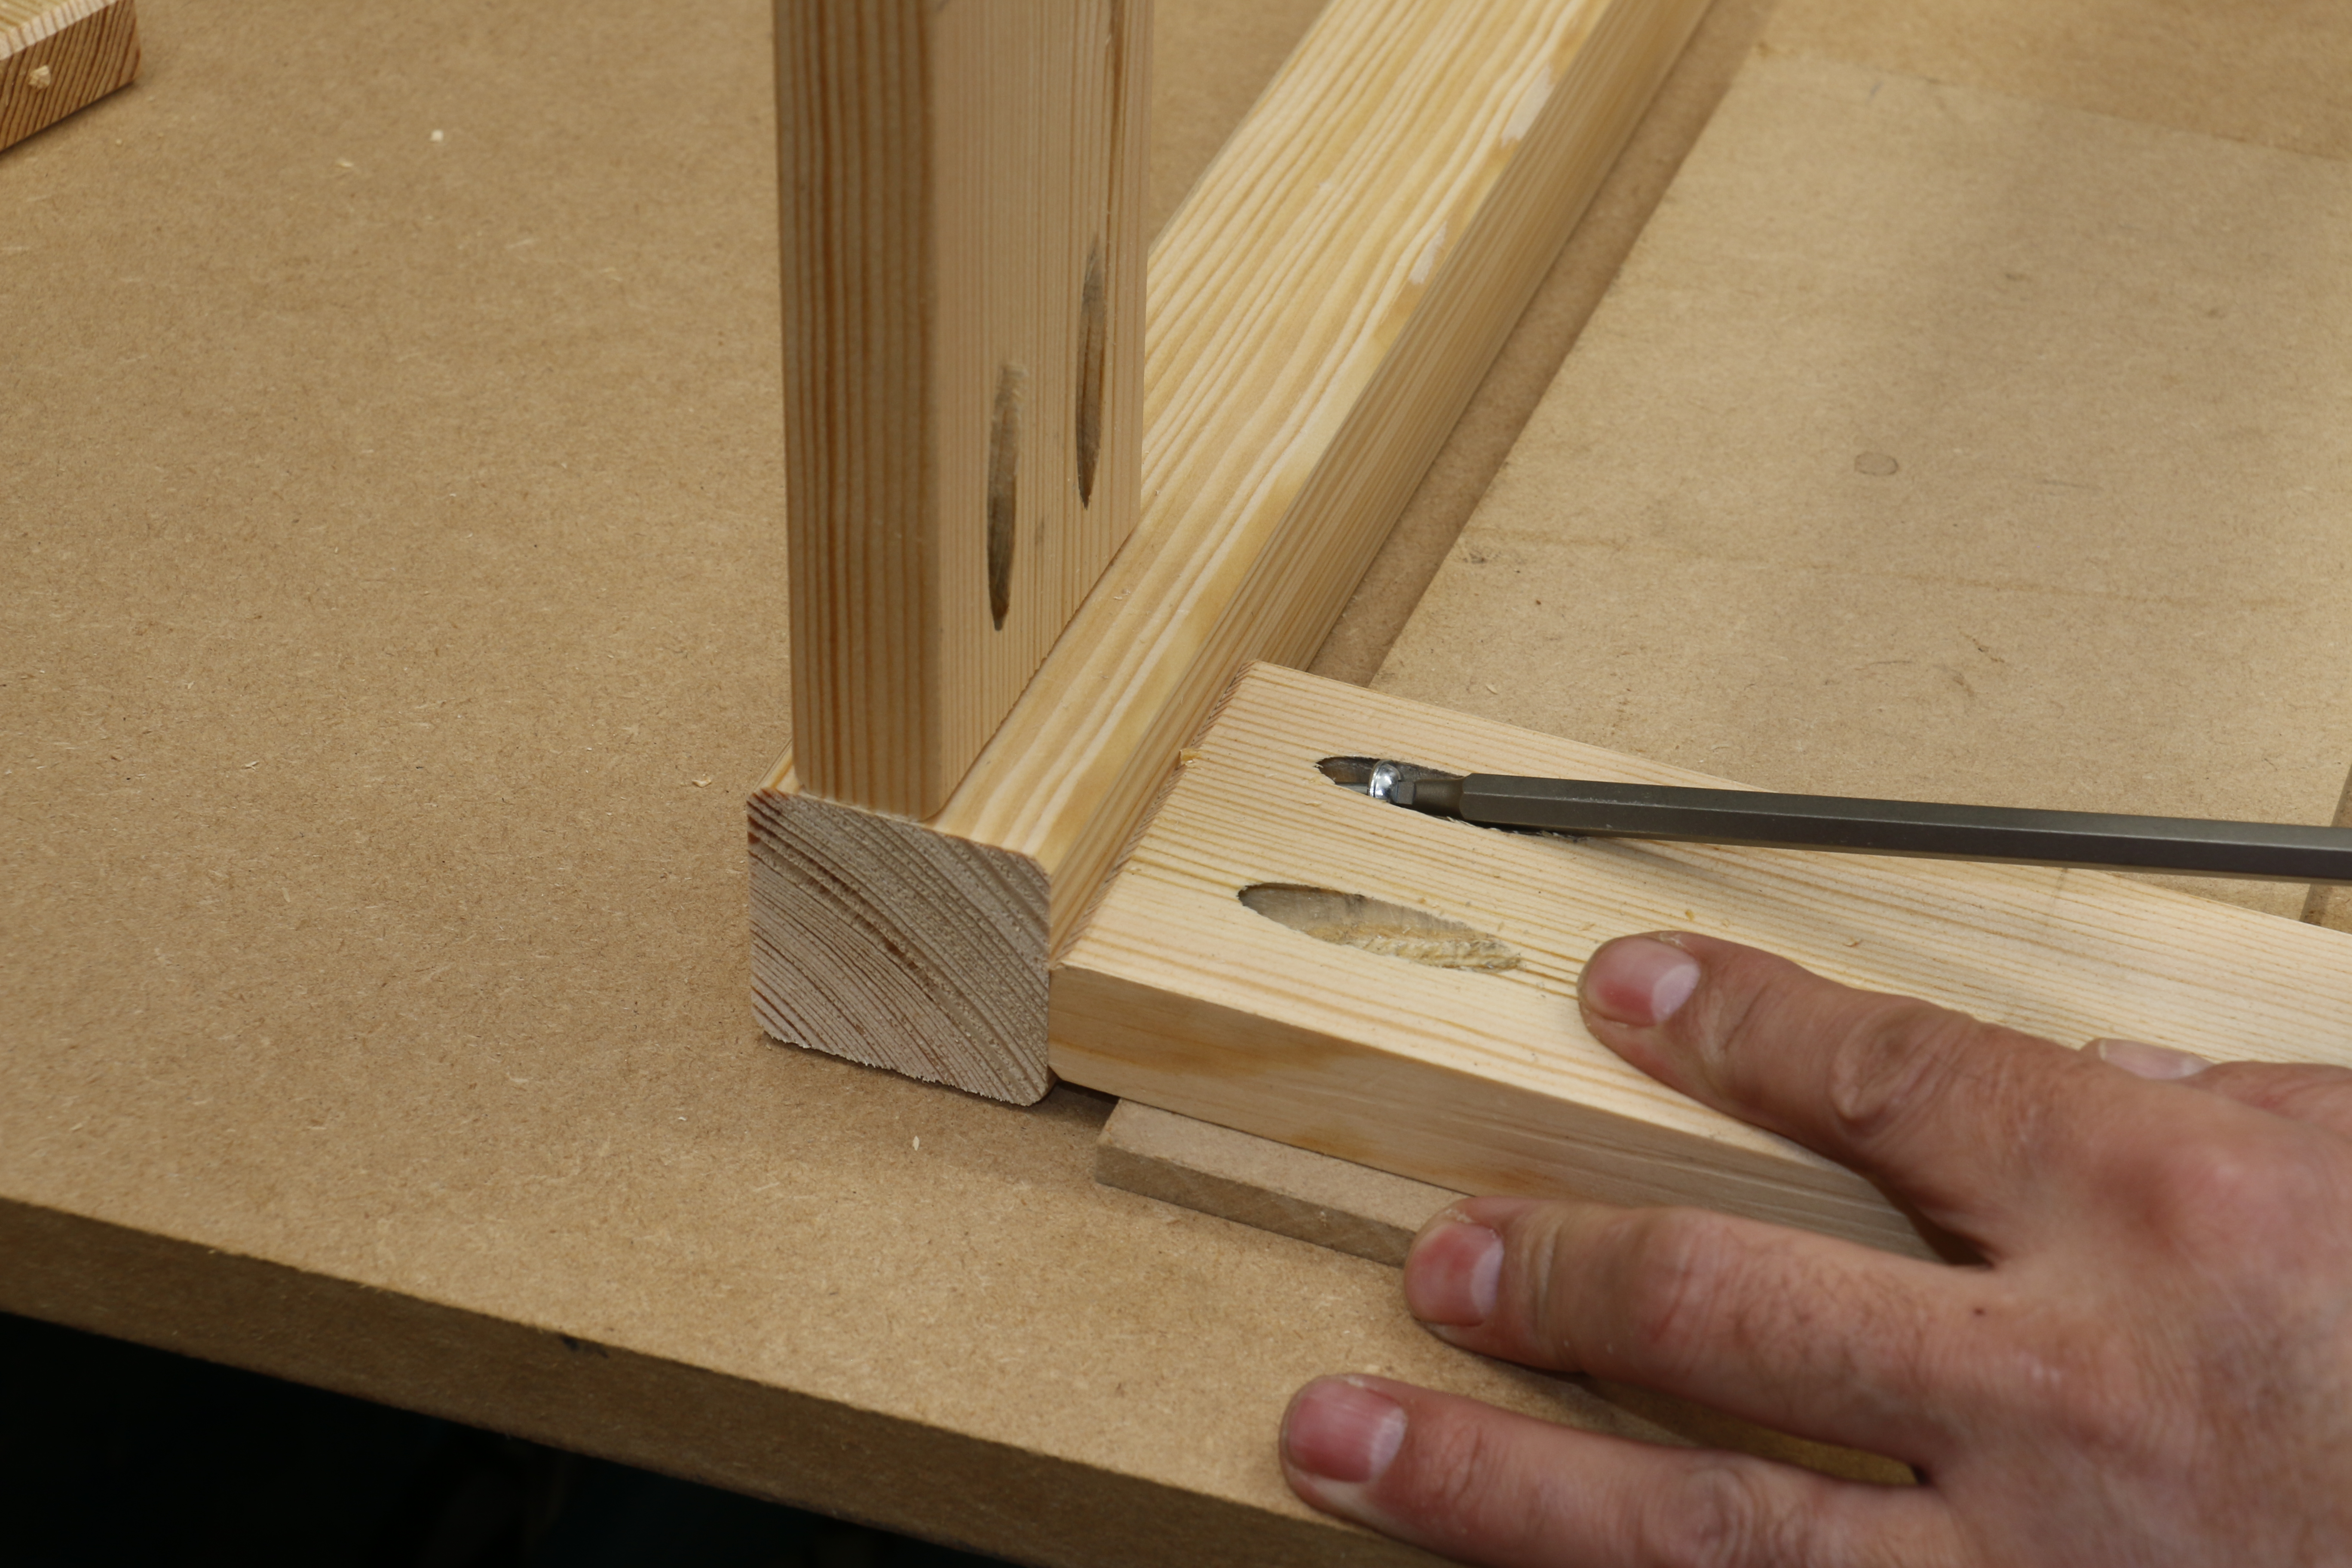
Repeat the process on all of the legs and aprons until the leg frame is fully assembled.
Drop the leg frame into the jig and drill a pairs of holes in the aprons opposite each other to secure the top to the legs.

Align the leg frame so that it sits with equal margins on the top and secure in place.
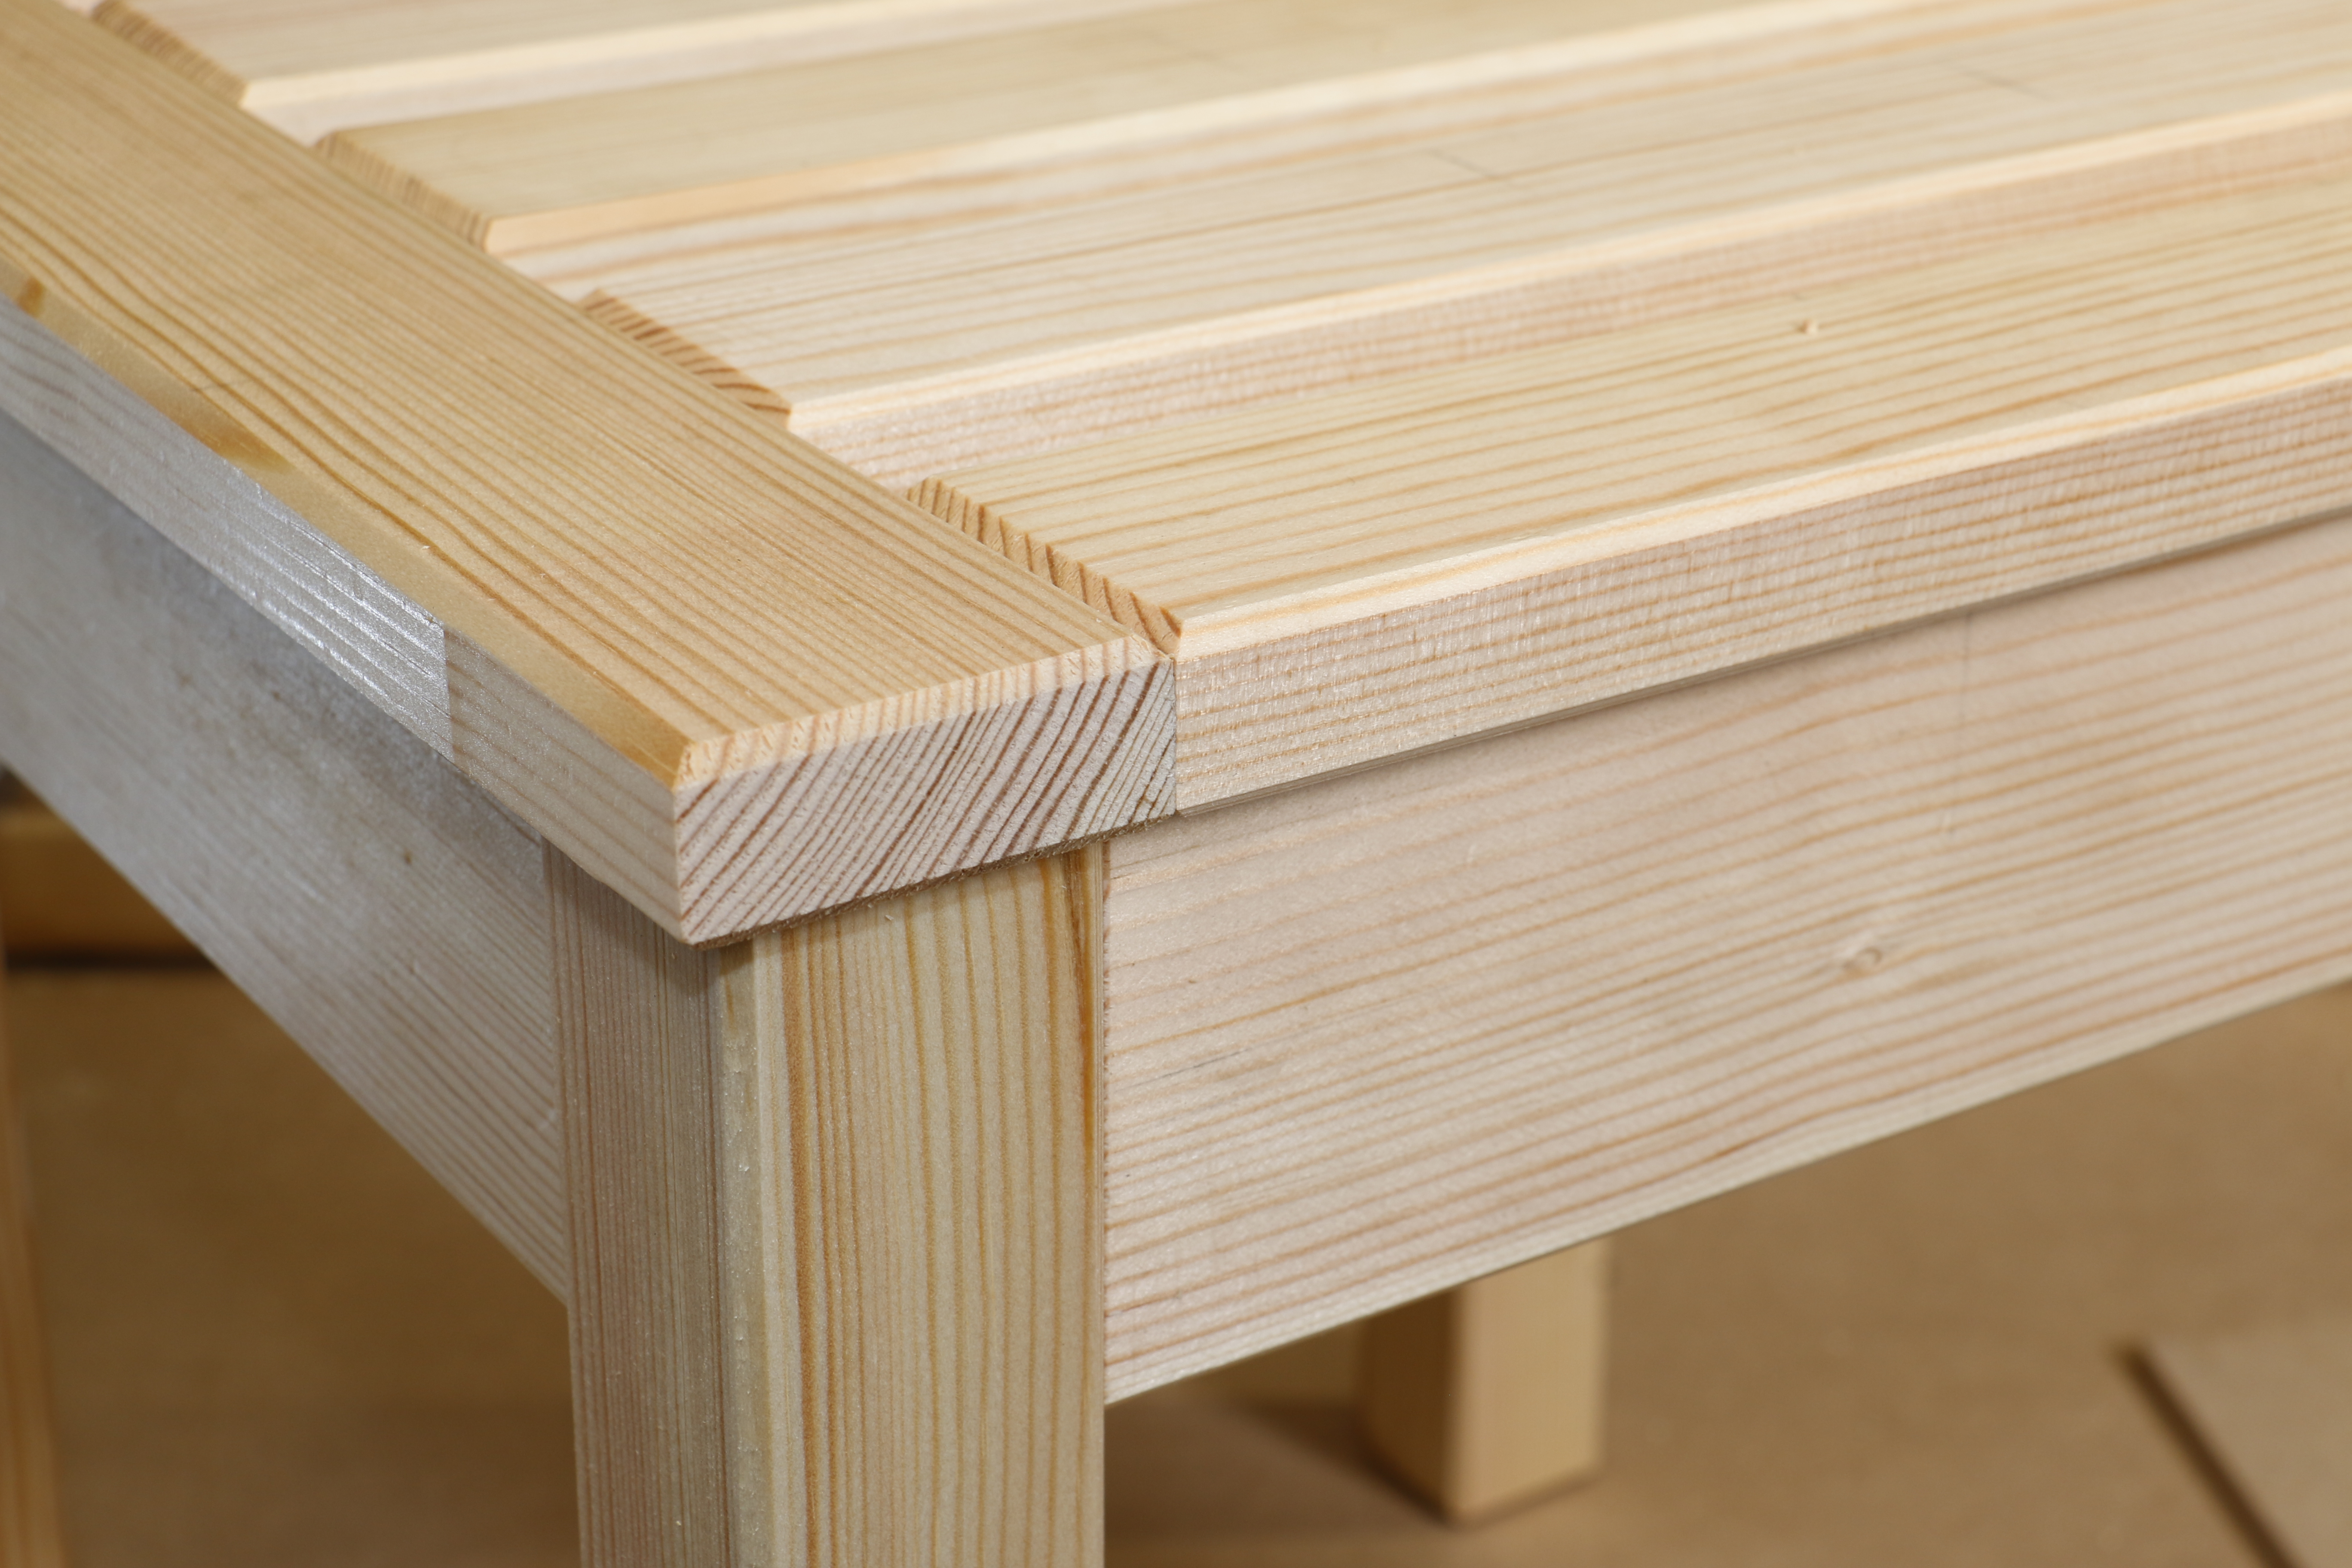
Once assembled the table has a contempory look with subtle chamfer details to break up the component intersections, looking like it has a traditional construction method.
The completed Simple Stool Project.