


HOW TO Sharpen Chisels and Plane Irons
There are a range of machines available that will give you the keenest of edges to your tools, but outside of a workshop environment, these aren’t the most practical way of getting them sharp. Couple this with the additional jigs and setting up often associated with these to contend with, what should be a quick and simple task can become long-winded and expensive so the tradition of hand honing is still the most popular way of keeping your edges keen.
The method of using an oil stone has been a tried and tested way of getting an edge for generations and is still valid today but there are now many options in this area including traditional oil stones in natural and man-made options, ceramic, diamond and Japanese water stones. These all do the same thing so it’s a matter of finding one that suits you. It has to be noted that in all of these options, there is a more work involved when using water stones for honing as they often need pre-soaking before you can use them and the coarser grits especially will hollow readily so need a rigorous maintenance regime of flattening to keep them at their best.
Trend Diamond Stones are fast, efficient and consistent and never go hollow or need additional prep work; a light splash of lapping fluid to keep the swarf from building up is all that's needed. The only consideration is whether to freehand or use ahoning guide to get the edge. Both are very valid, but if it is consistency you are after then a guide will always give you that preset accuracy, but whatever your choice the method remains the same.
Using a Honing Guide
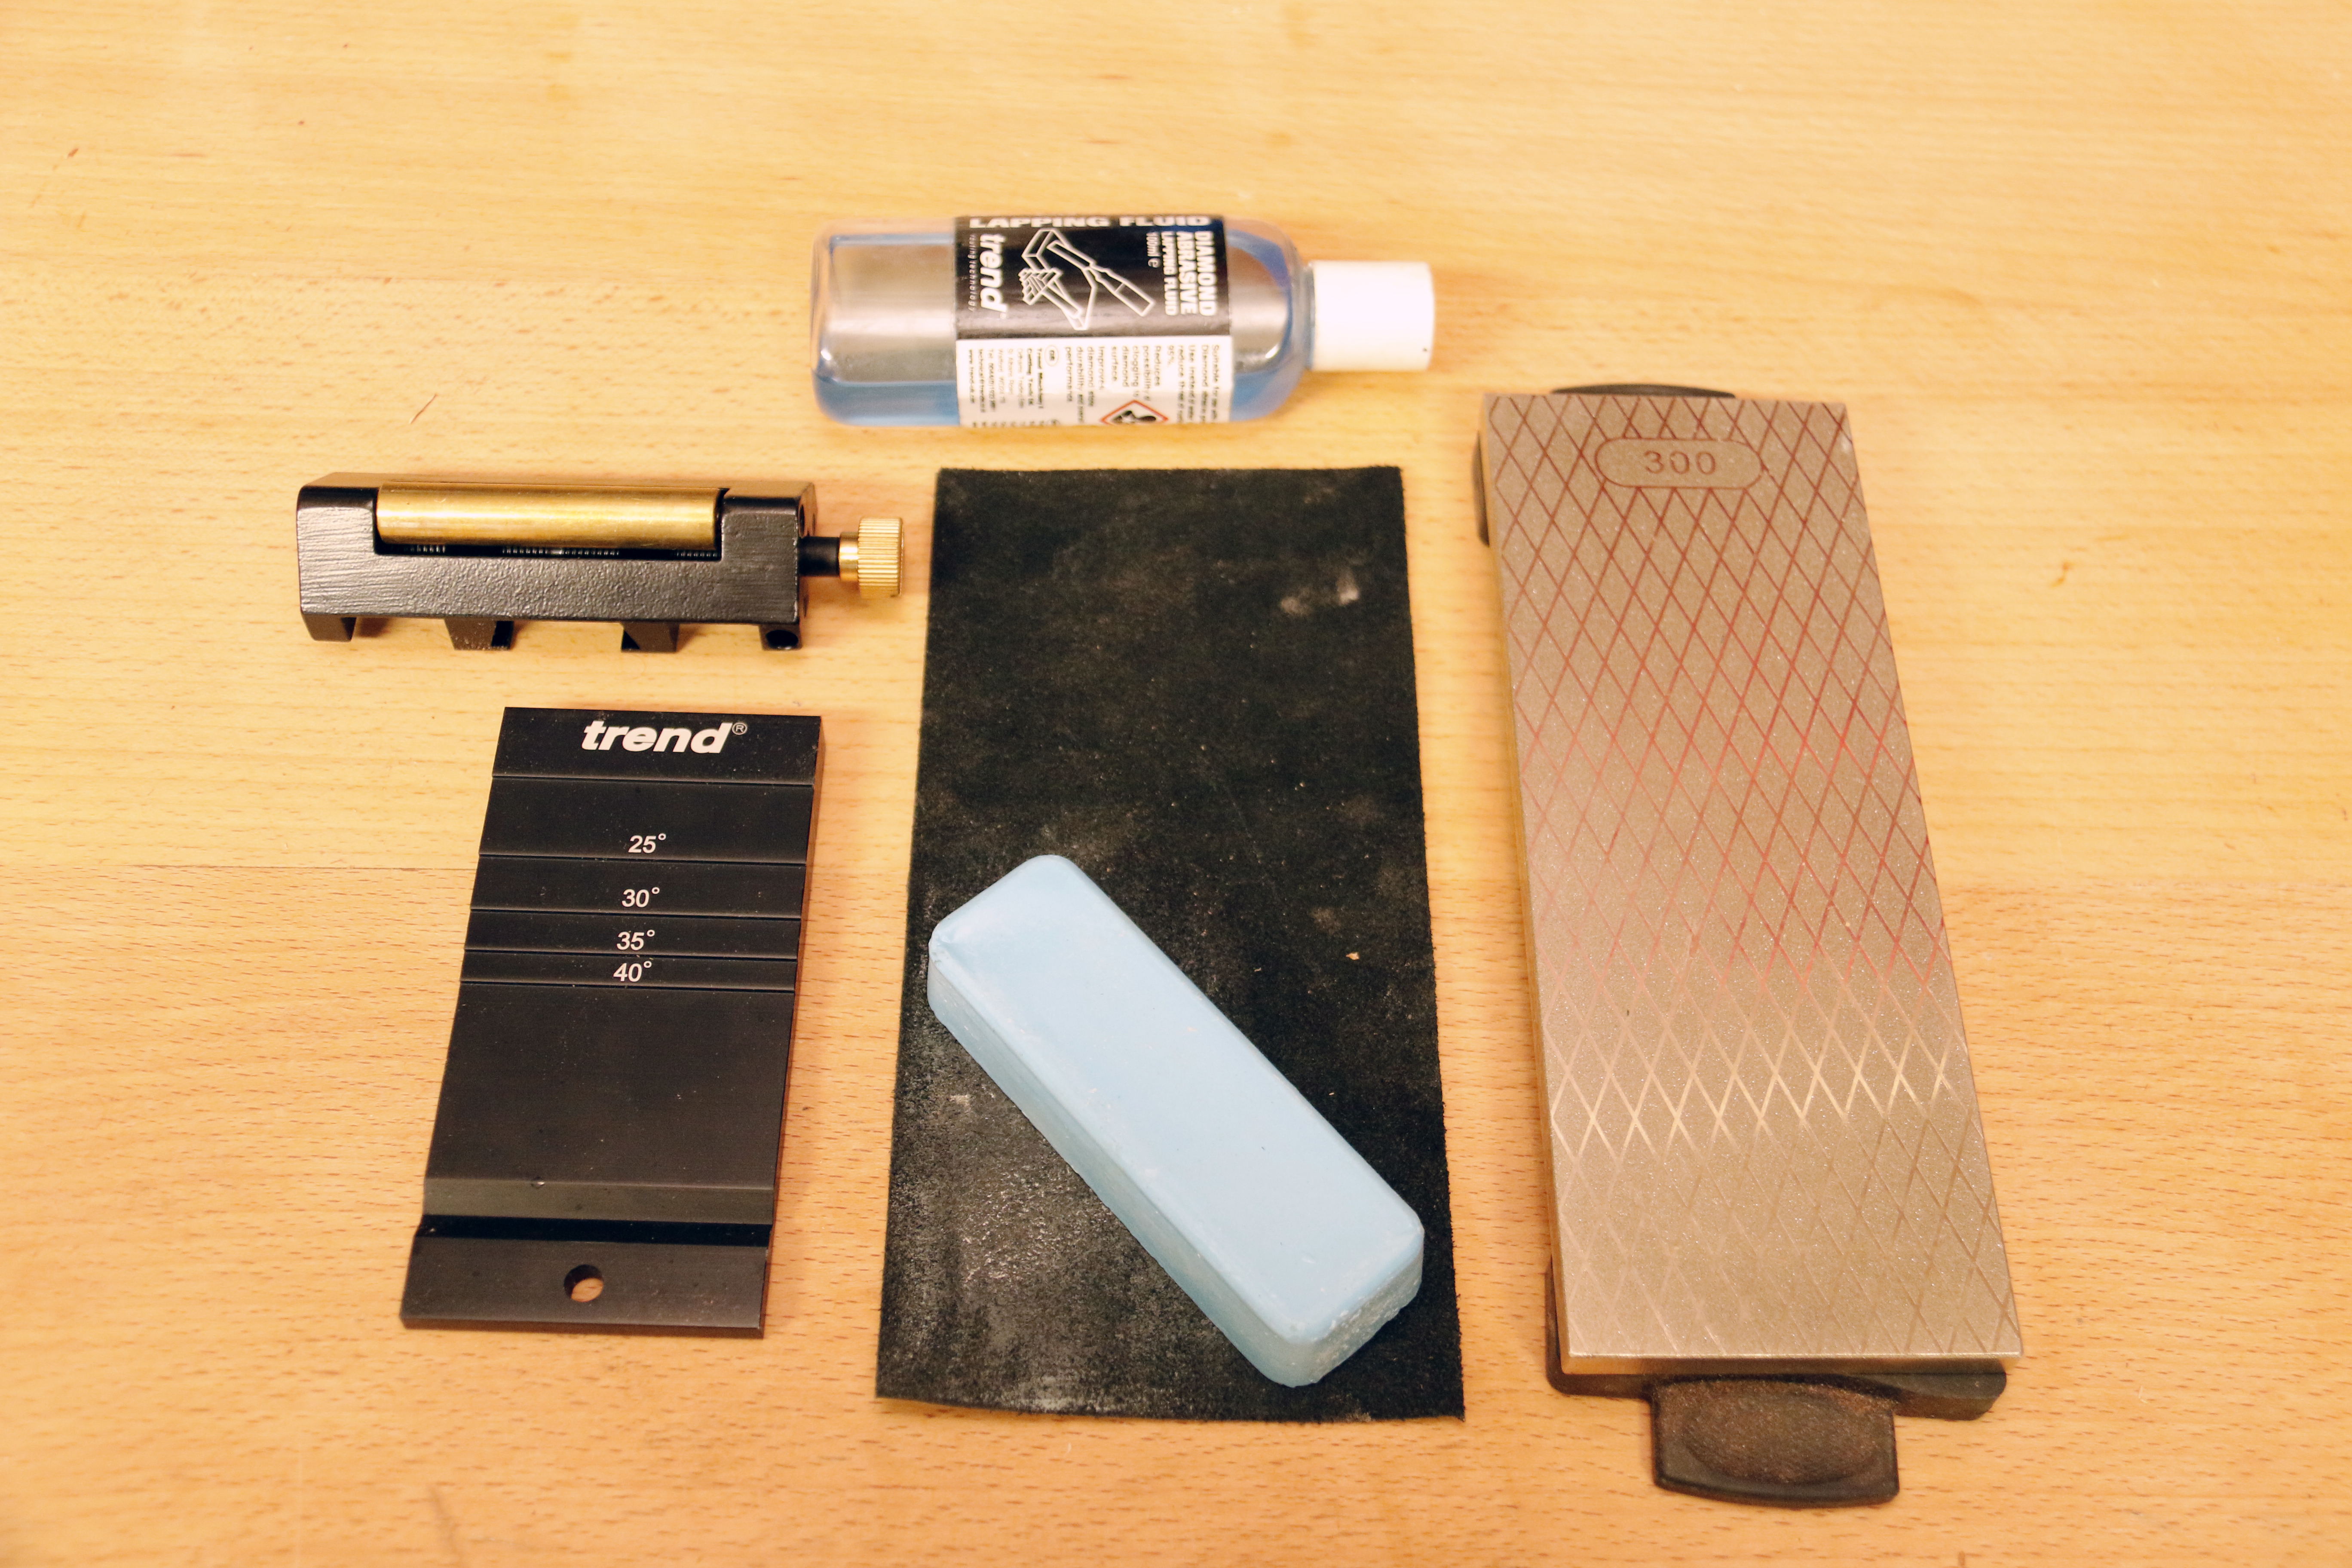
Trend have a range of stones and kits available with the DWS/KIT/B a popular choice for most purposes.
Comprising a double-sided coarse and fine grade stone and lapping fluid along with a leather strop and polishing compound to achieve a keener edge if needed. The addition of a honing guide for easy repeat edges is a benefit if you struggle with freehand honing.
Honing fluid is used to keep the stone free of swarf build up from the abraded steel to float it away and prevent the stone from clogging.You will see the swarf show up in the fluid as tiny dark flecks to indicate the stone is cutting well.
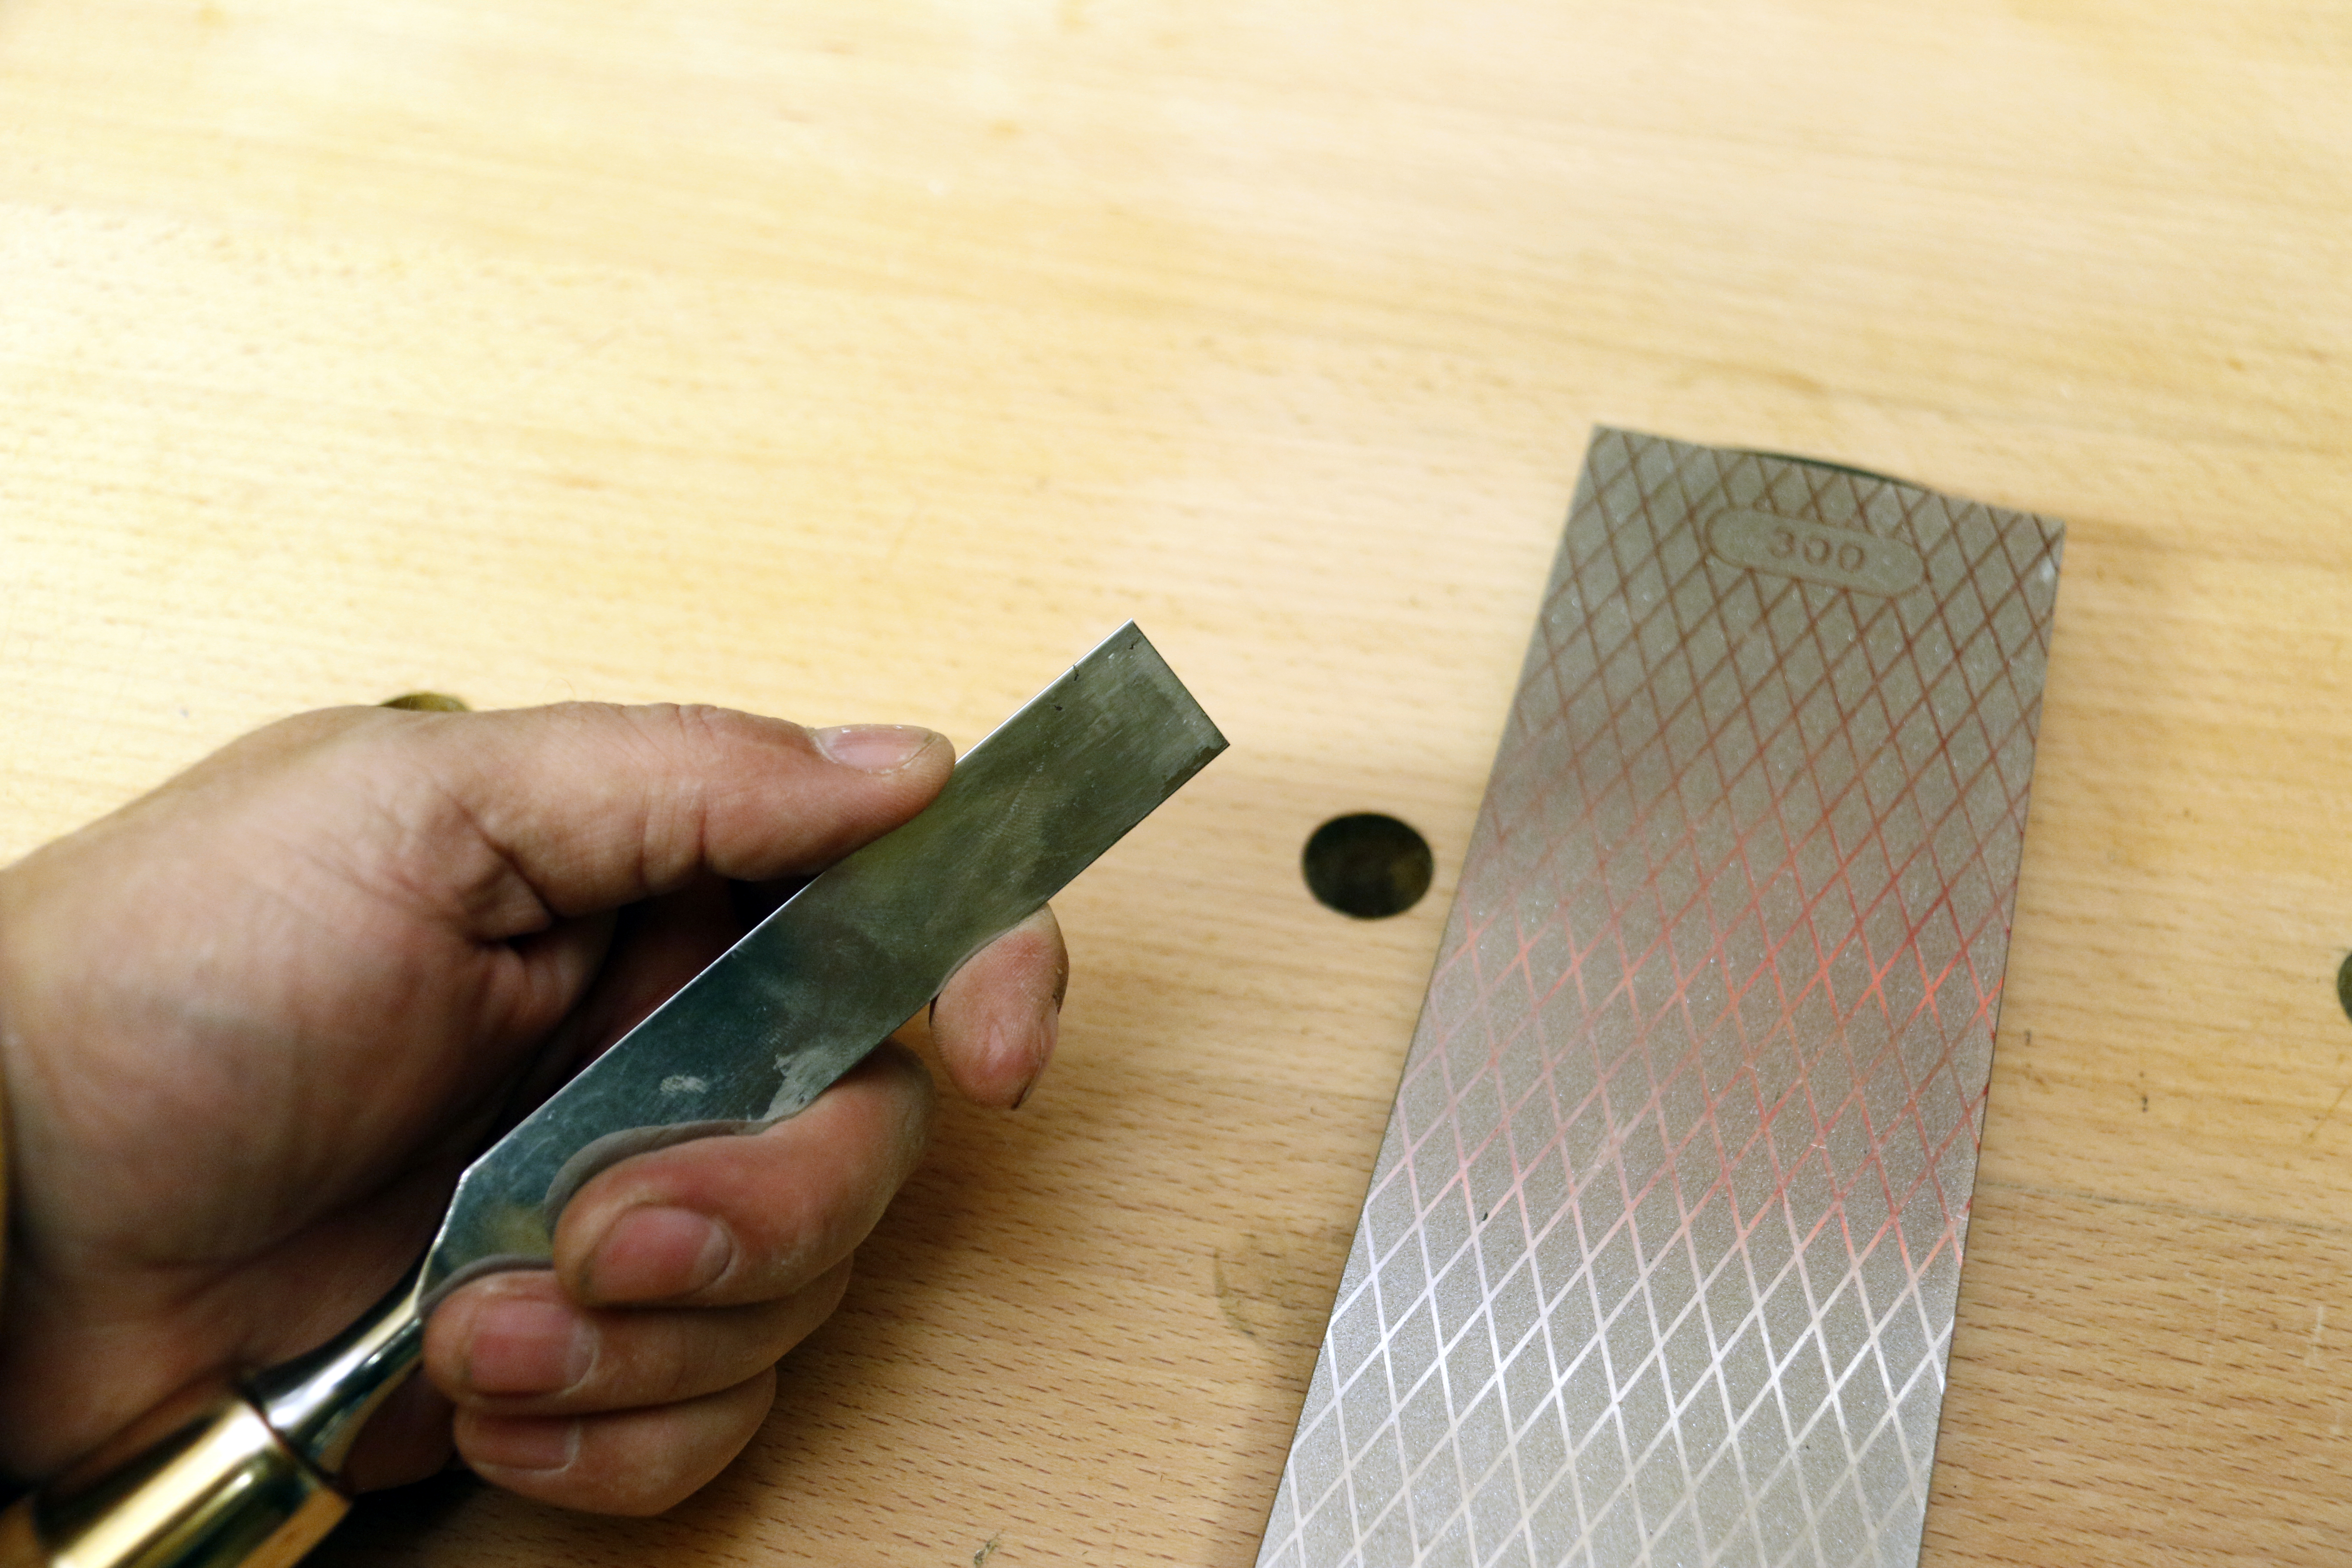
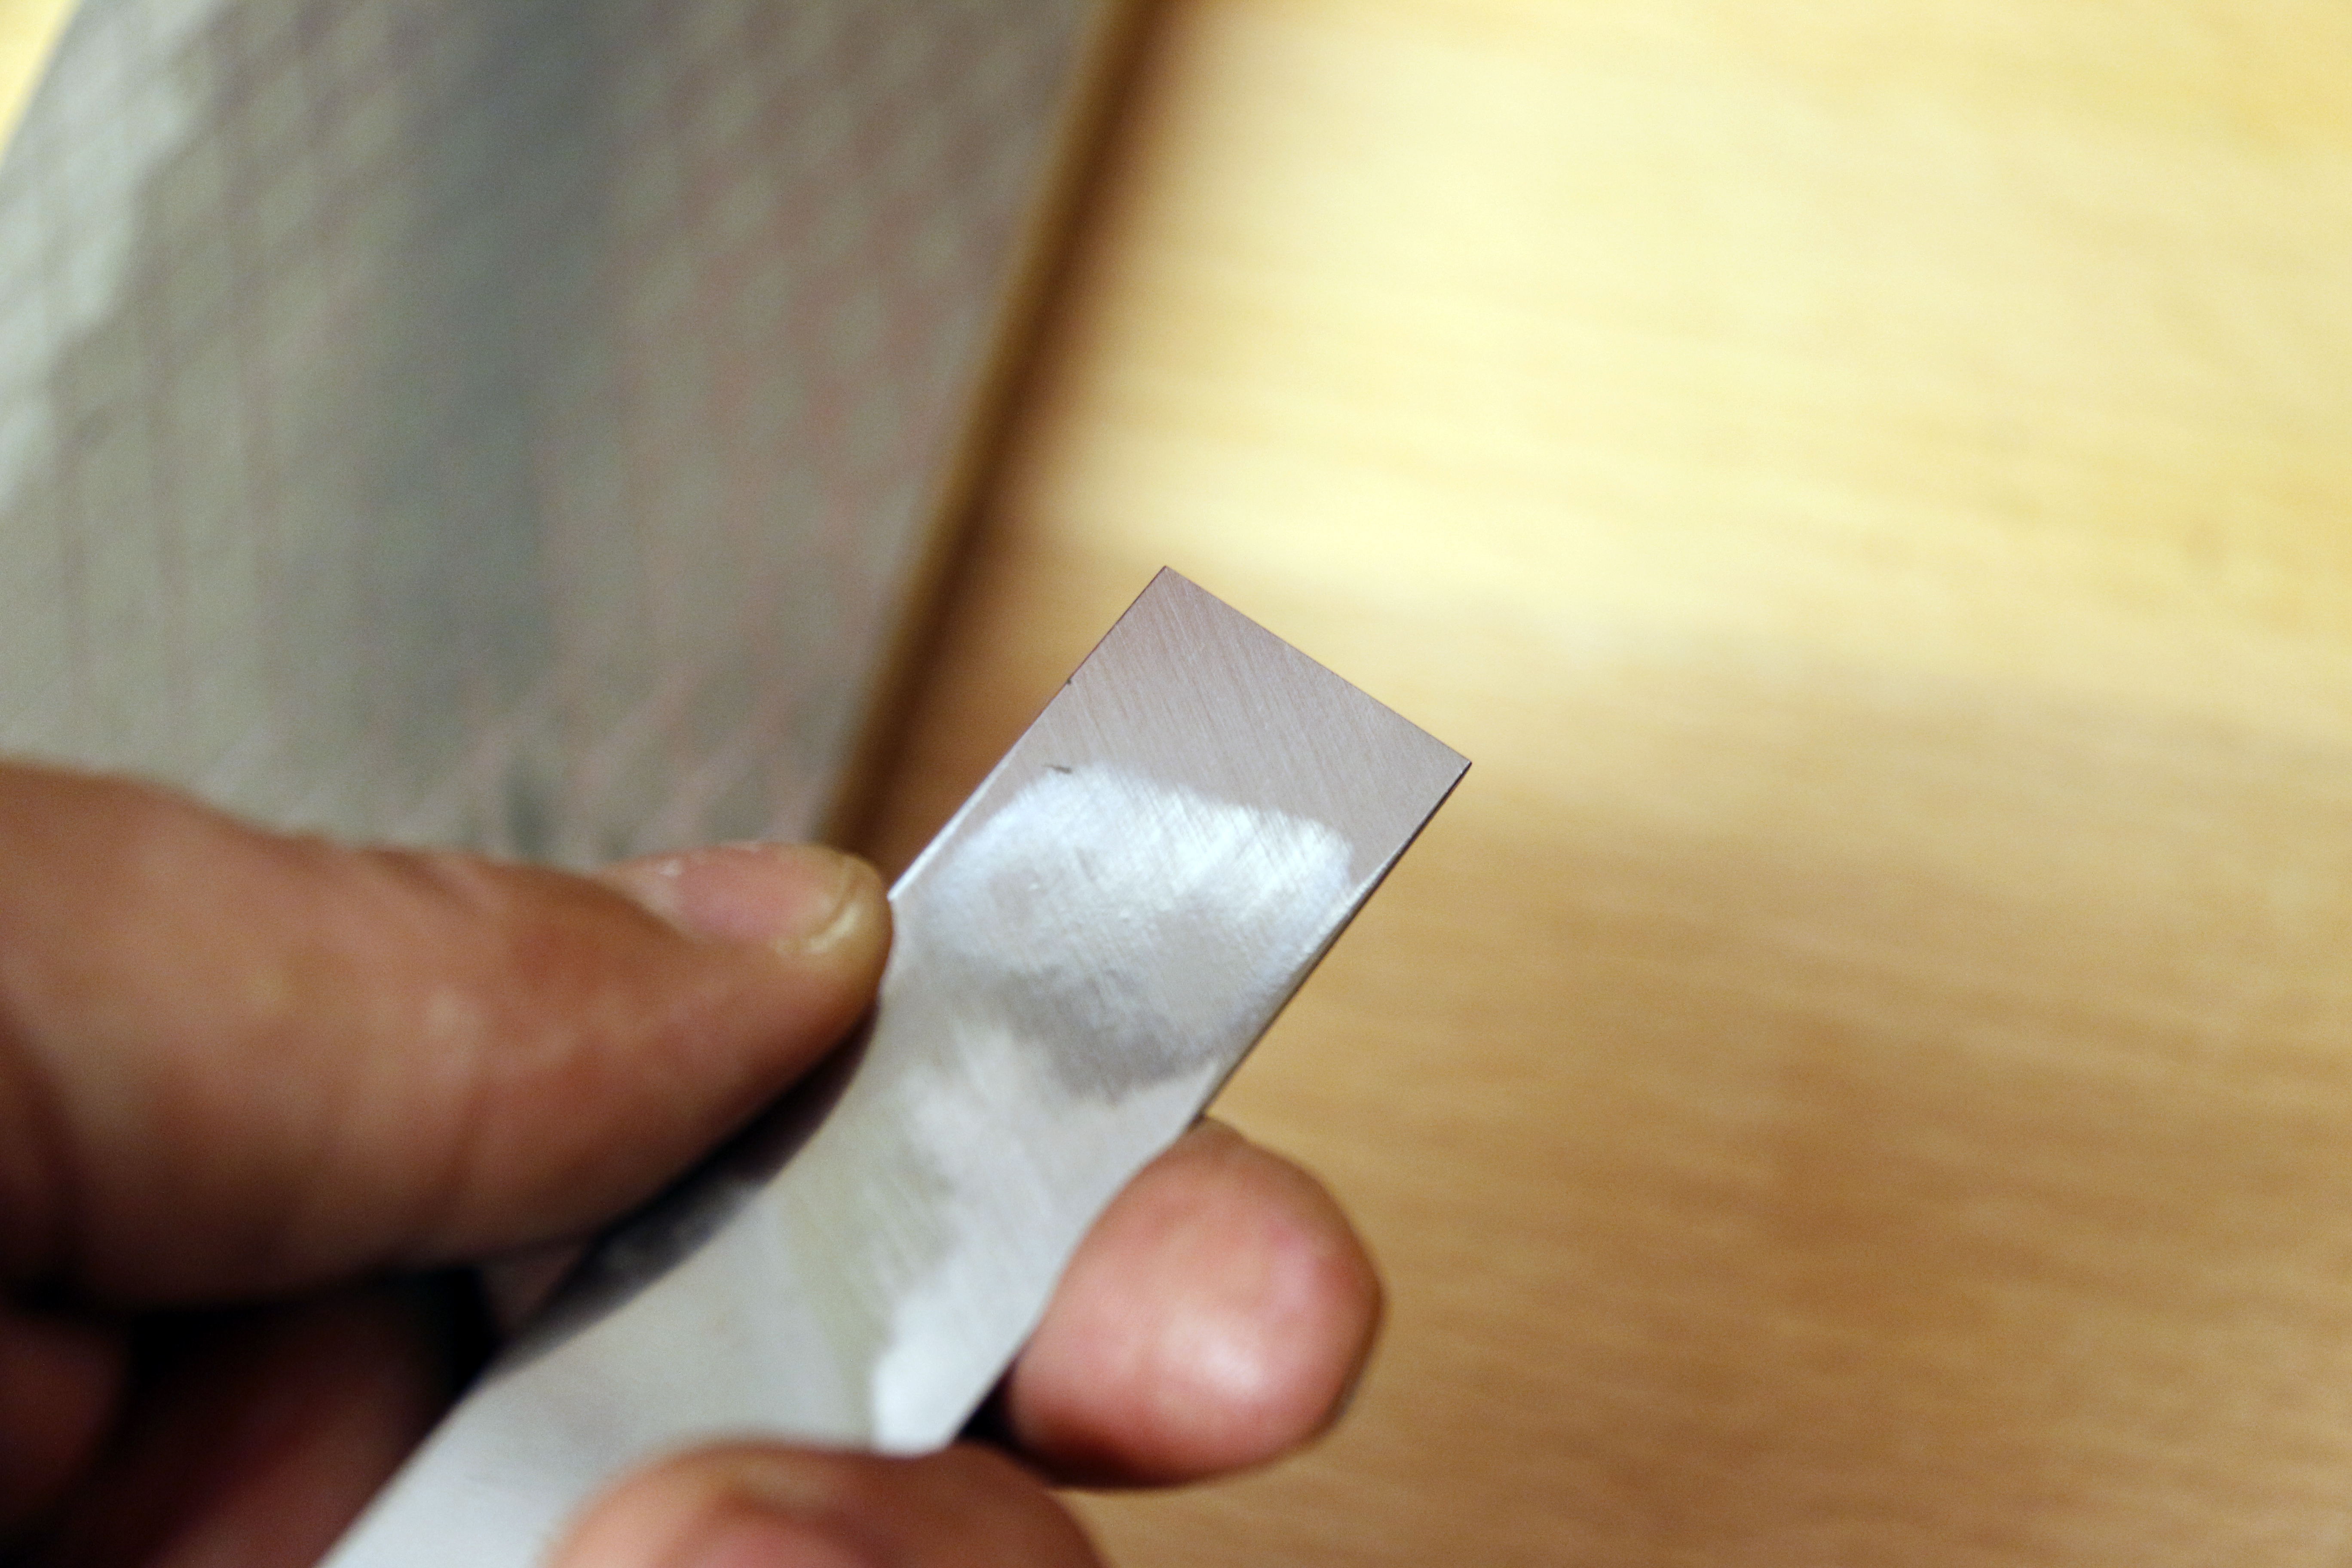
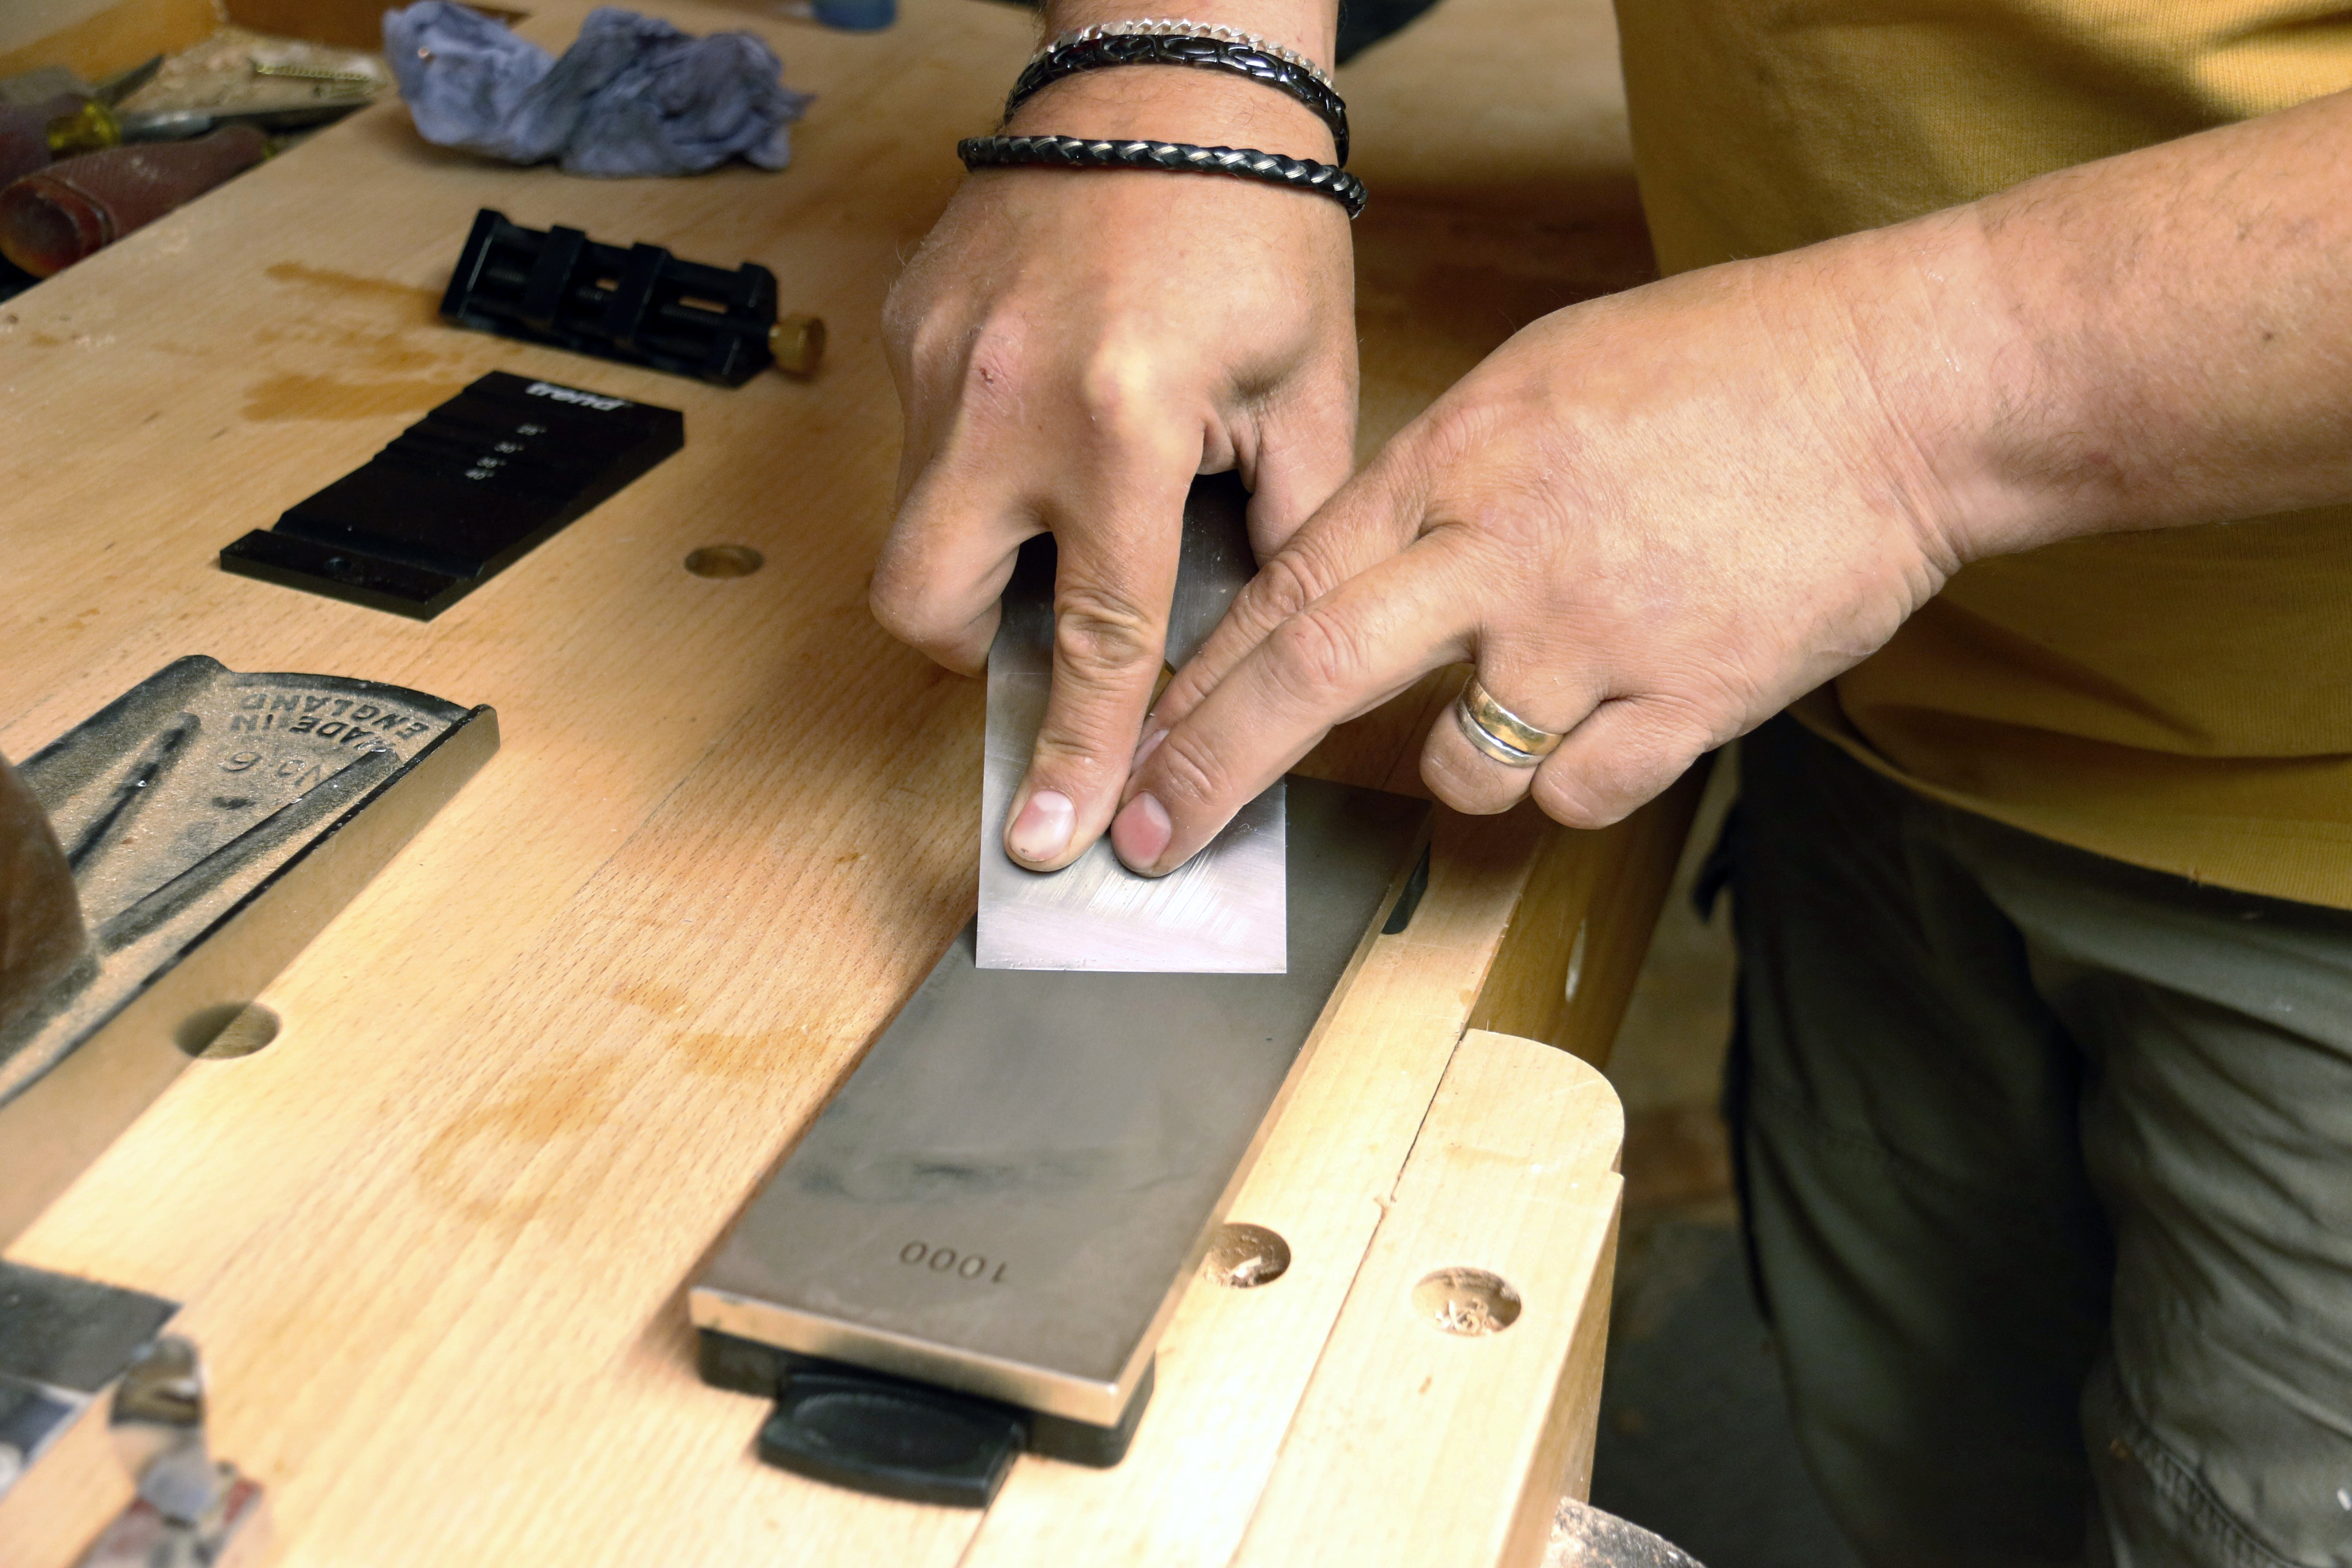
Before it can be honed the chisel or plane iron must be prepped by rubbing it back and forth along the stone until the cutting edge area shows a full flat area across its width.
Appy a few drops of Trend Lapping Fluid and place the chisel flat on the stone and make a few strokes on the coarse side of the stone to assess how much work is needed.
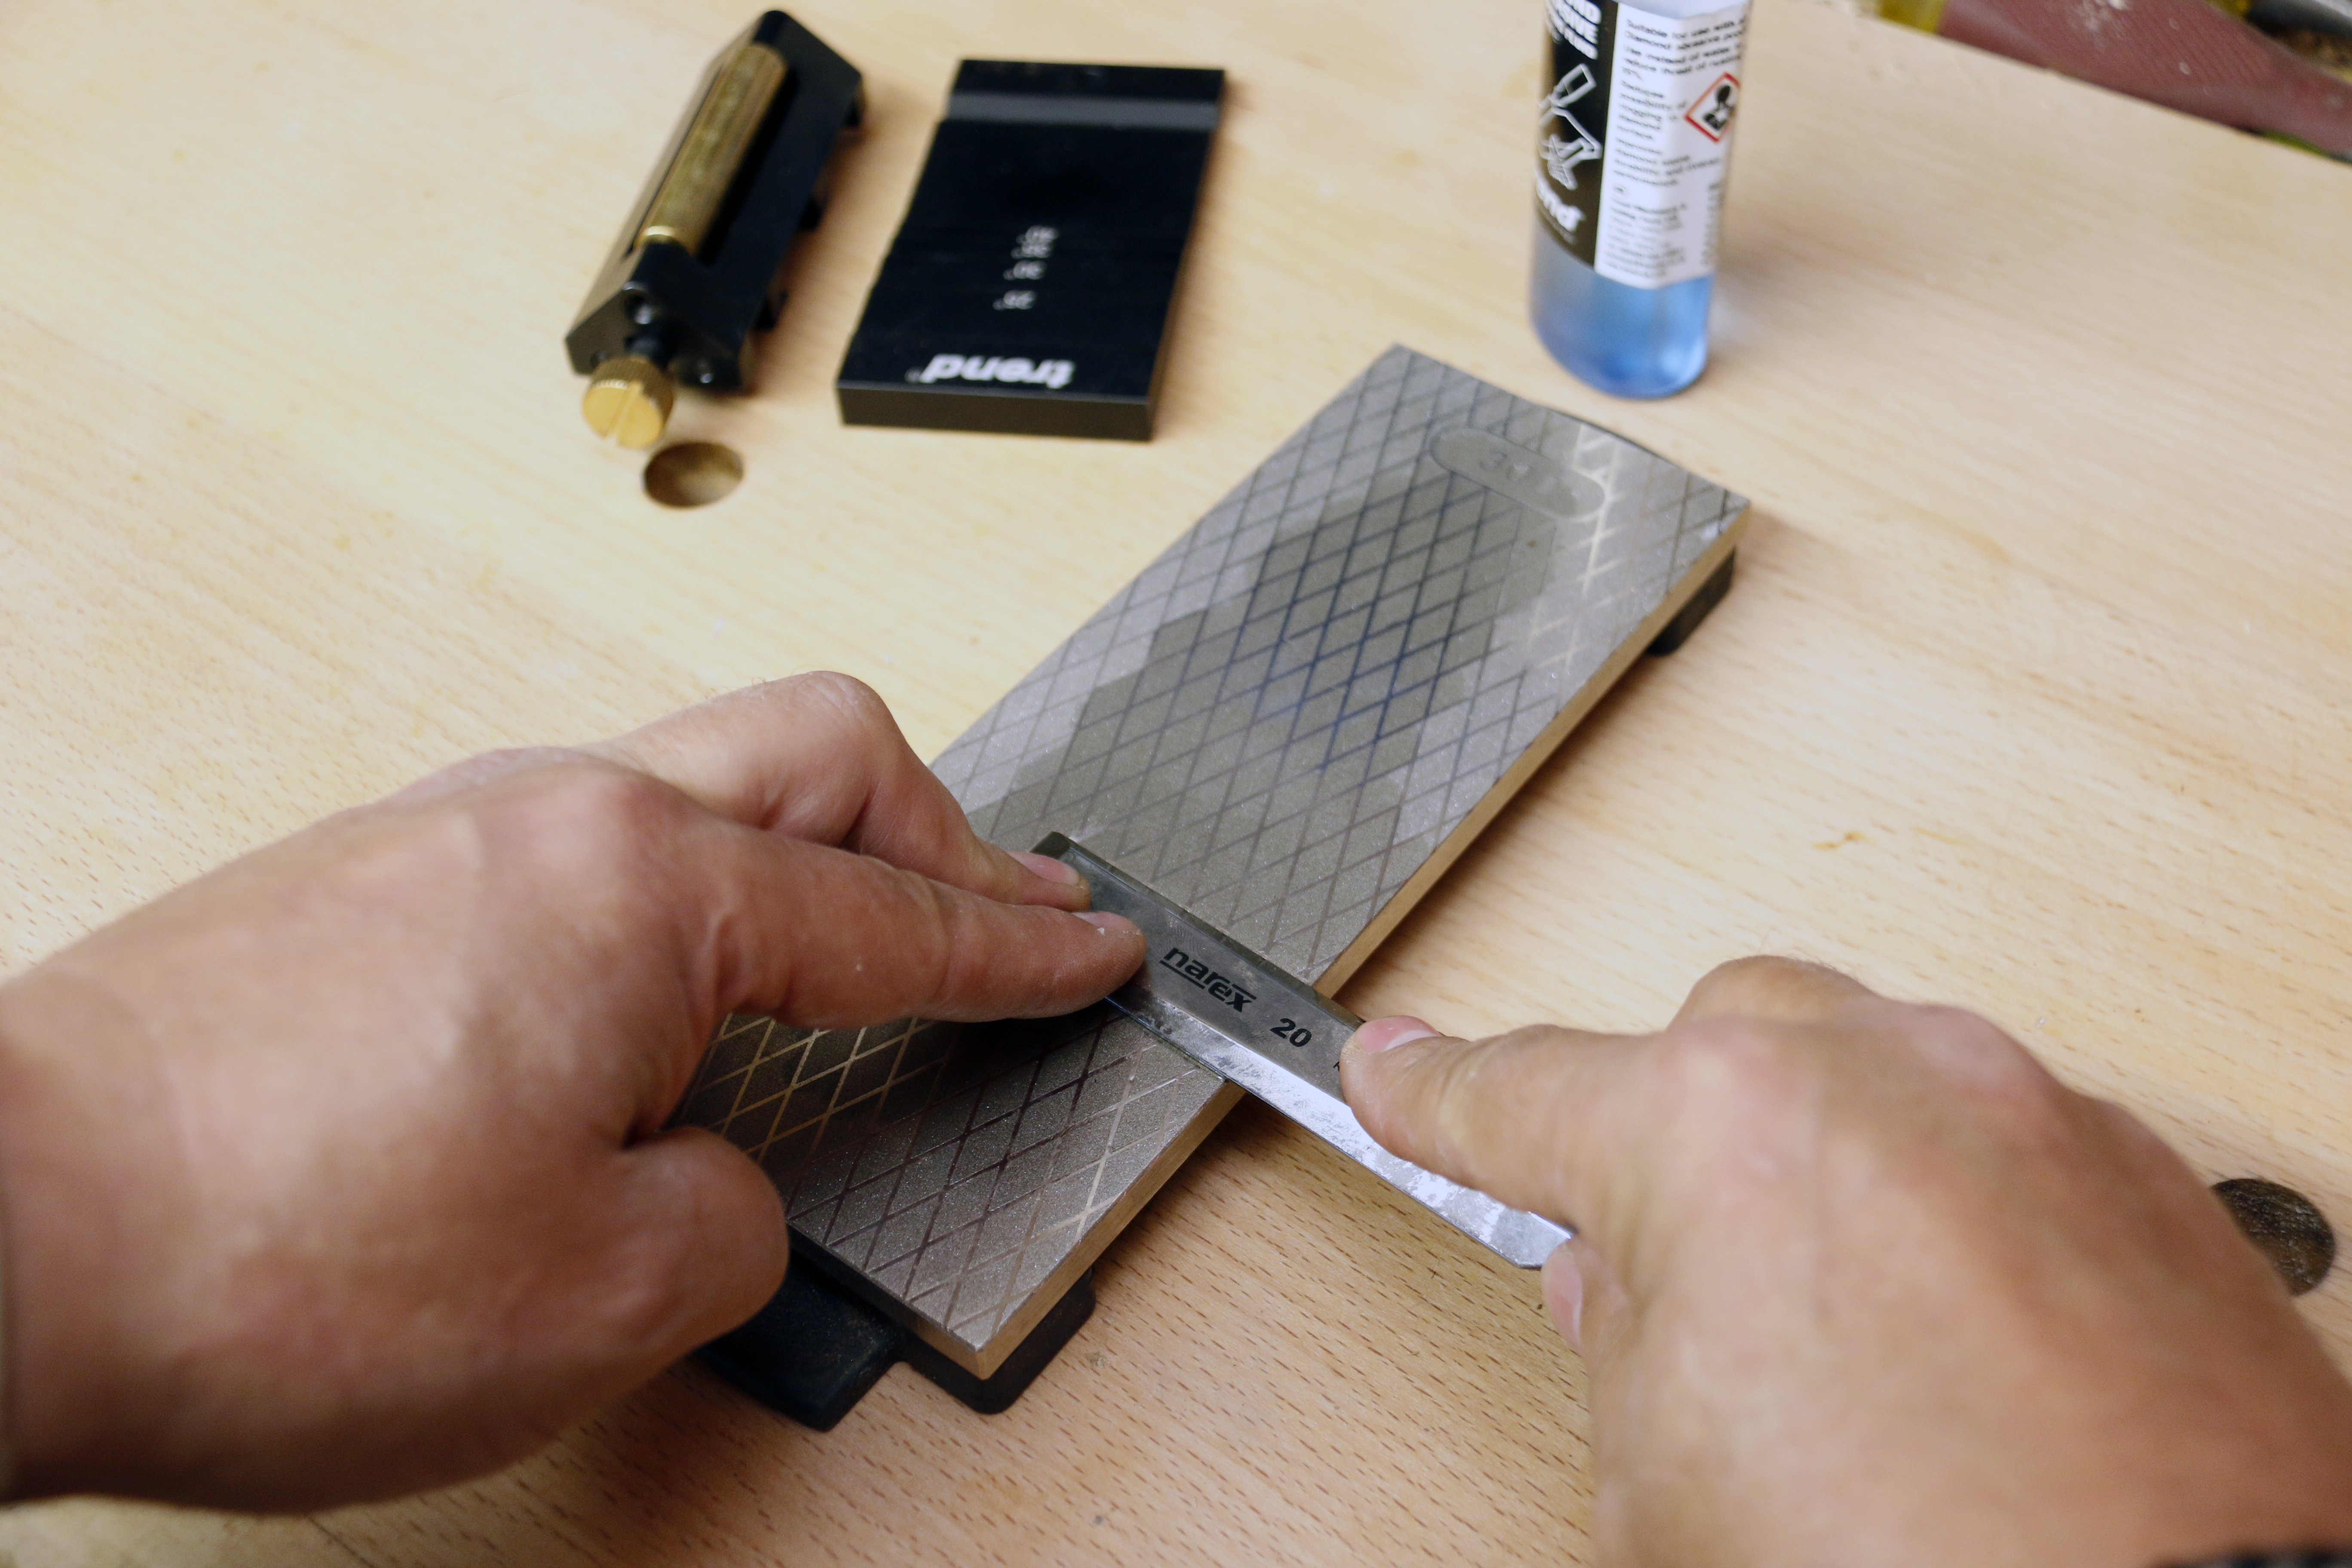
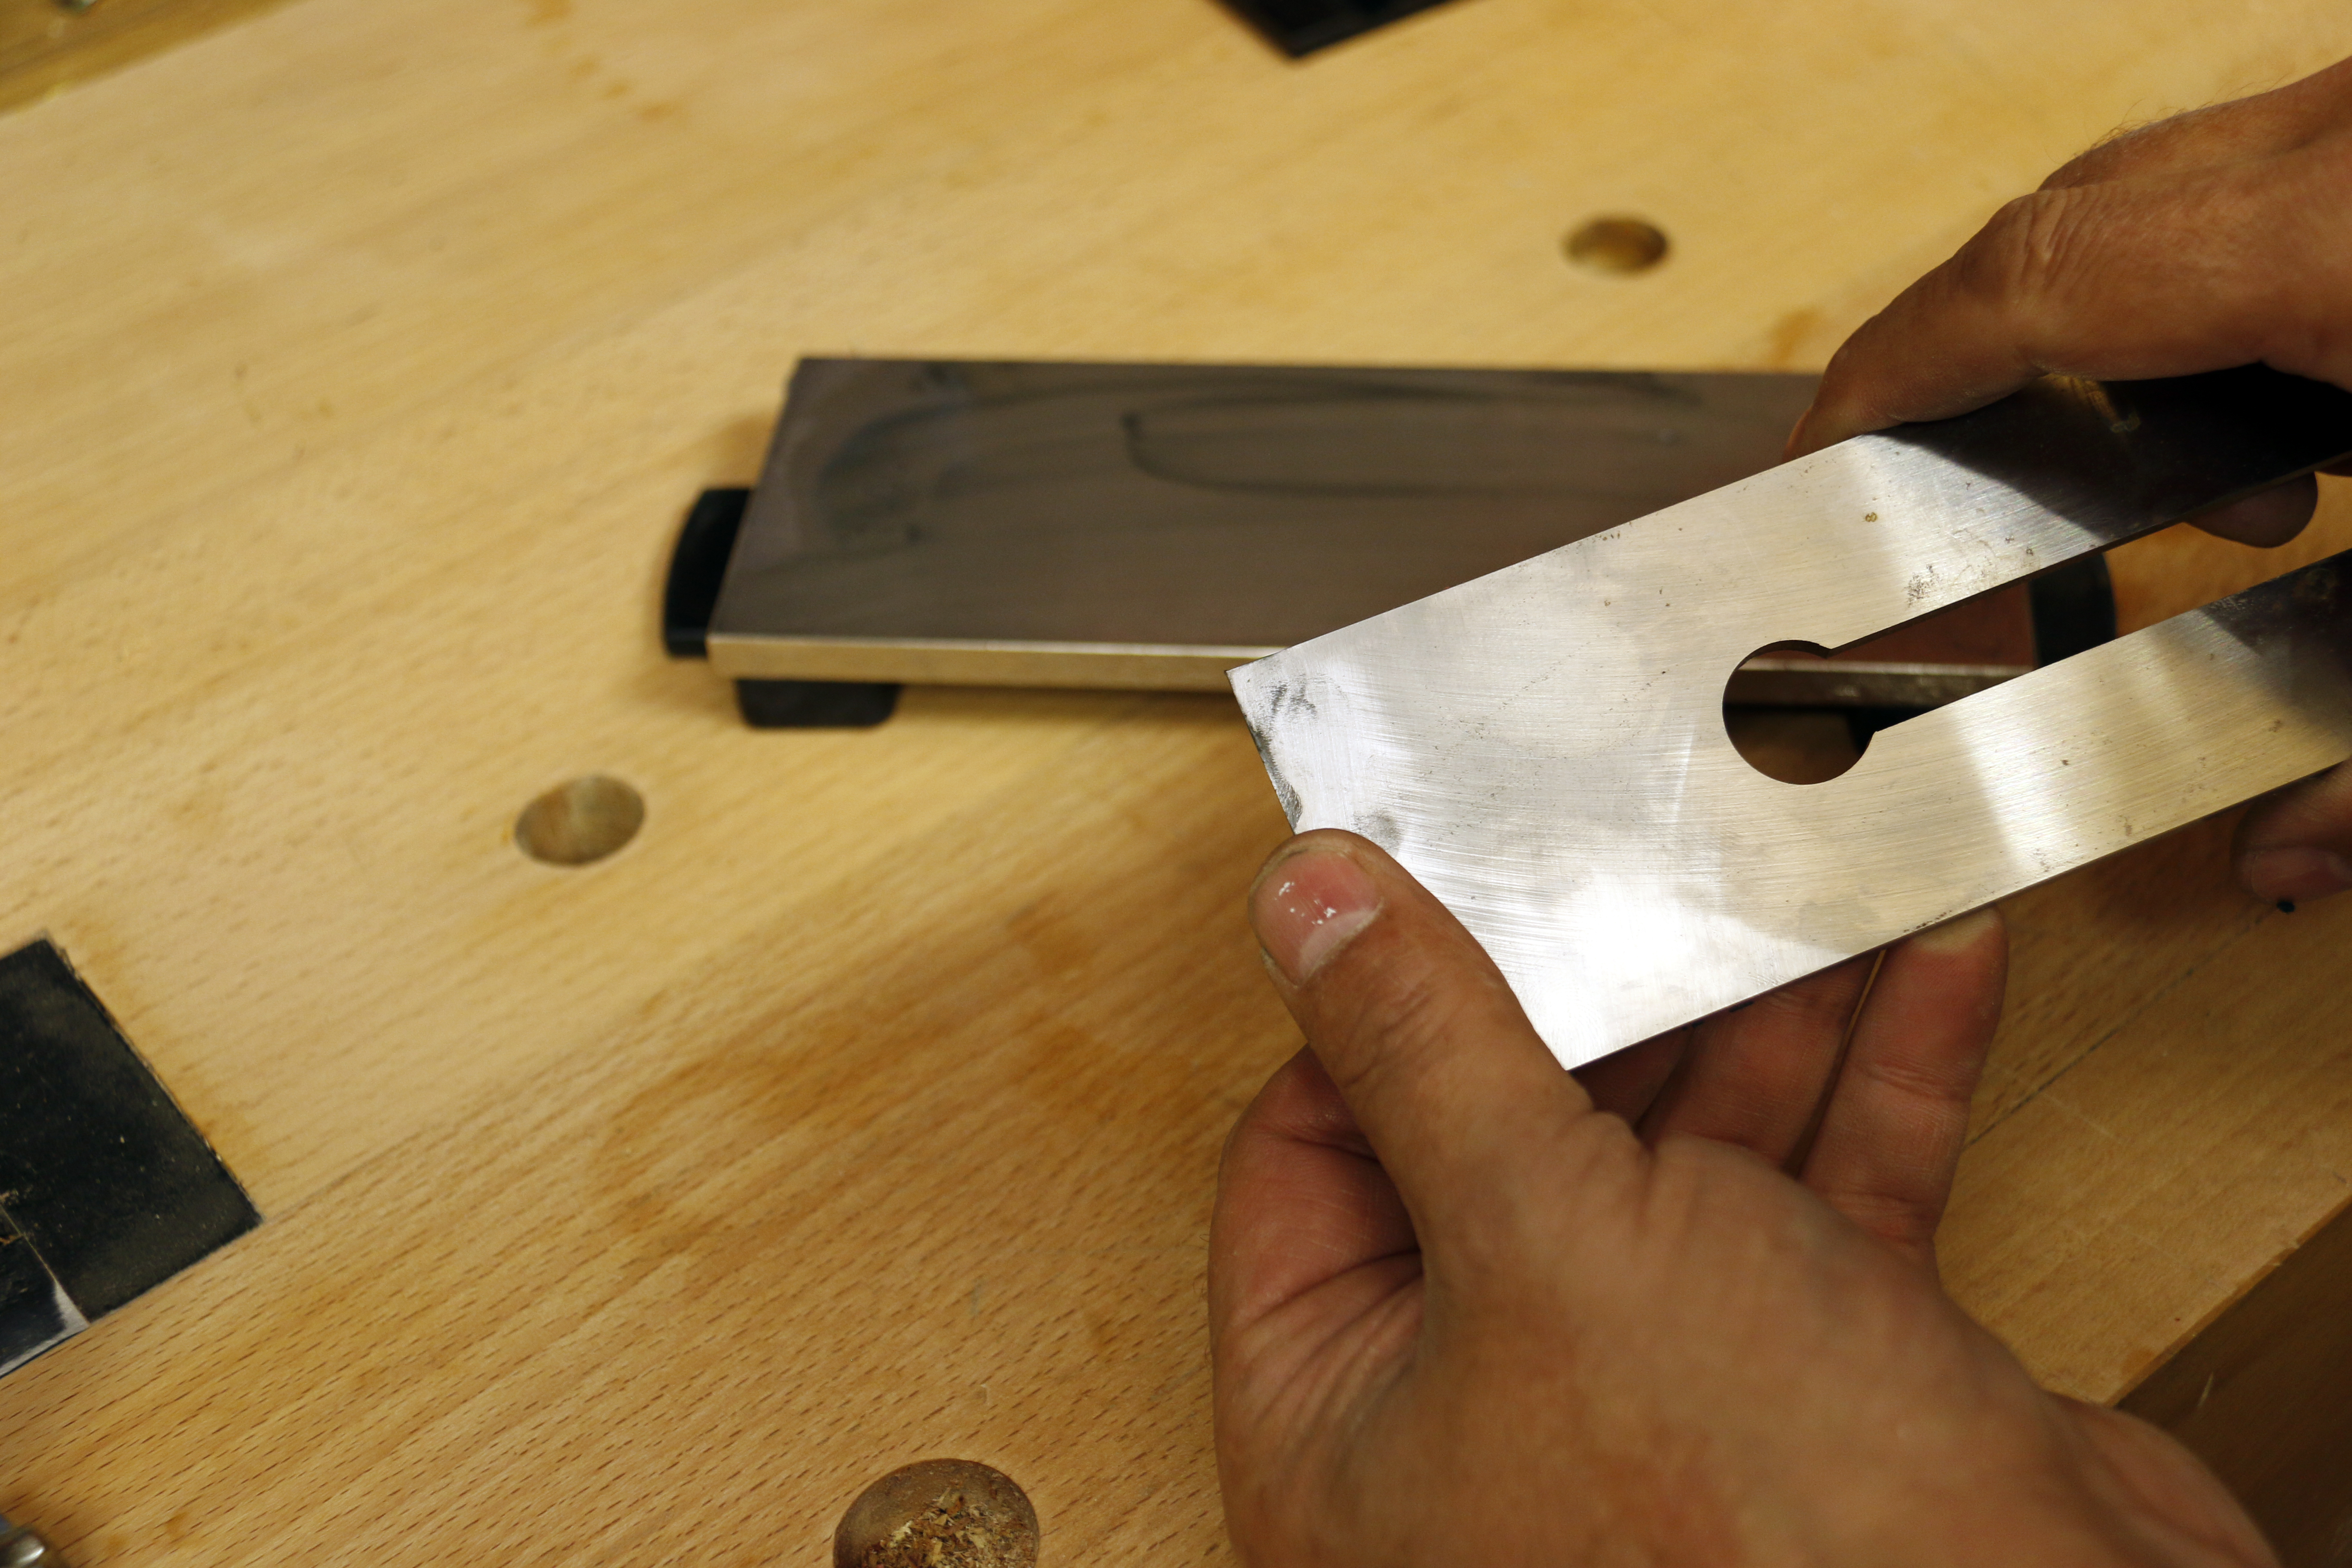
Check the scratch pattern to see how you are progressing. This image shows that the left side and a small part of the right side of the chisel are ready but the middle needs a little more work.
Repeat the work on the stone to continue the flattening process until you have a fully flat area up to the cutting edge of the tool.
Once the back is flat enough, the next step is to raise a wire edge by working the bevel. In general terms, most chisels and plane irons have a grind or primary bevel at 25 degrees and the honing or secondary bevel is 5 degrees steeper at 30 degrees.
This general rule of 5 degree difference is normally associated with other chisels as well; thin bladed finer paring chisels are ground at 20 degrees and honed at 25 degrees, while the harder working mortice chisels that are constantly struck are ground at 30 and honed at 35 degrees.
If you go for the freehand honing approach, hitting these angles smack on every time is unlikely, but the actual angle is not so important as the edge you achieve; so as long as you are somewhere in the correct ballpark then all will be good.
It does take a little practice to get the consistency needed for freehand work and there’s no real hard and fast rule as to achieving it, perseverance is the key. Whichever choice, freehand or guide, the principle is the same, you need to raise a wire edge by rubbing the chisel or plane iron back and forth along the stone to abrade the steel, maintaining the angle as you do so. On older natural and man-made oil stones moving the tool to be honed around the stone in a figure of eight pattern, if done freehand, was an option to help prevent the stone from hollowing. However in general terms on any stone a back and forth action is the easier method, especially when you are learning how to hone in a freehand style. Whether freehand or in a guide, the same action is used to raise the wire edge. The benefit of diamond stones is the speed of the cutting action, around 5 times more efficient than conventional stones and requiring only light pressure to achieve results.
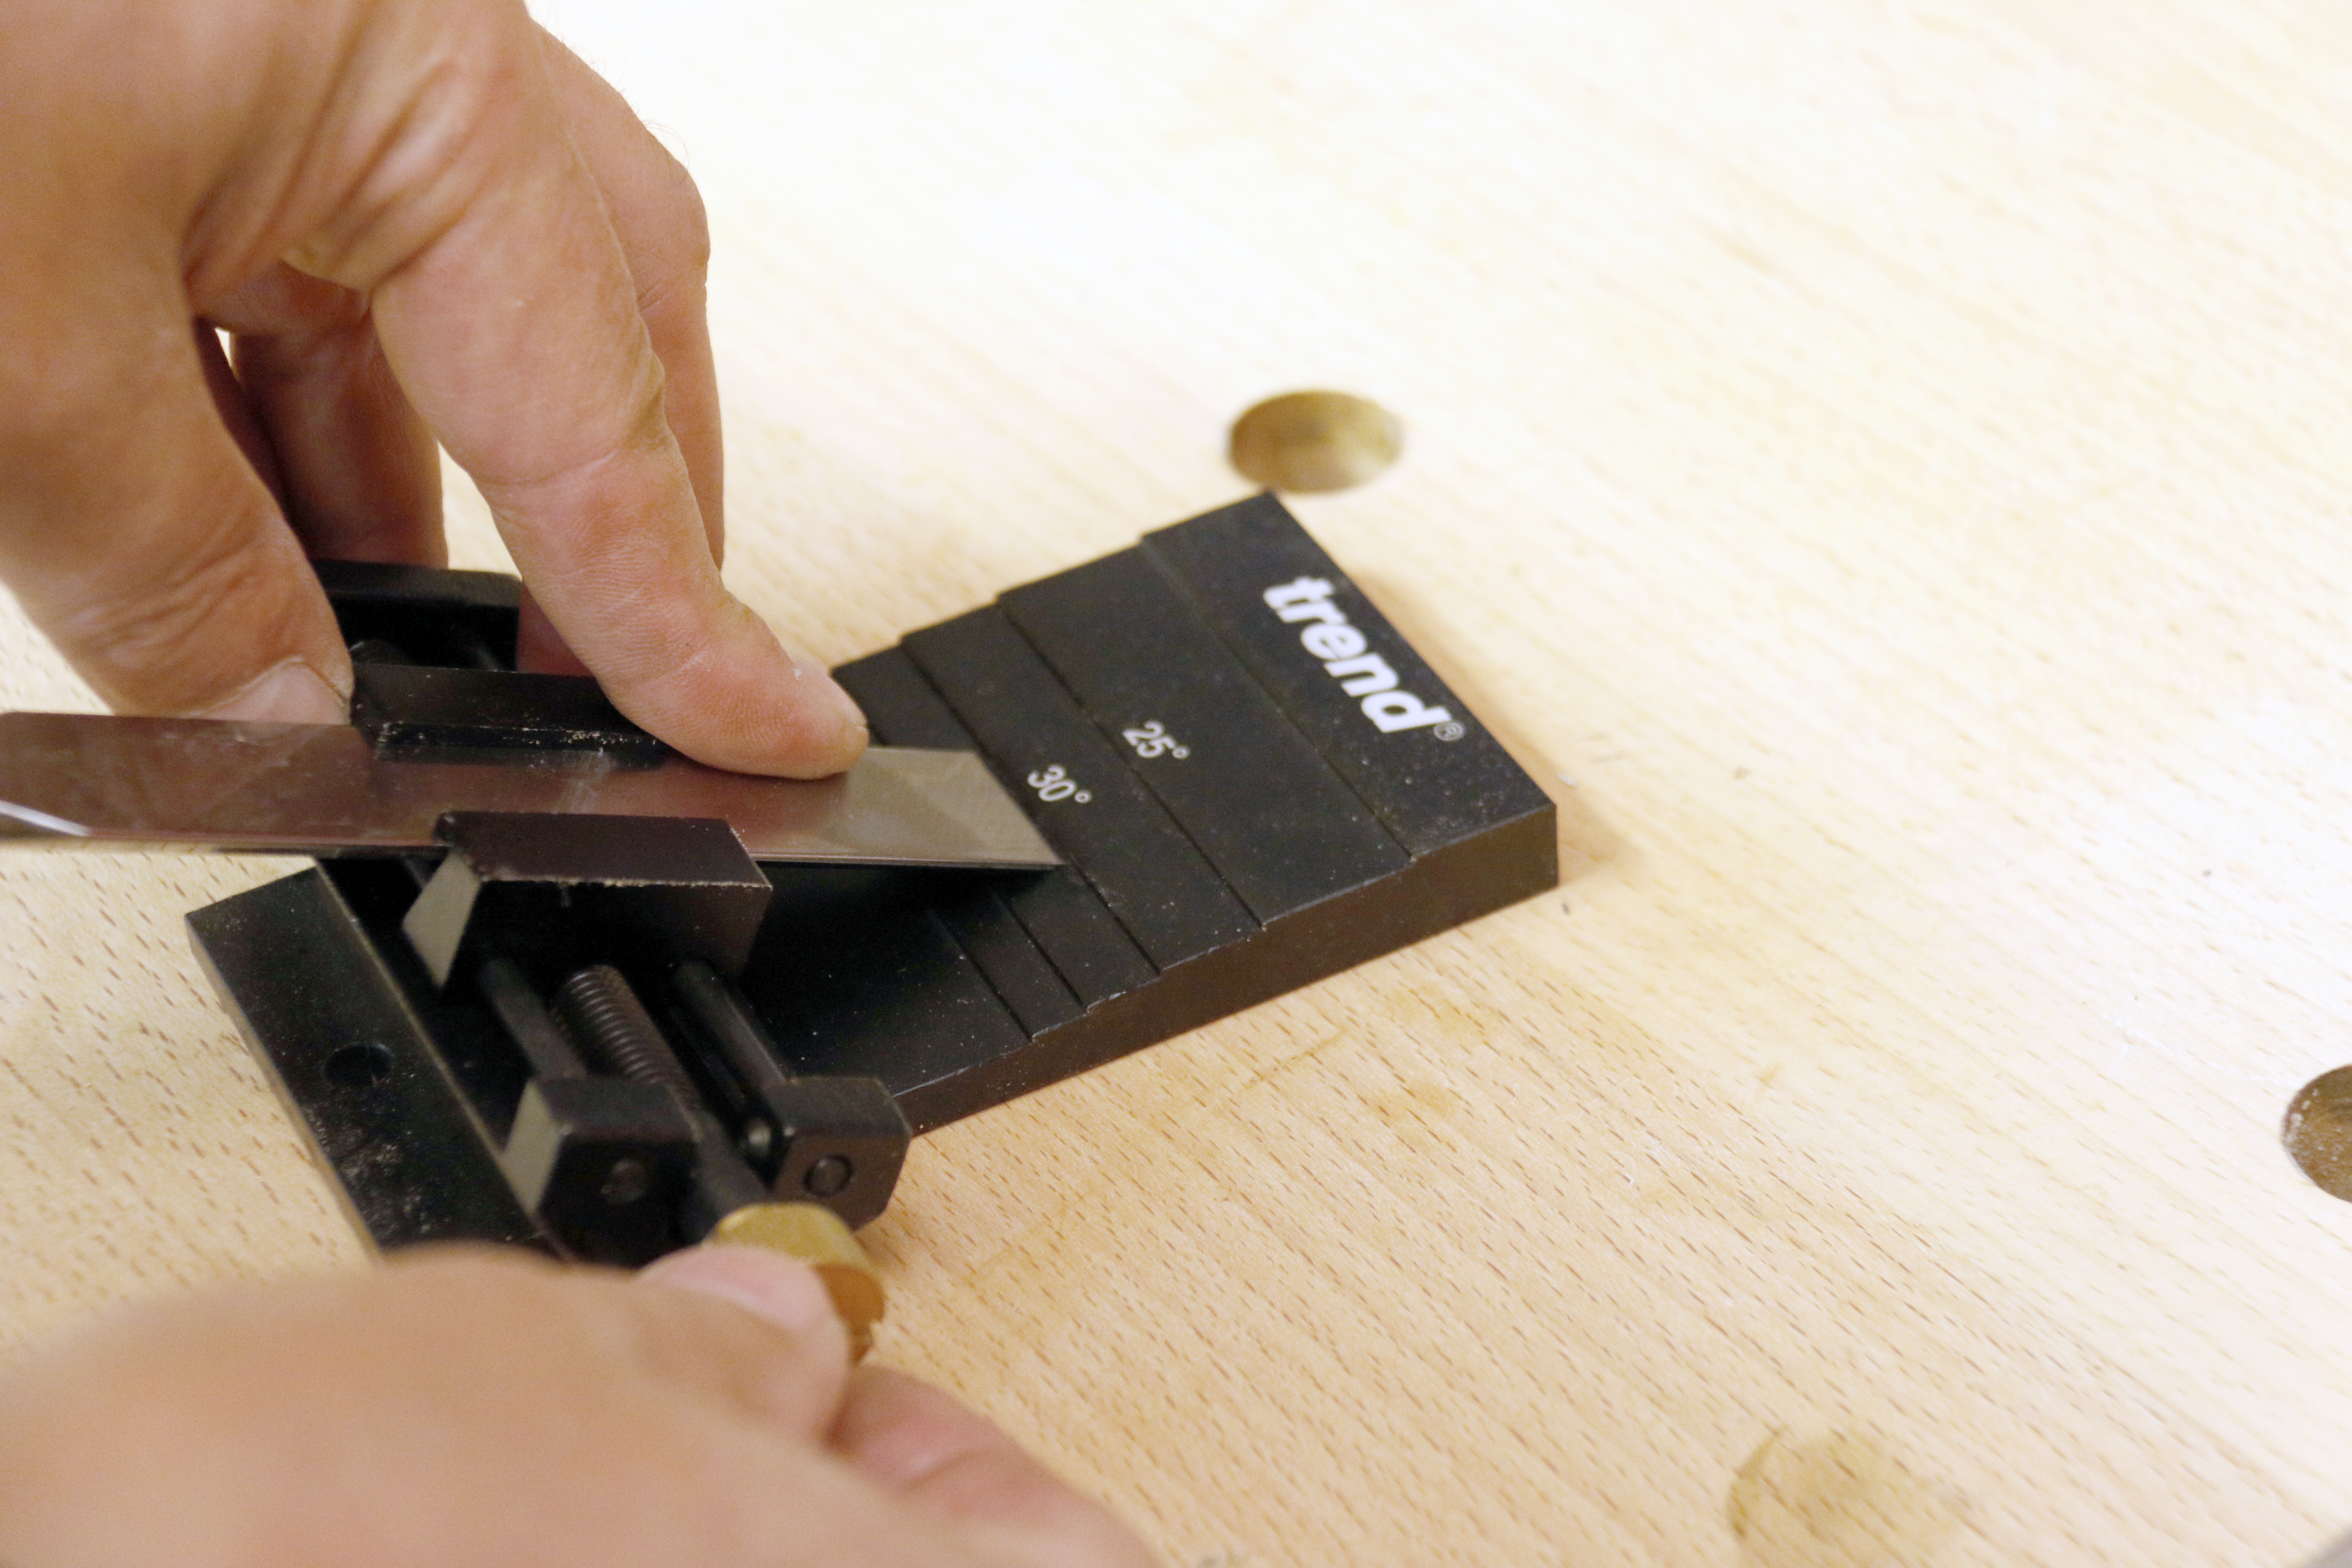
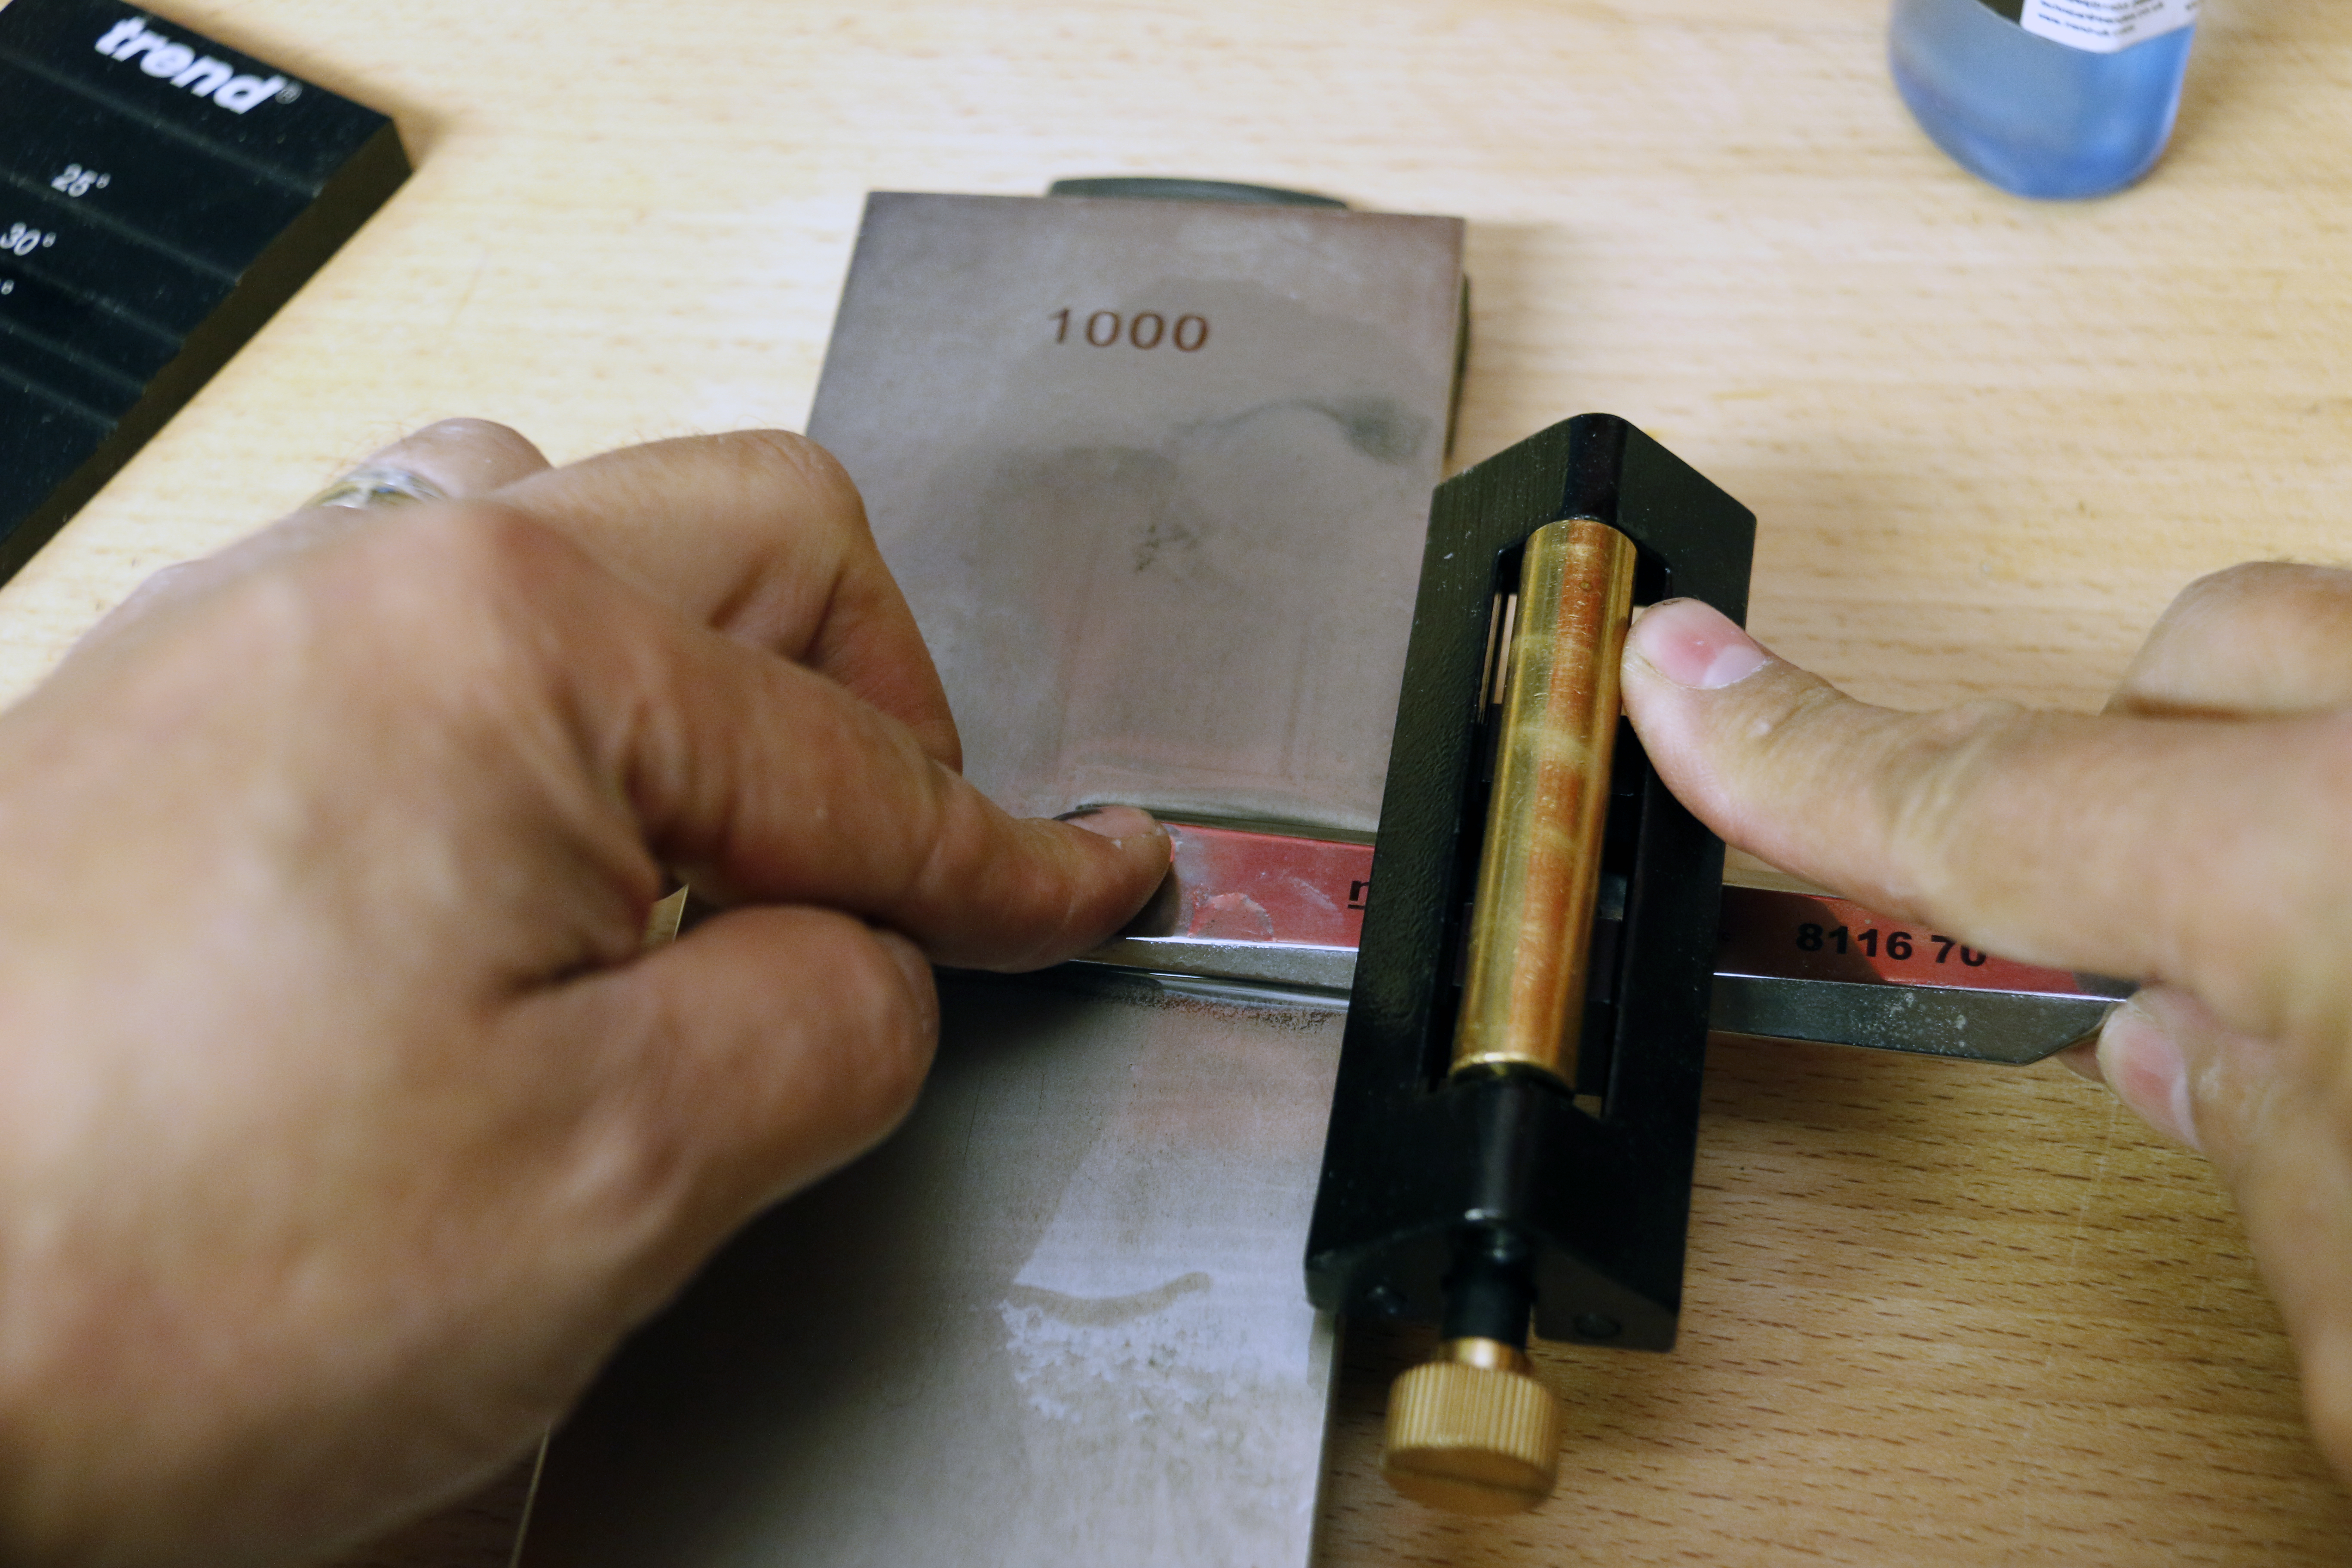
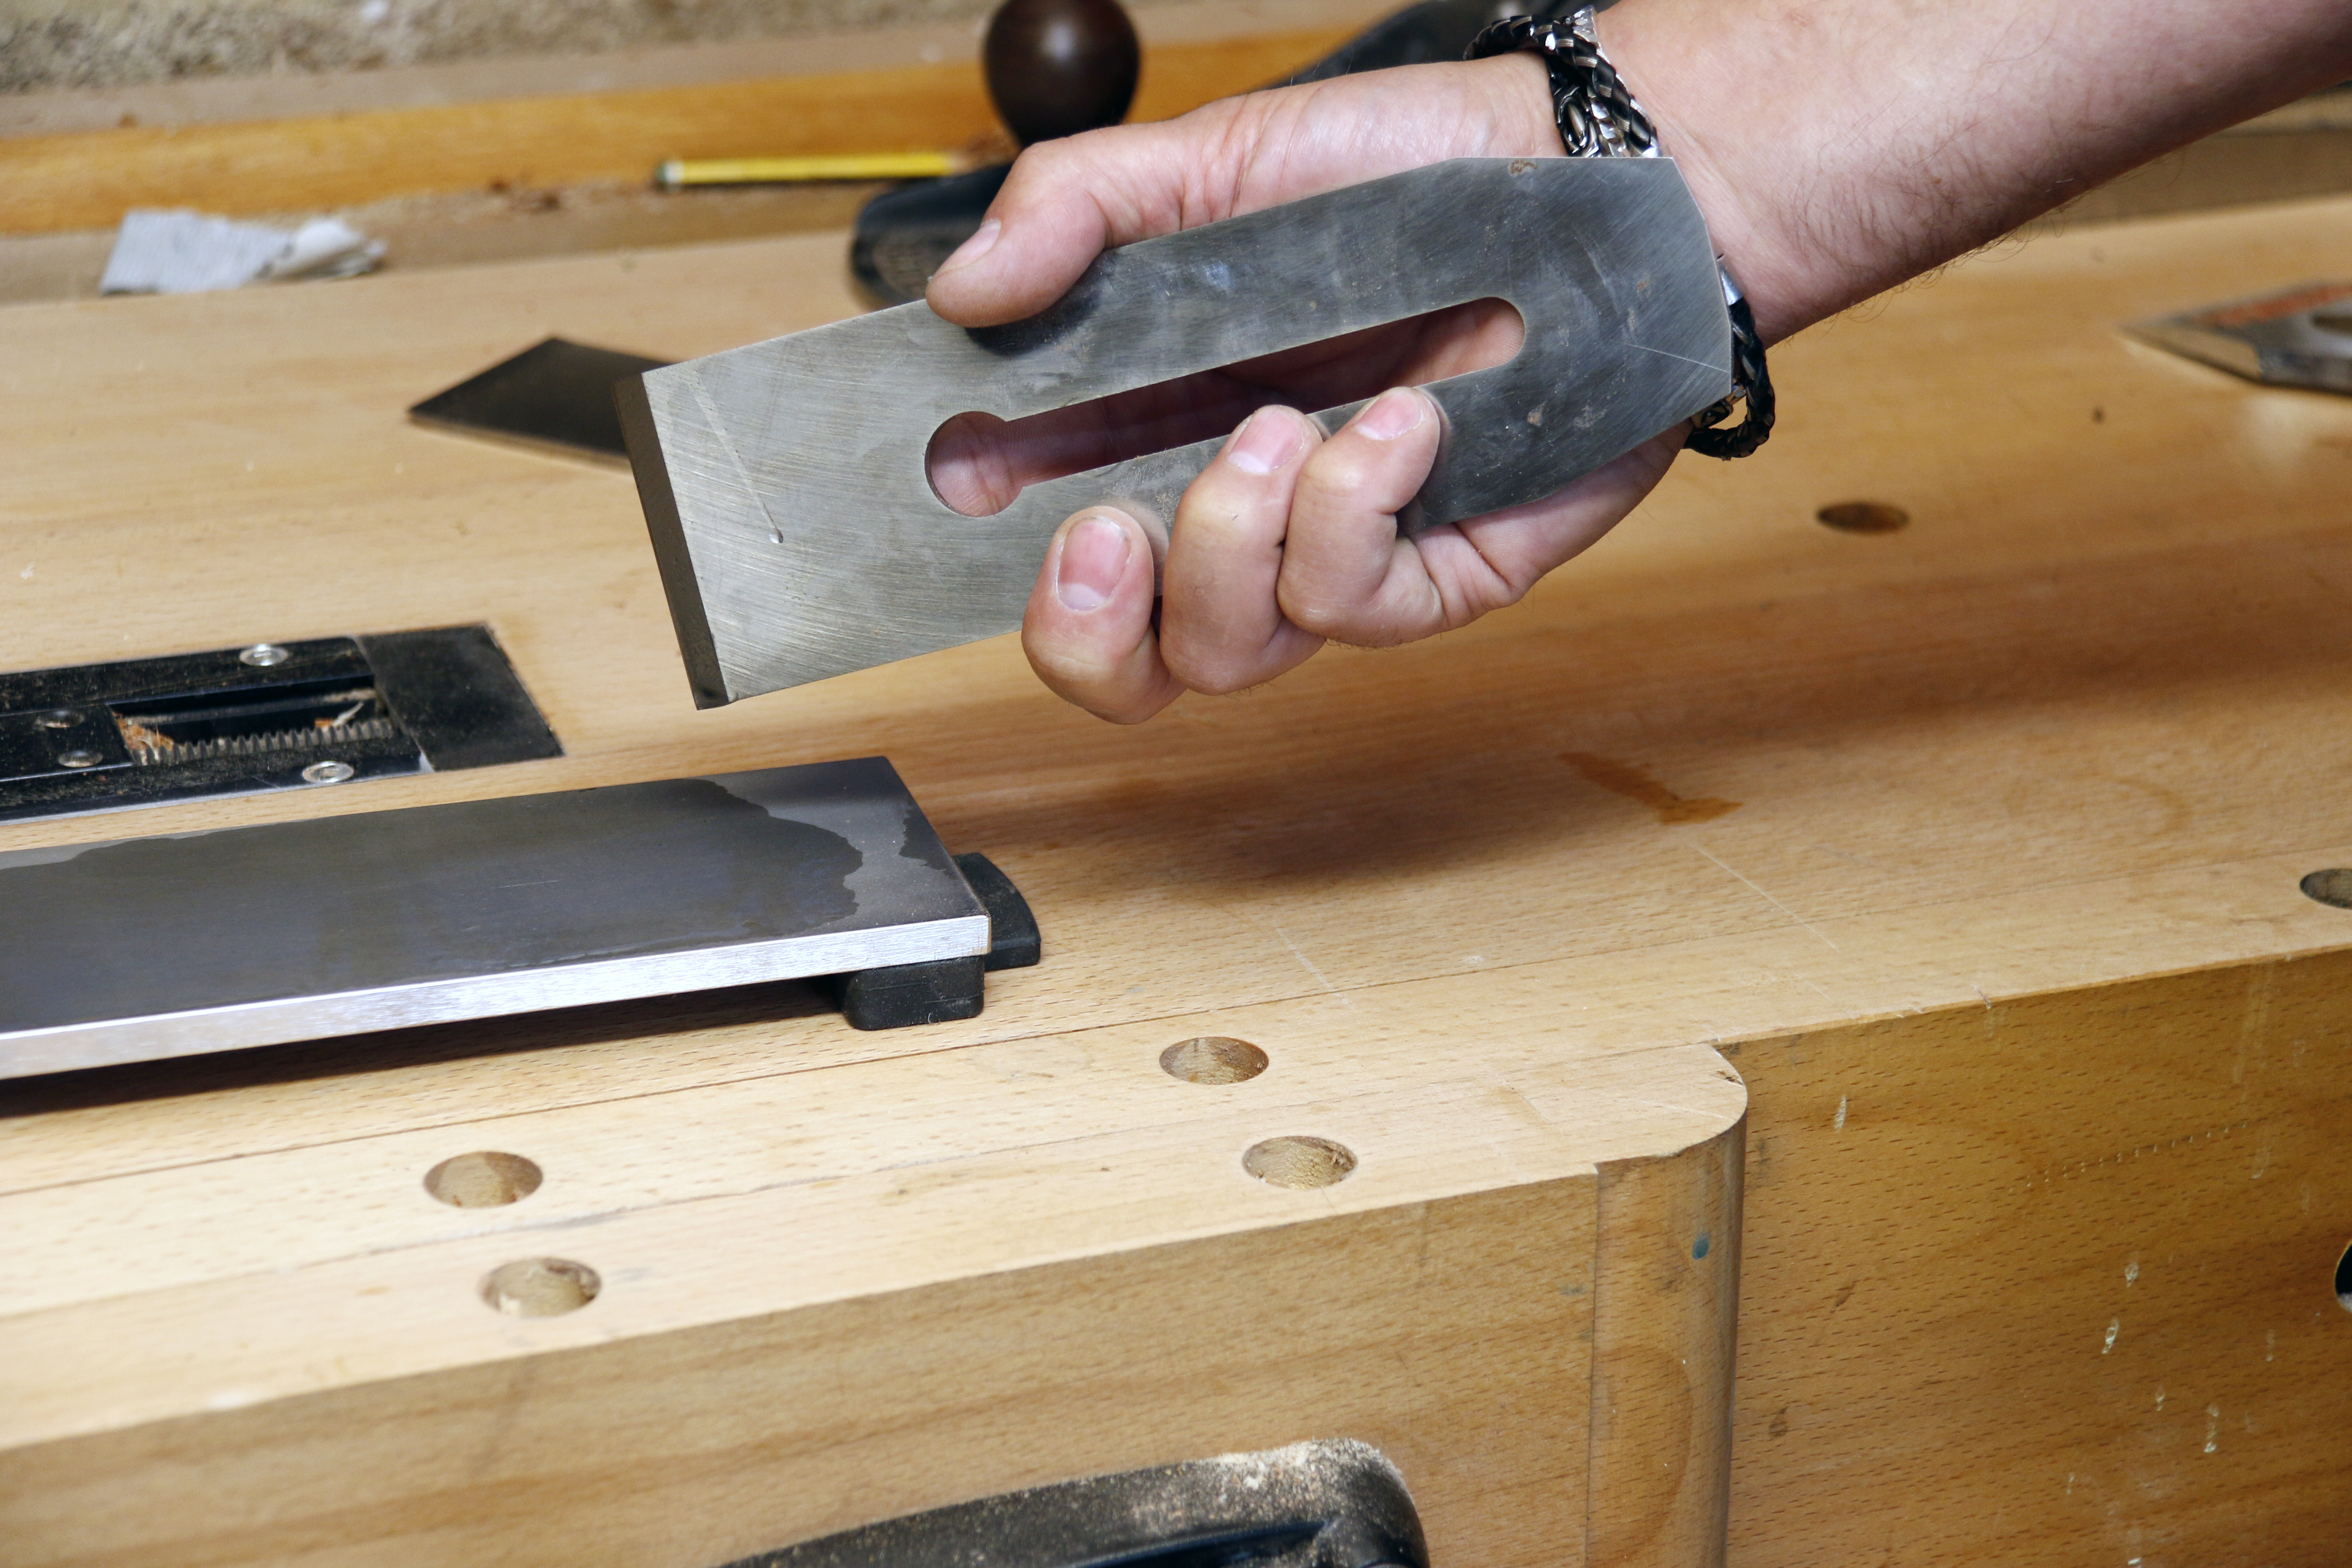
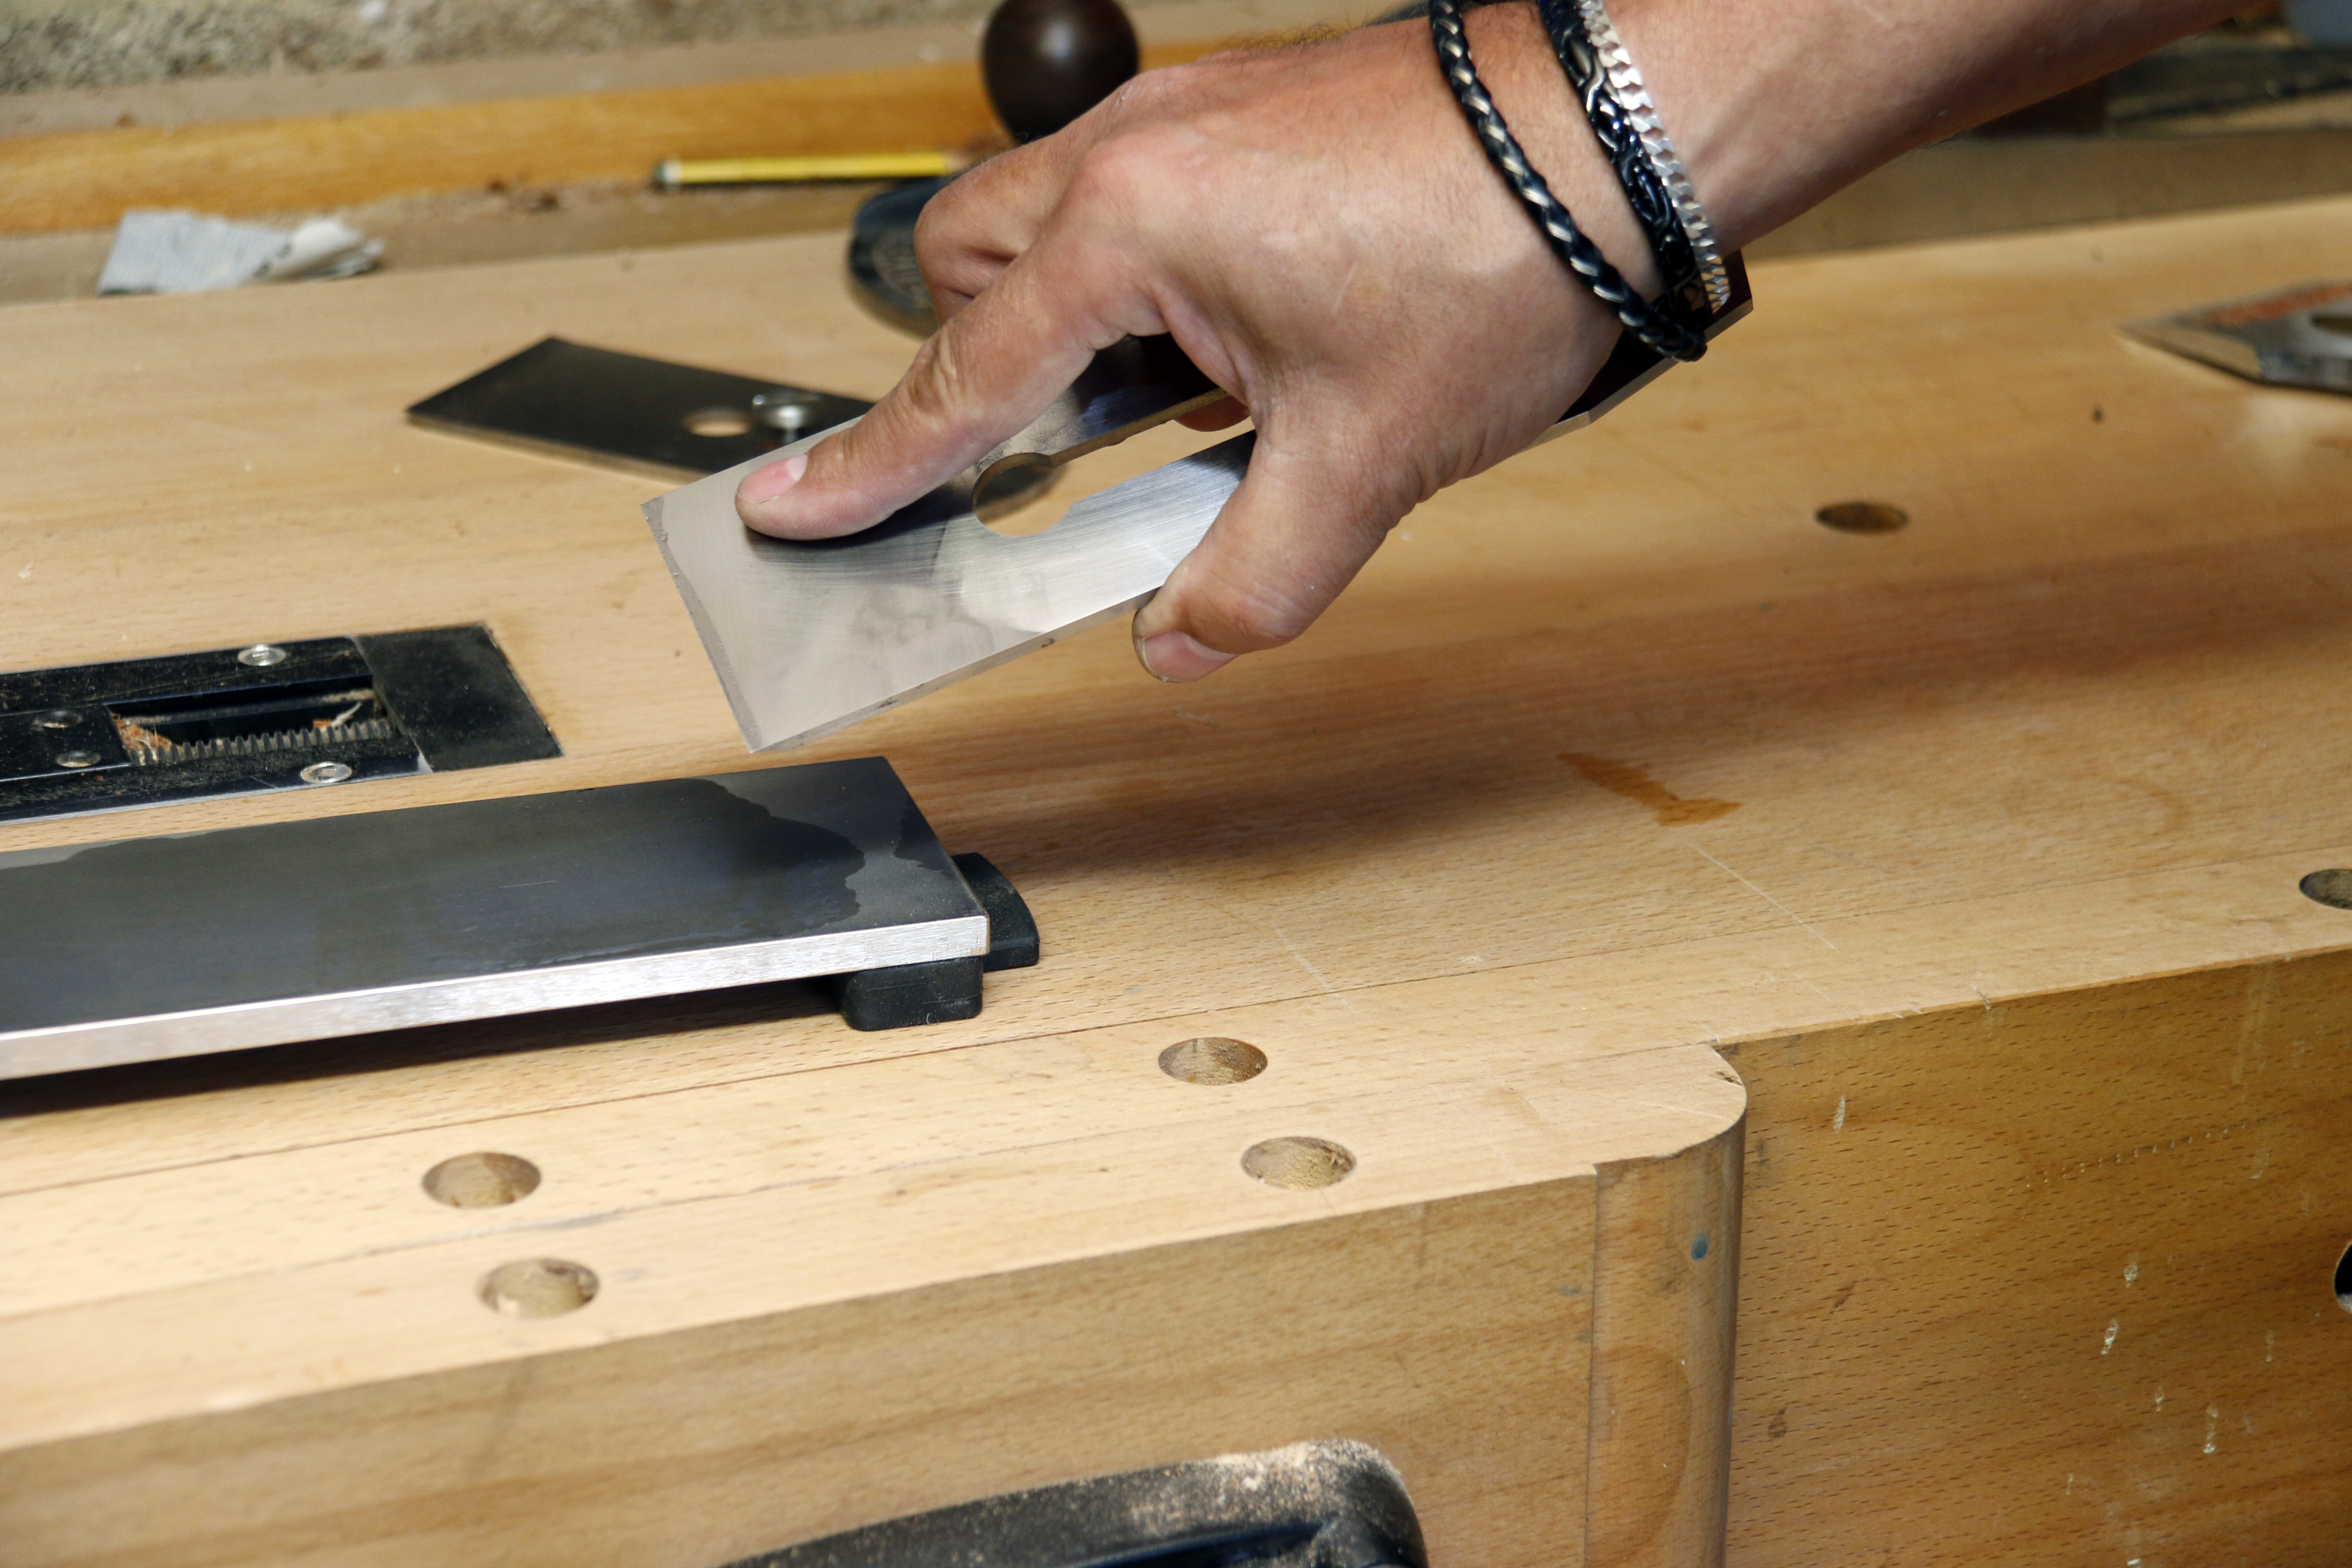
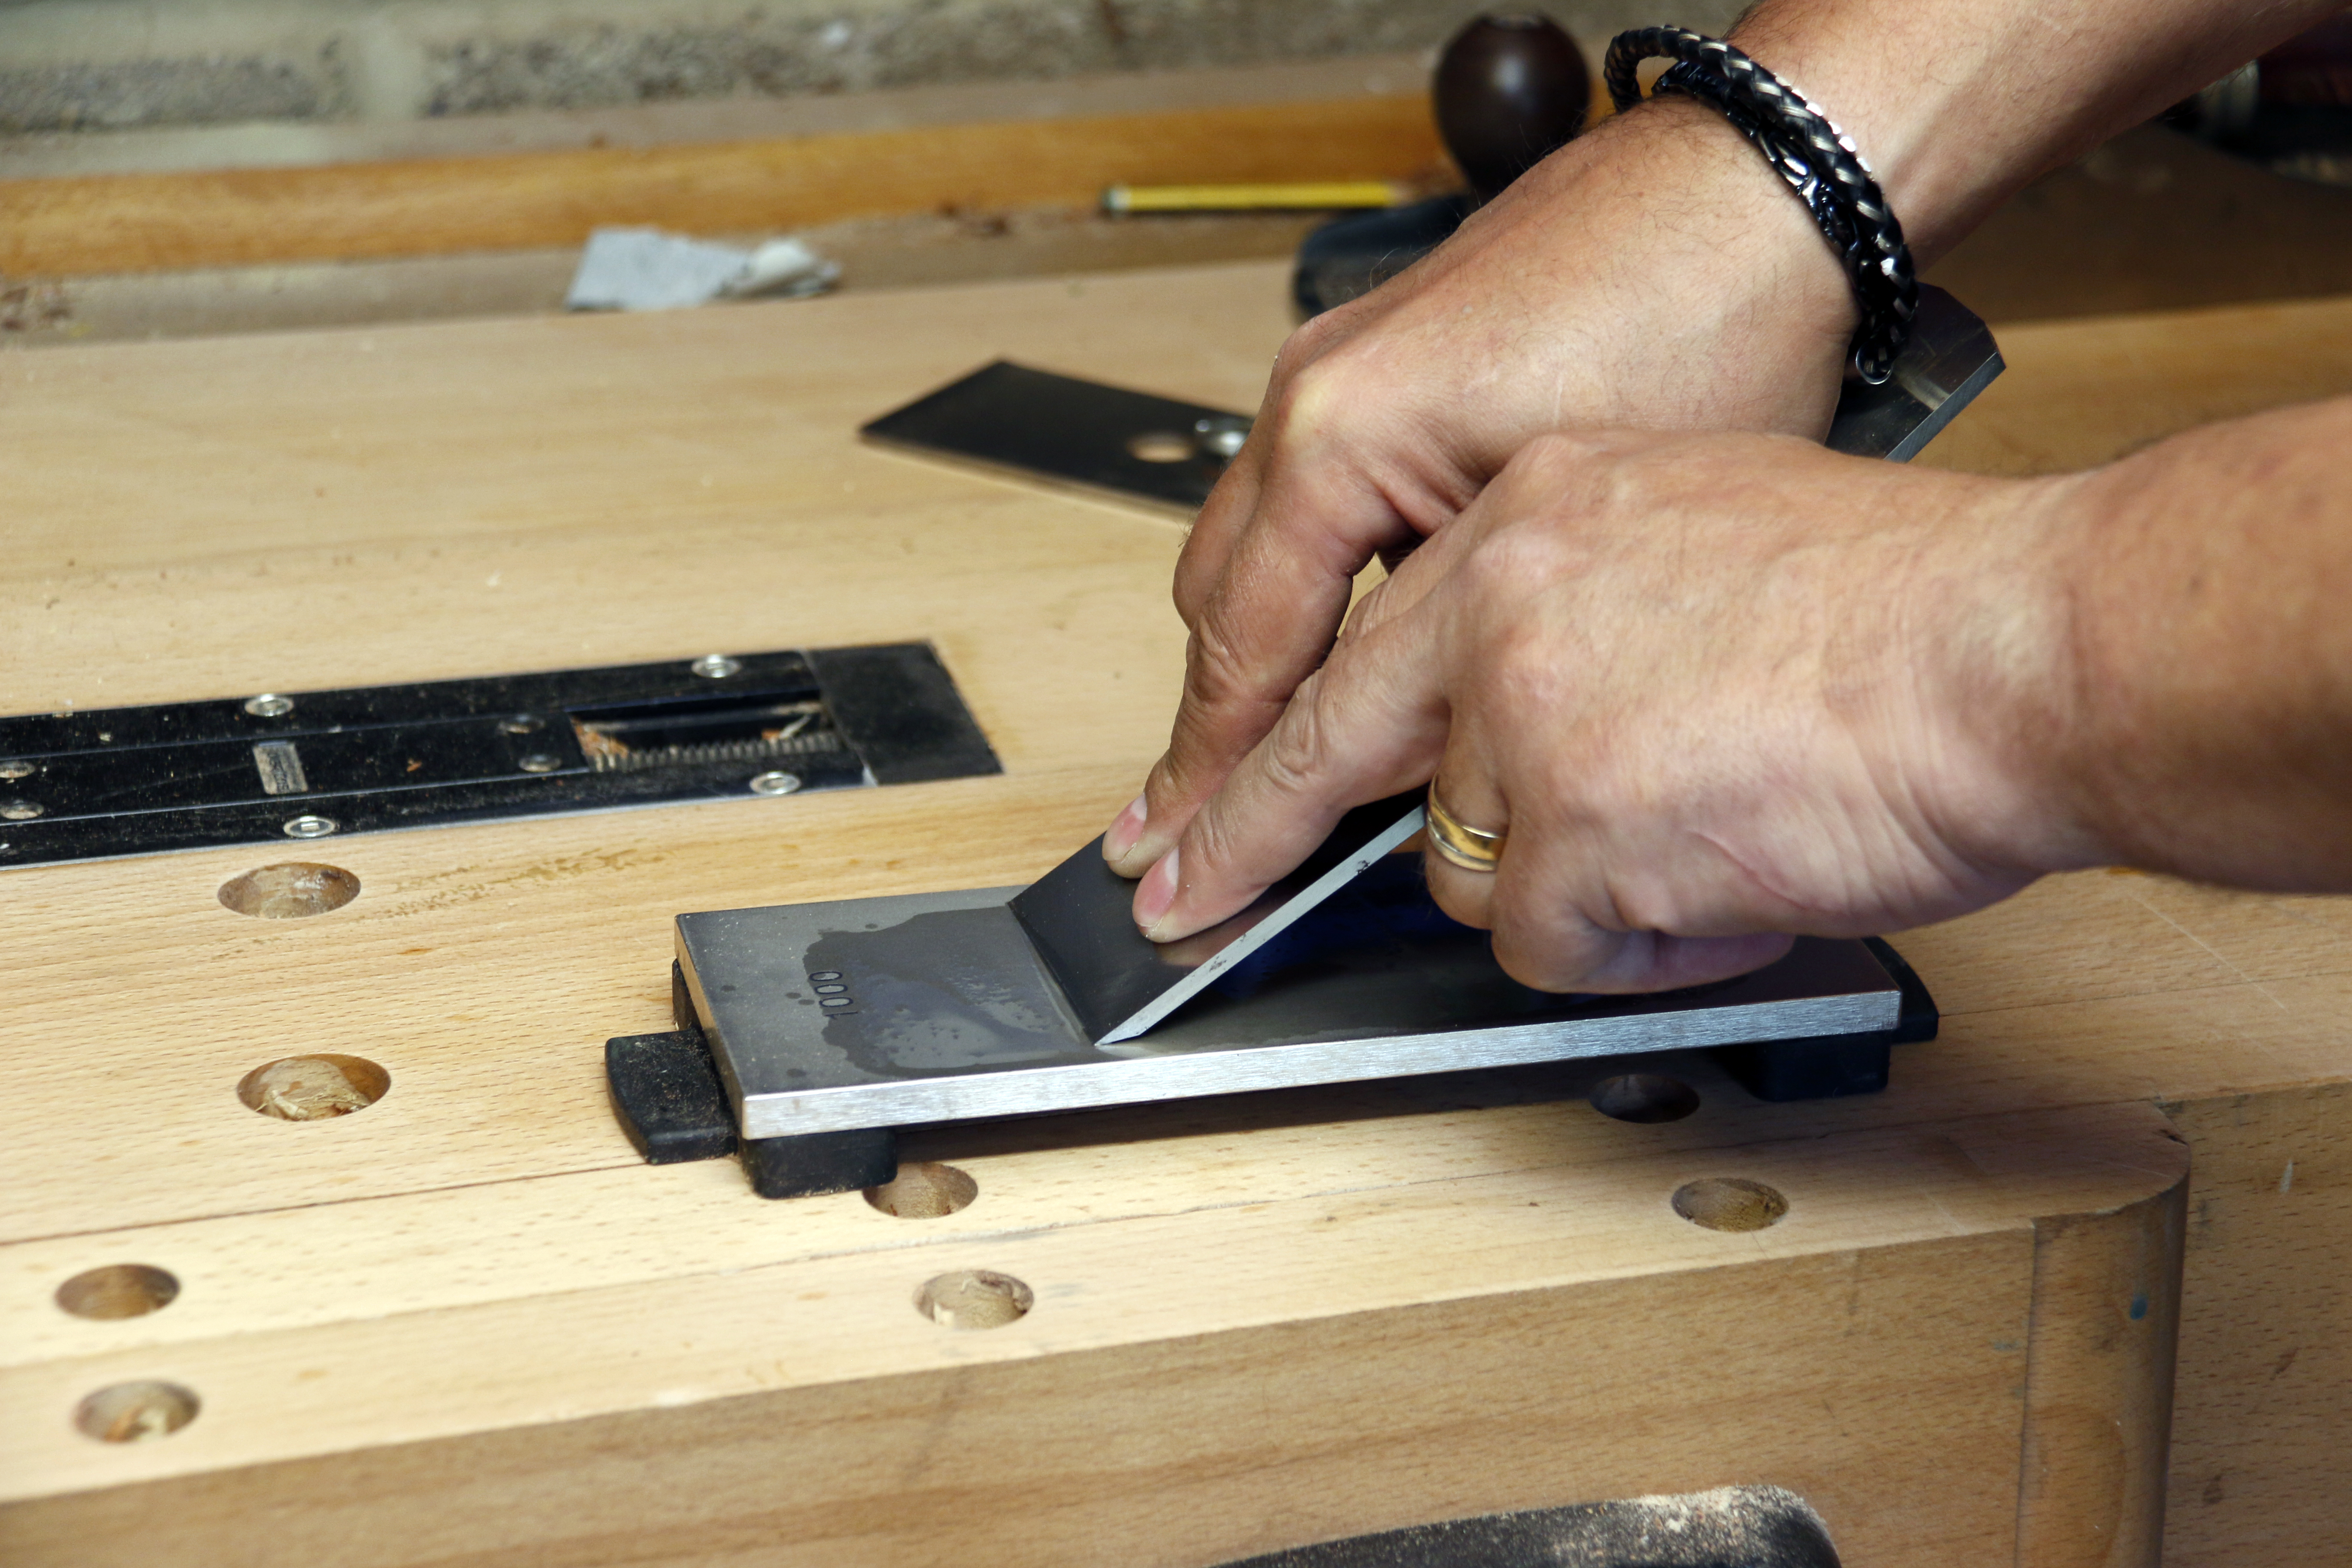
Using a guide allows you to repeat honing angles quickly and easily. Position the tool in the guide and set to the correct honing angle by sliding the tool within the guide until it registers against the correct setting; 30 degrees is normal for bench chisels such as this one.
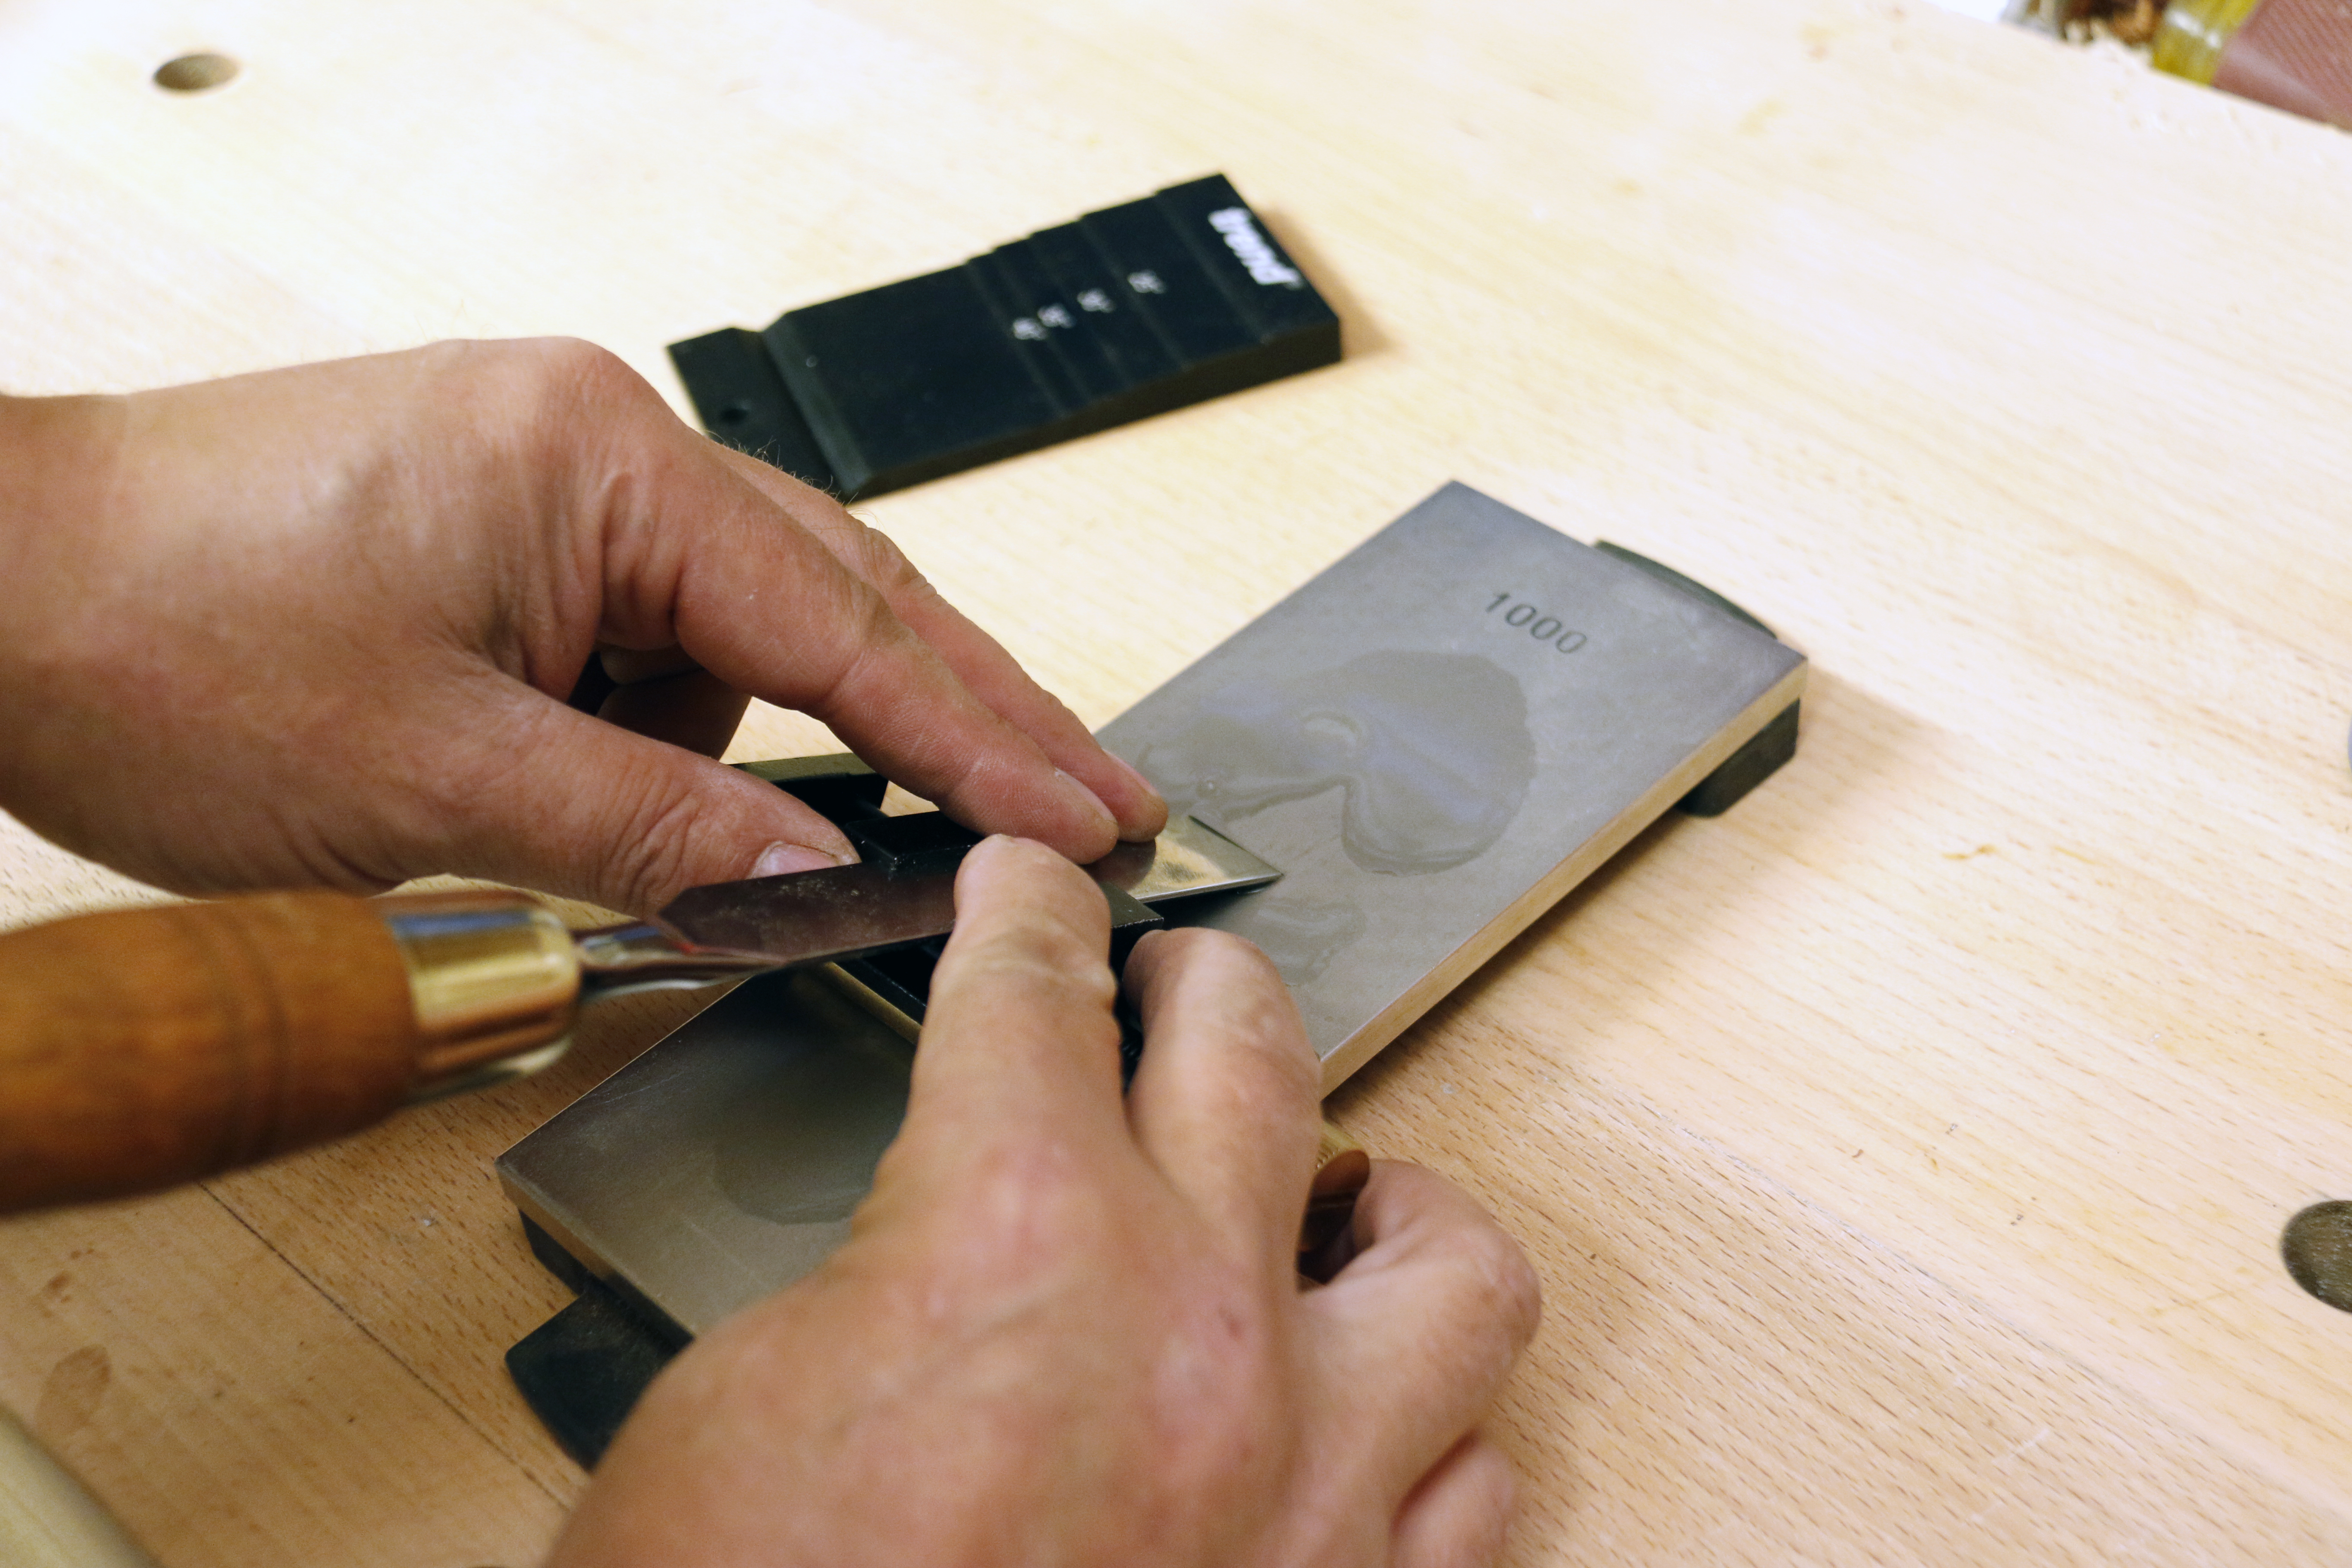
Using the 1000 grit fine side of the stone, run the chisel up and down with light strokes and minimal pressure.
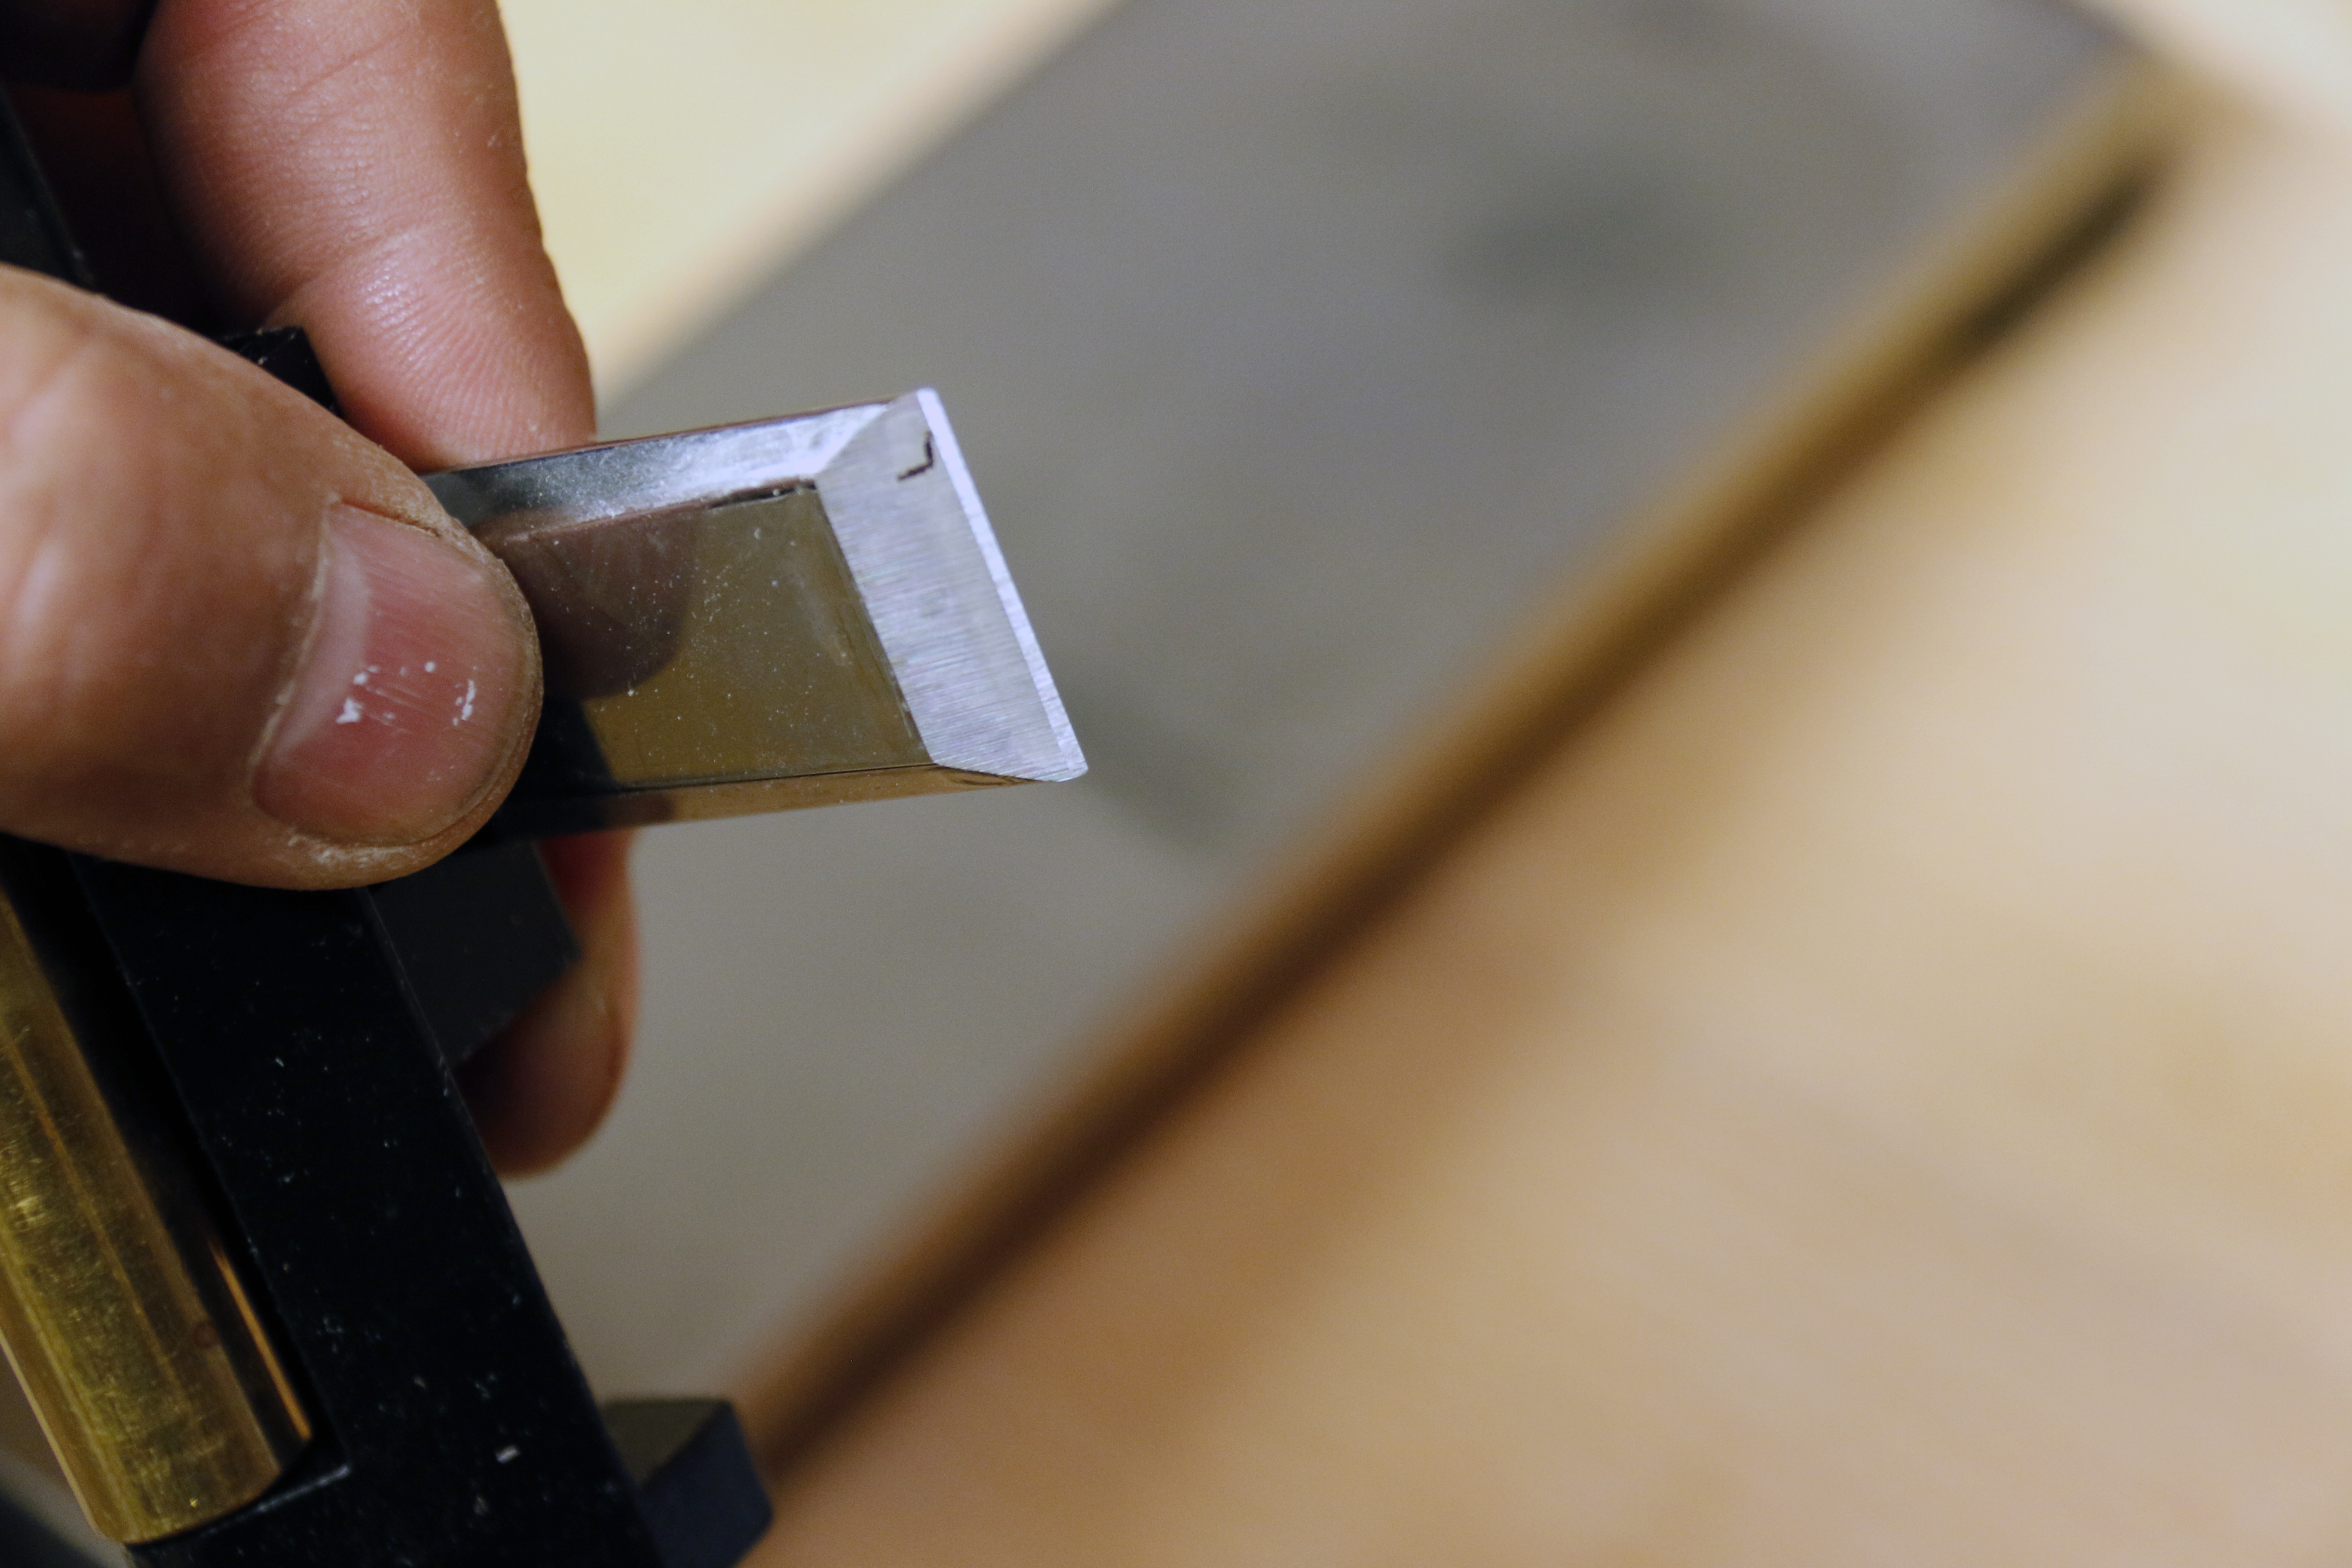
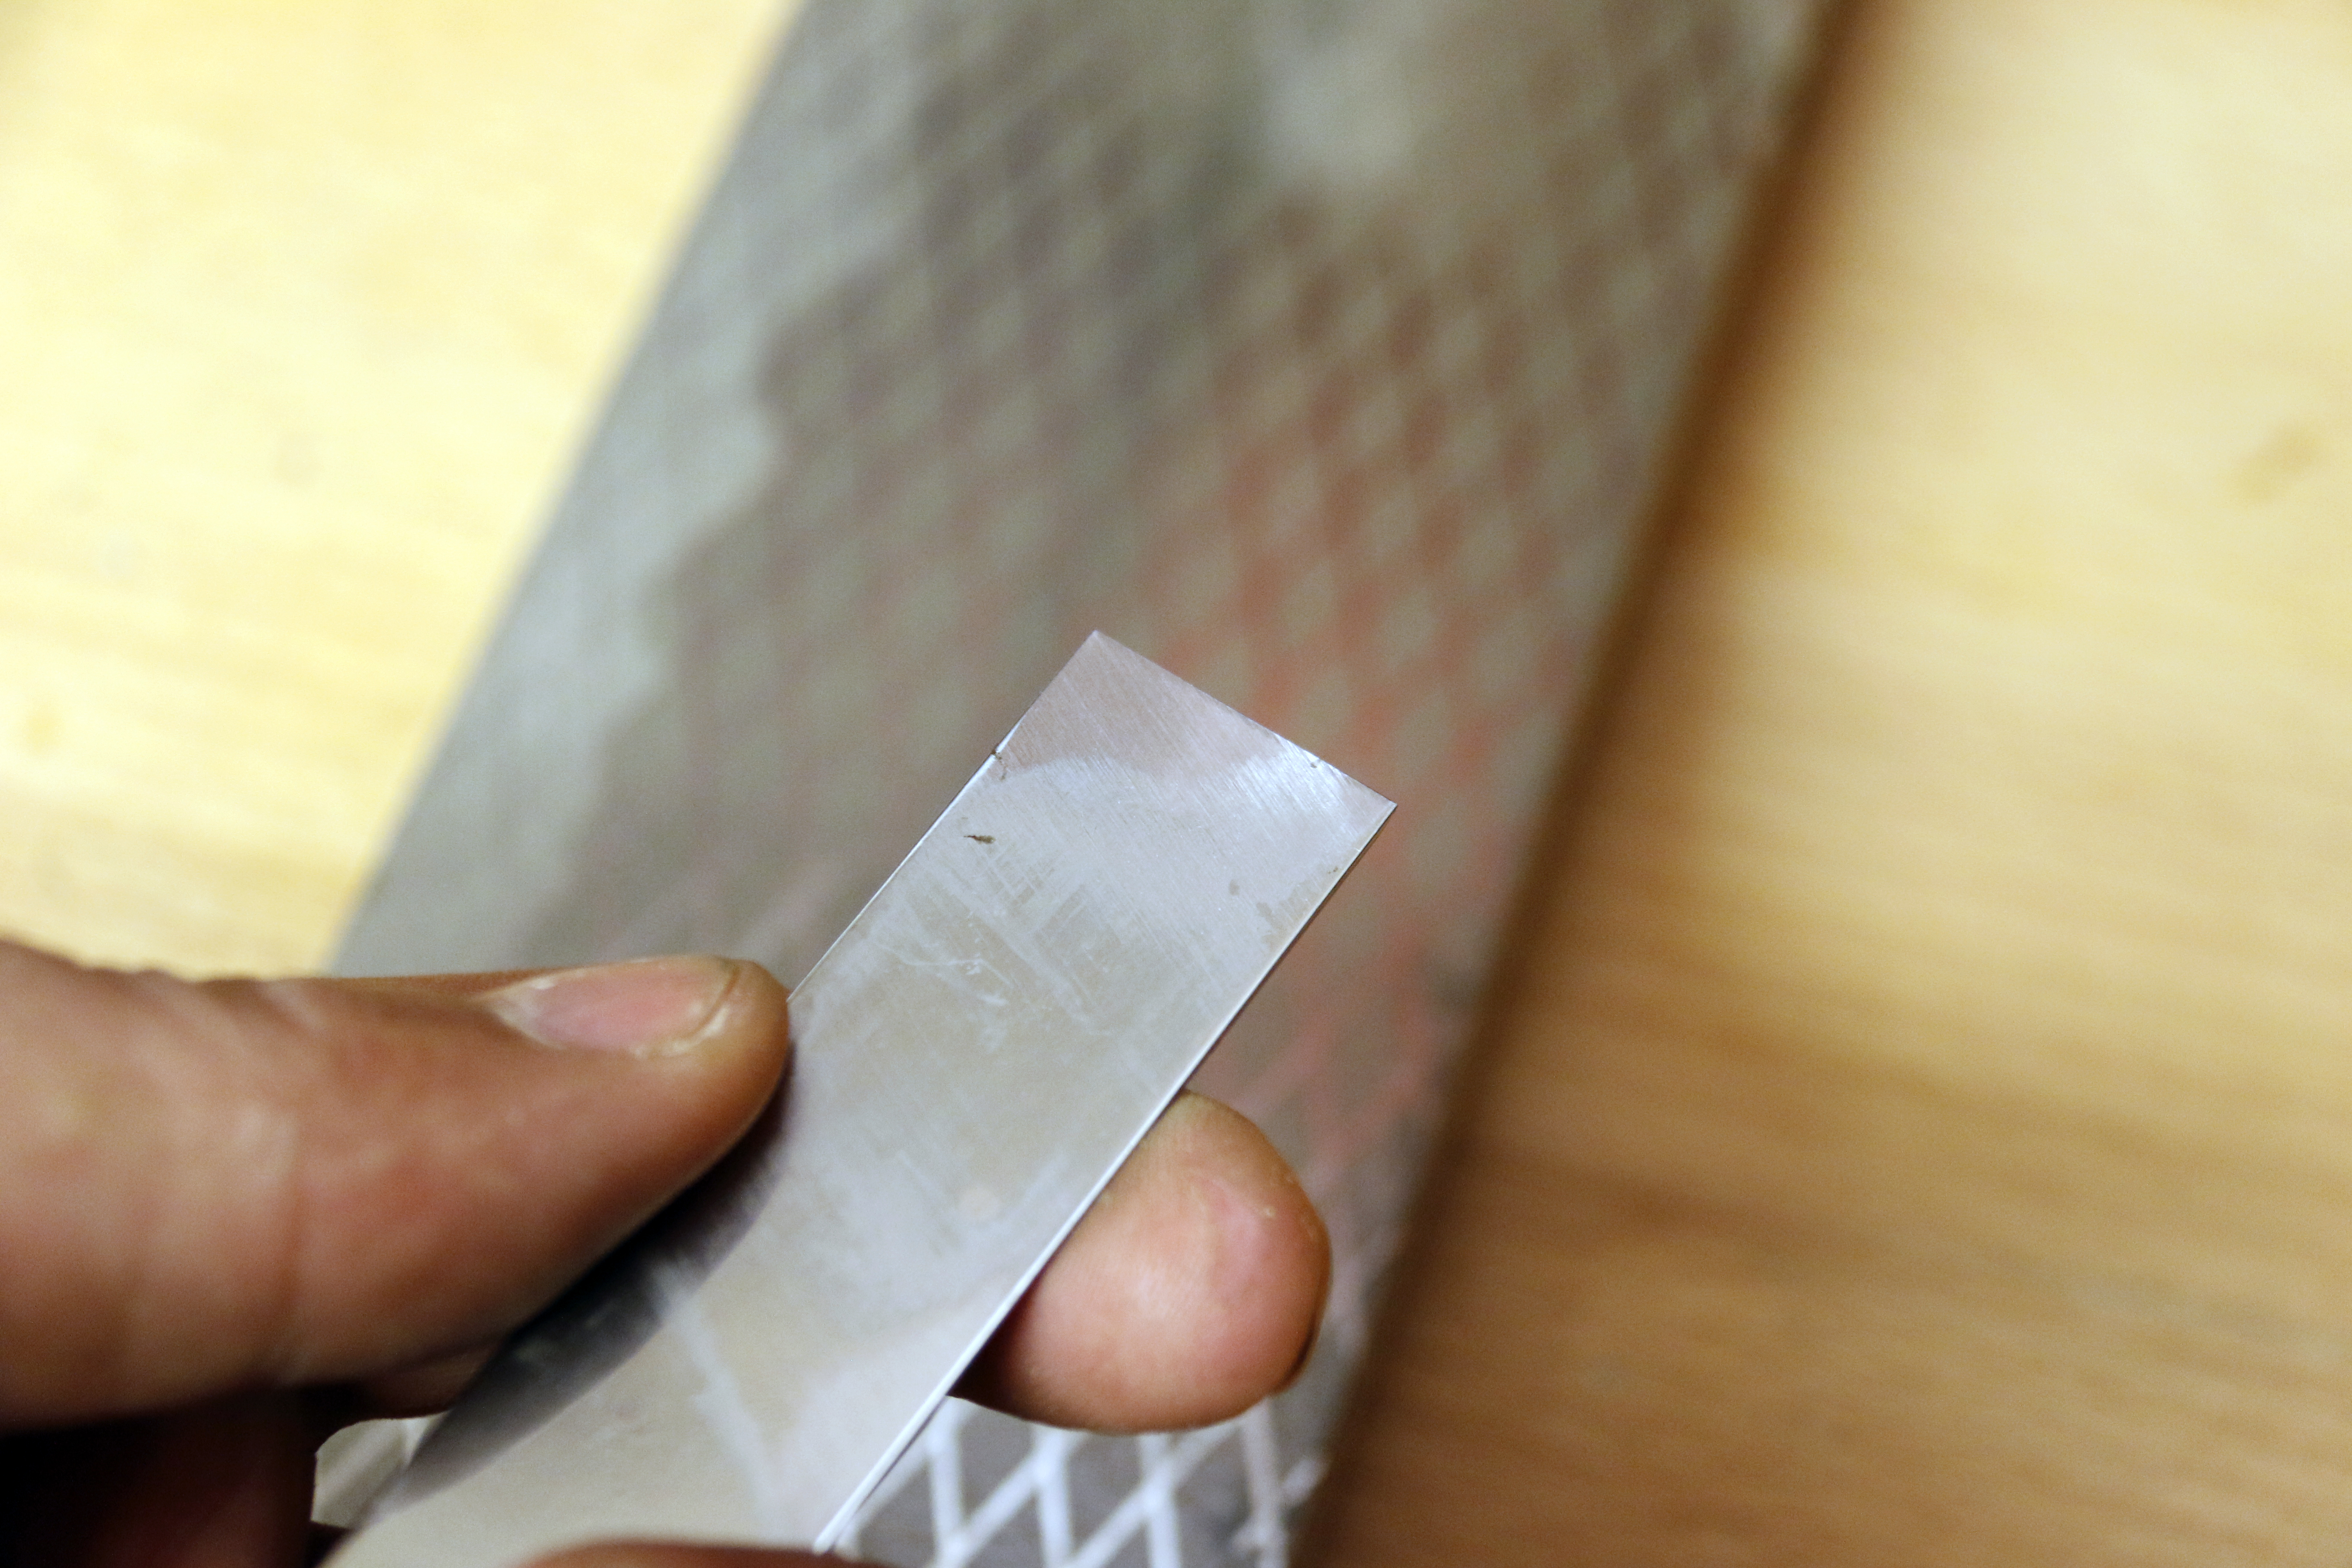
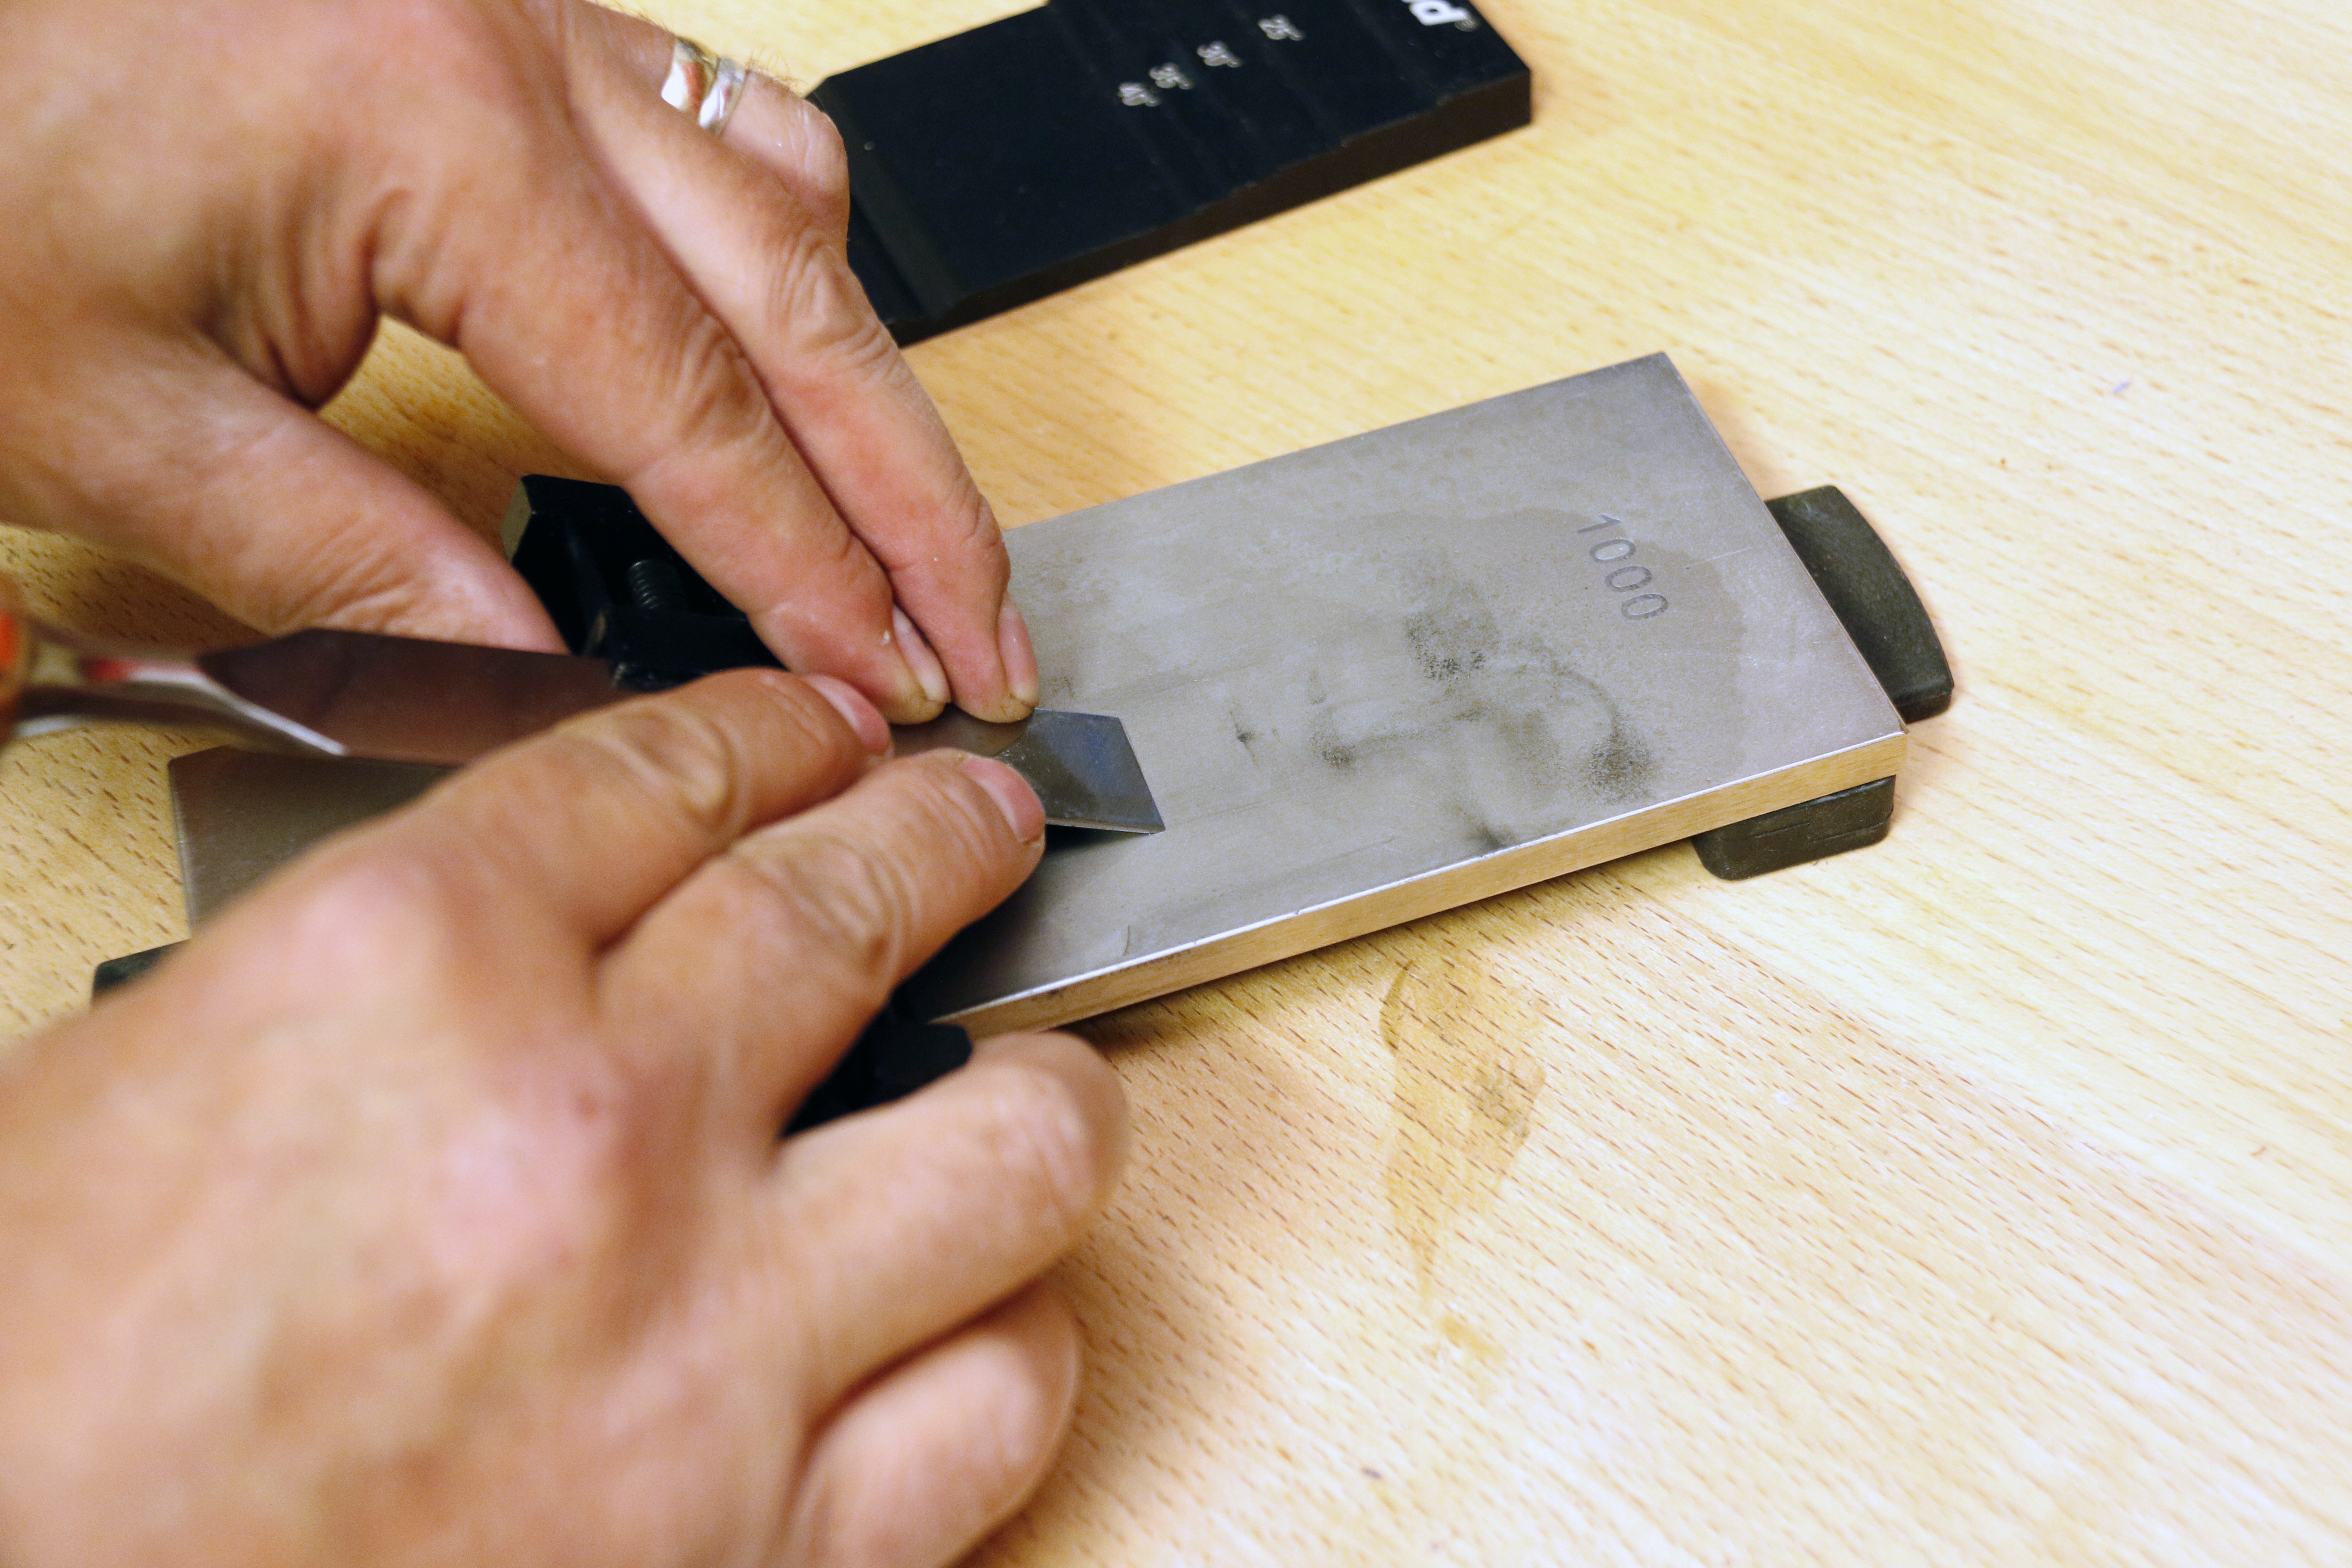
Check your progress by looking at the bevel. You should have formed a uniform small secondary bevel across the tool.
Once the wire edge has been raised the tool is flipped back to the flat side and re-worked over the stone for a few strokes to weaken the wire edge and move it to the bevel side.
You should then flip back to the bevel side and make a few more light strokes to weaken the wire edge and move it to the back of the chisel.
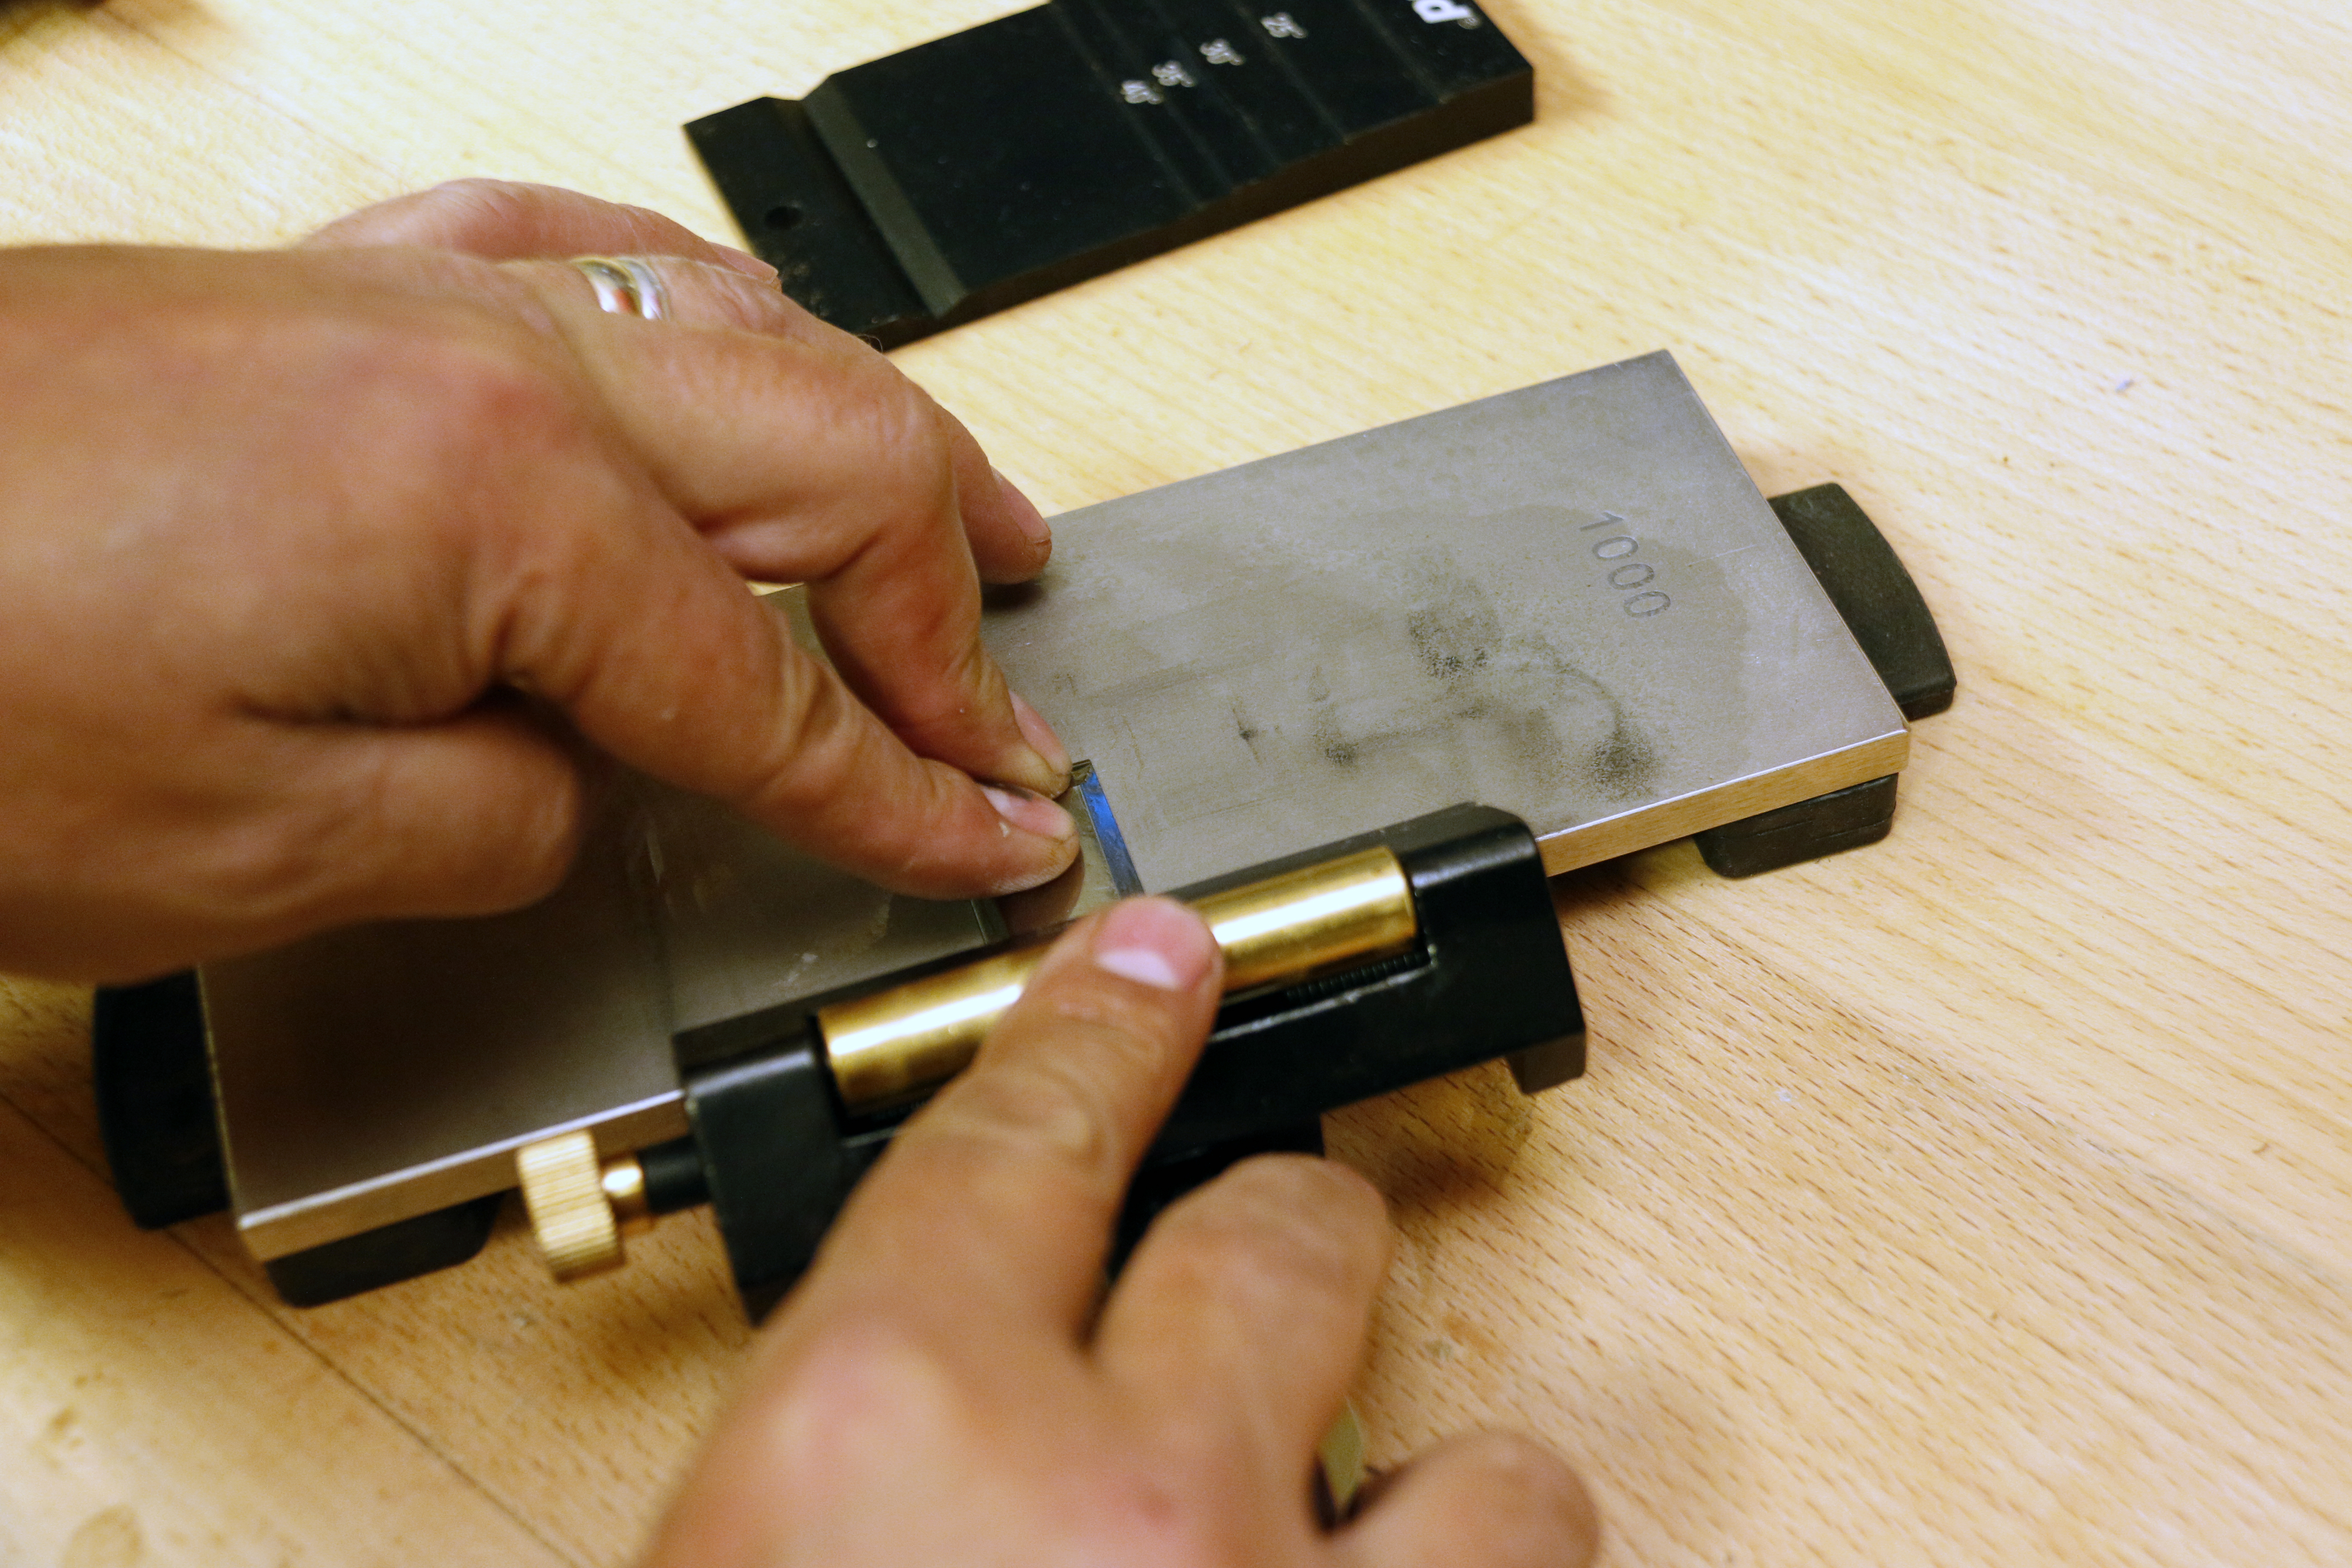
Go back to the flat side and repeat, flipping and repeating the action 2 or 3 times is usually enough to remove the wire edge.
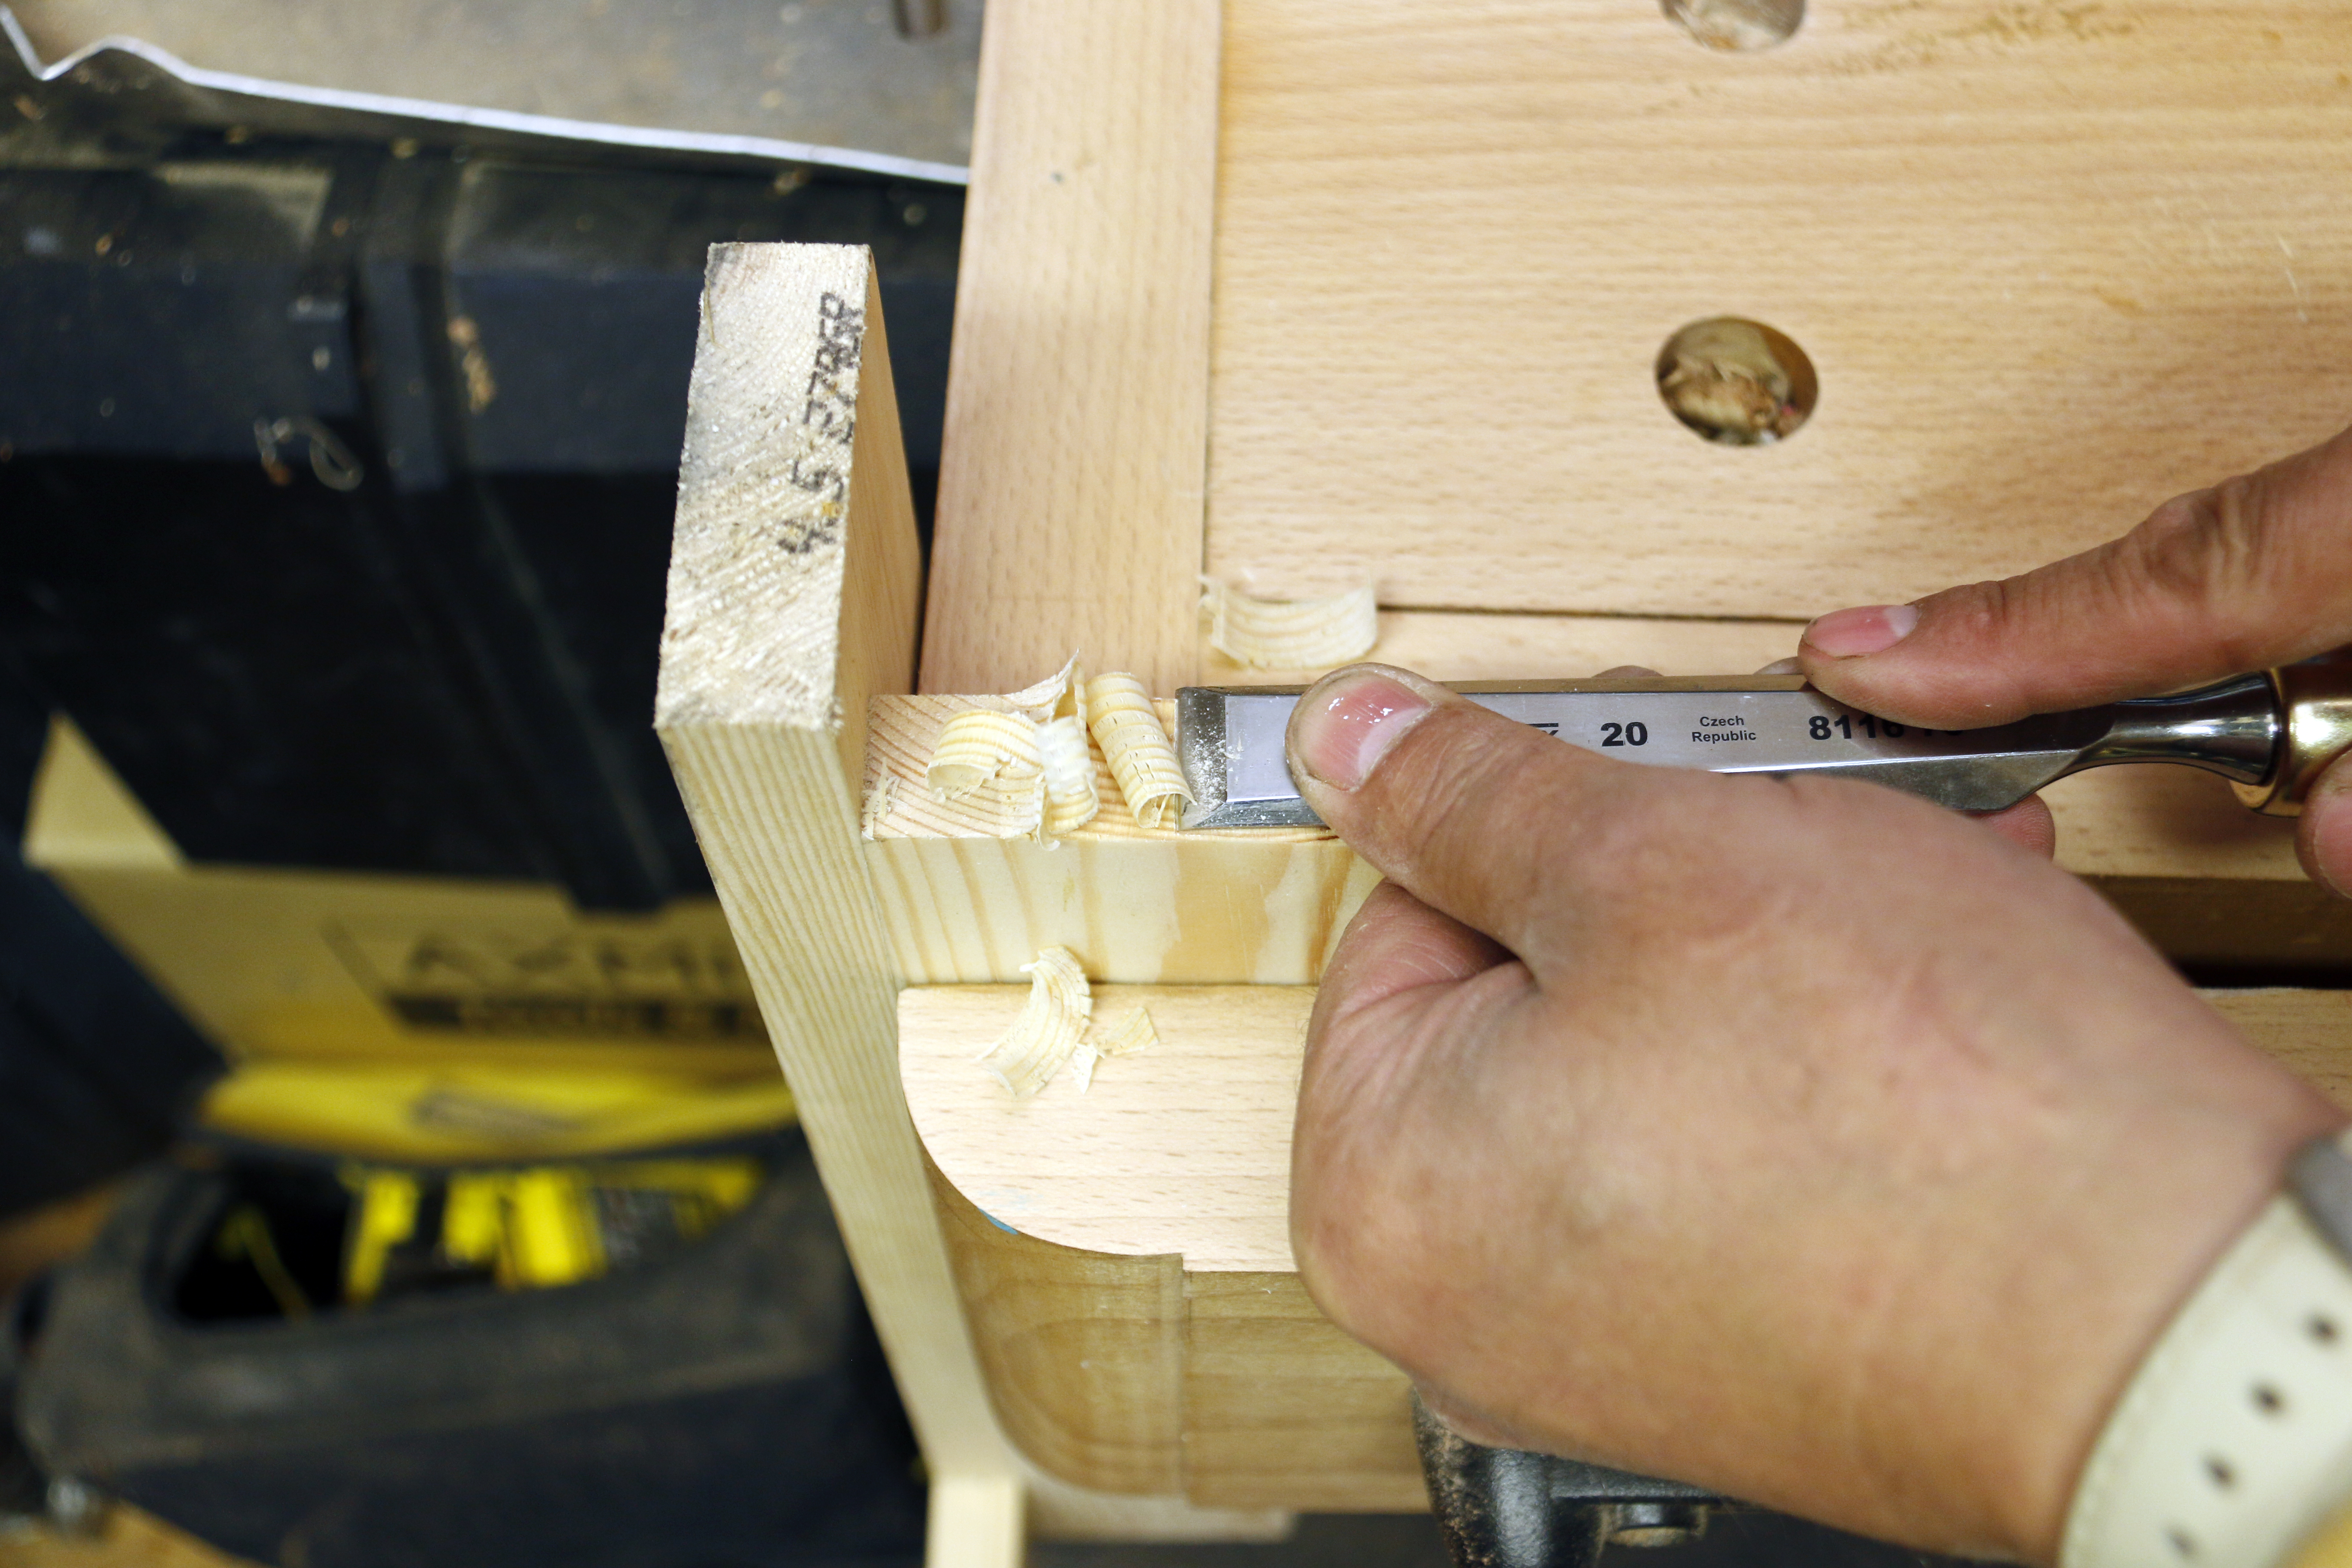
A good test for checking the keeness of the edge is to pare end grain of pineto to take shavings.
Freehand Honing
Freehand work needs a firm grip but with a relaxed action to keep the tool as steady as possible to prevent a rocking motion that will round over the bevel.
Gripping the tool with your dominant hand by wrapping your fingers and thumb around the underside locks it securely.
The index finger is positioned on the flat back to apply the pressure.
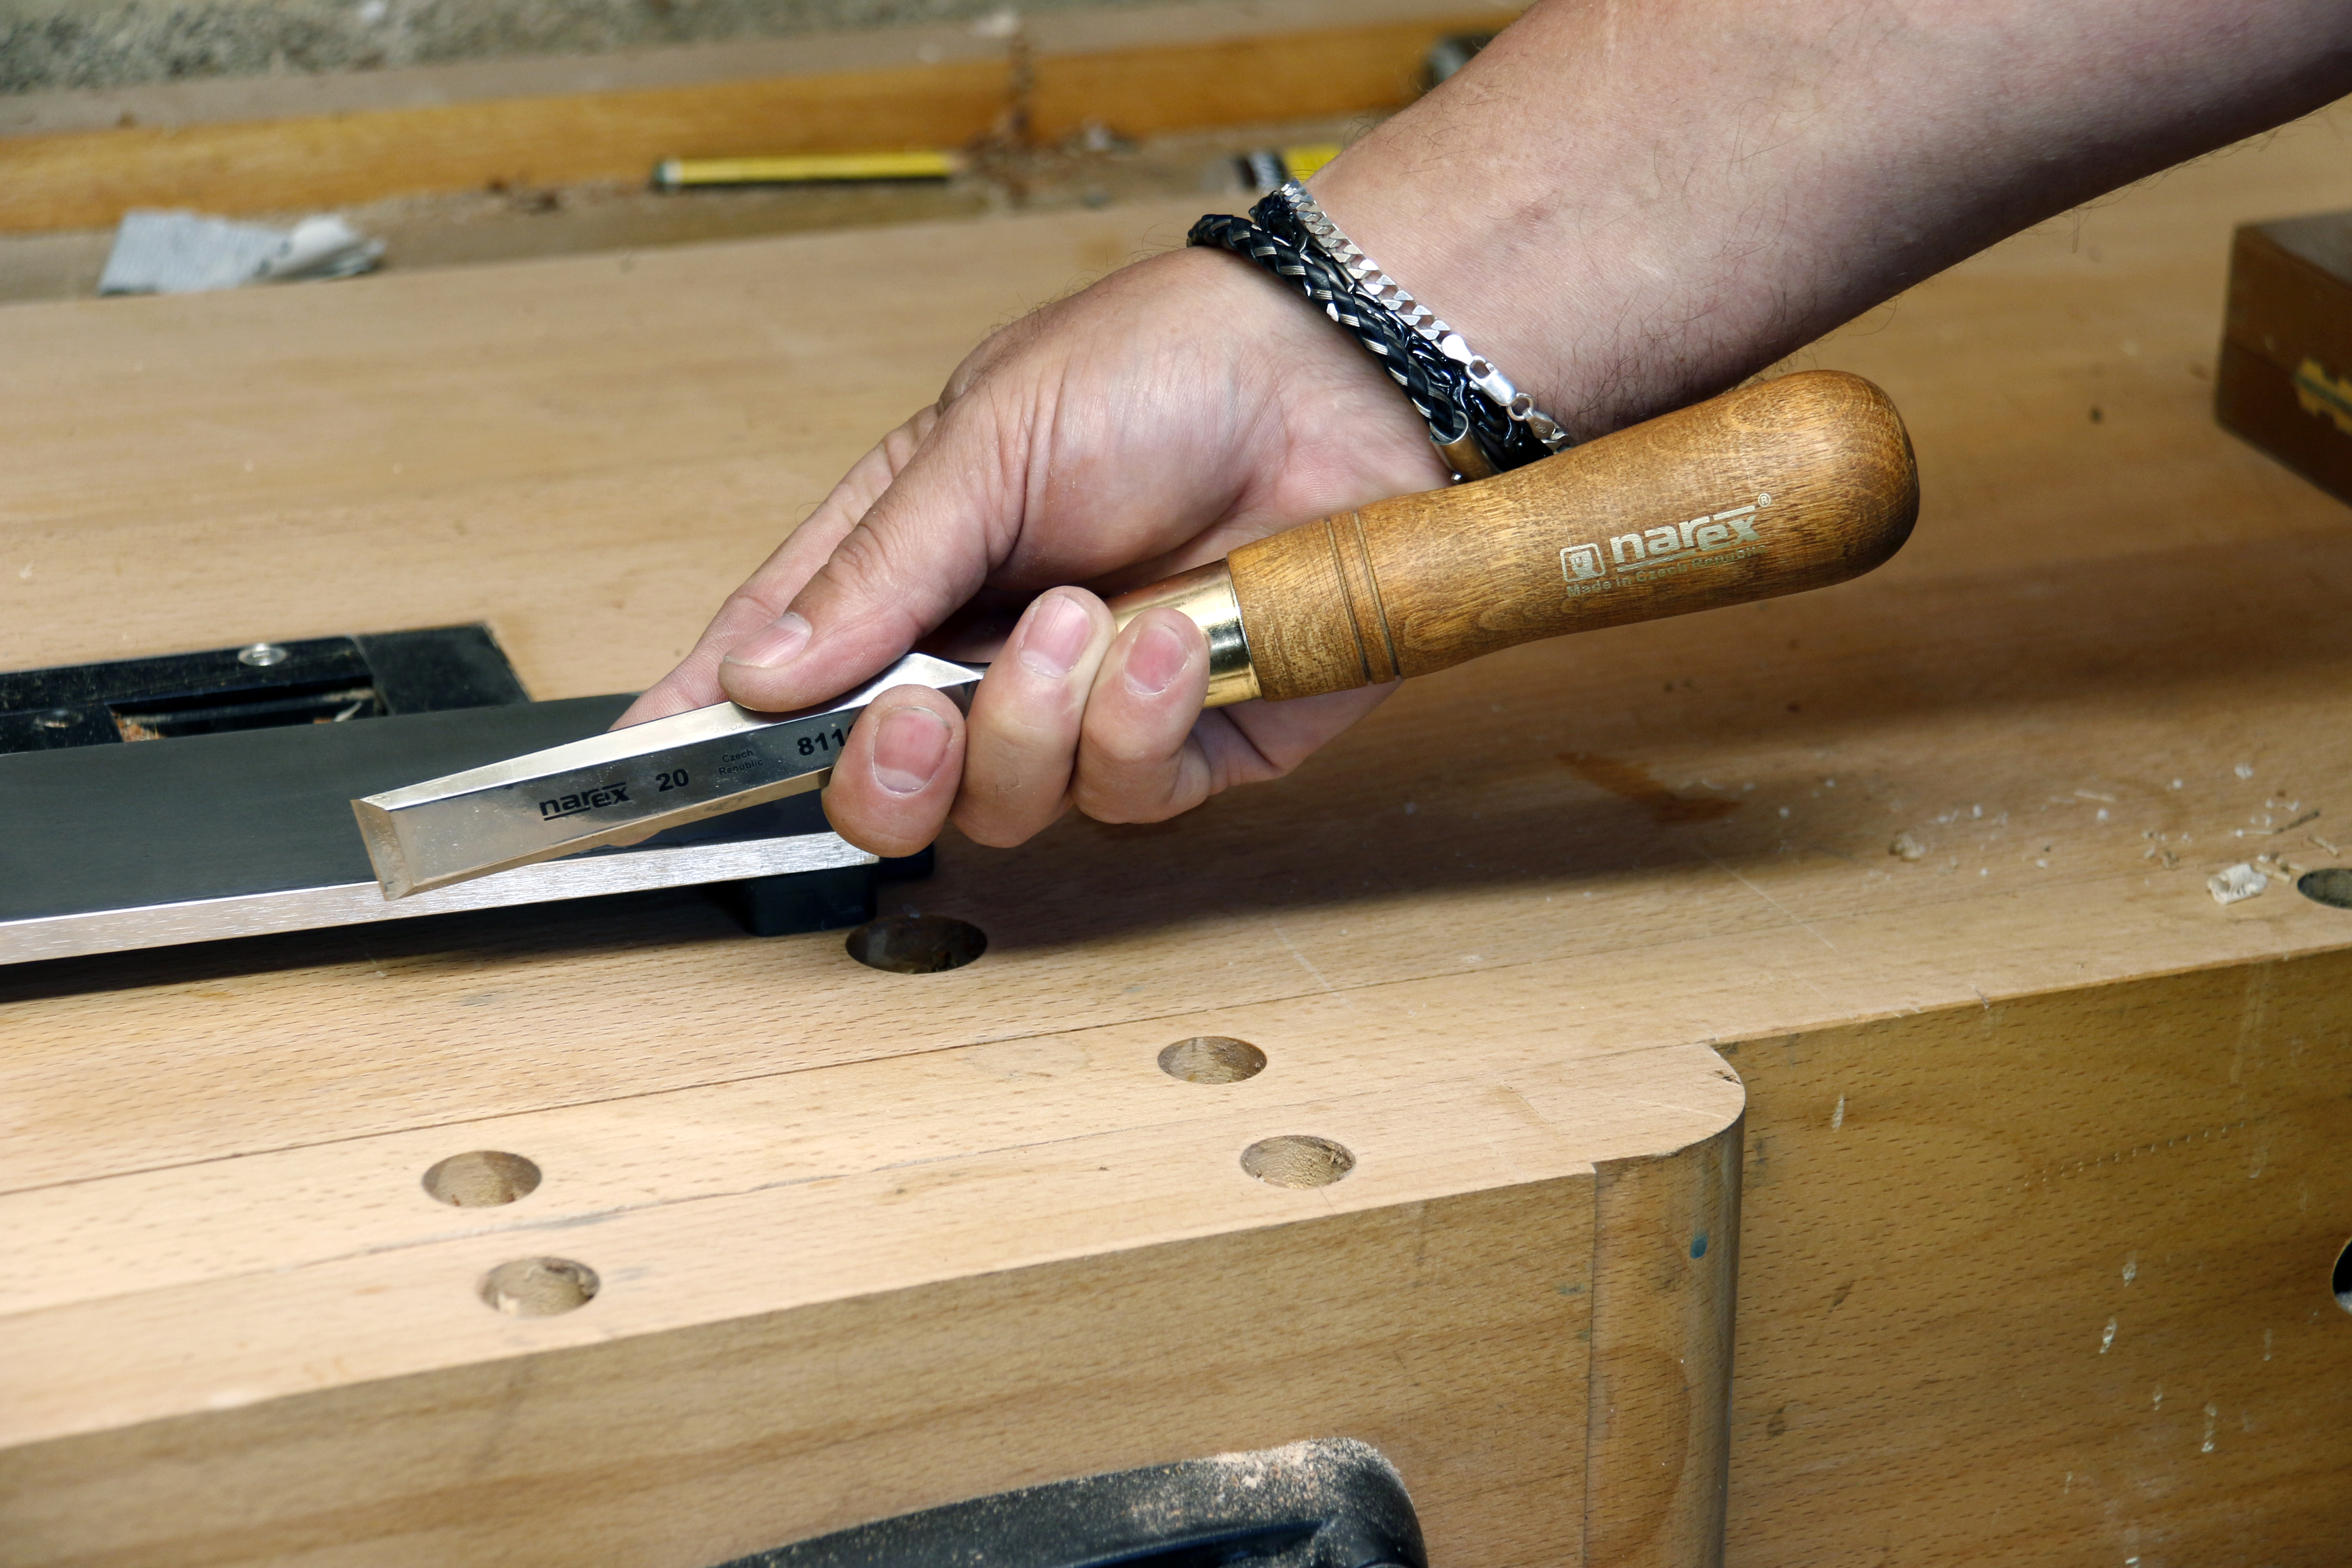
The same grip works equally well for chisels.
The tool locks along the wrist to help keep things consistent as you move along the stone.
Keeping the grip secure, lift the tool slightly to set the secondary angle and move it up and down the stone applying light pressure.
Your free hand is used to apply additional light pressure across wider blades as well as to aid control.
Test to see if a wire edge has been raised. You can run a finger along to feel if there is one, but even if you are unsure, as you drag your finger over the edge any fluid on the tool will build up behind the wire edge to indicate it is there. Back off to weaken the wire edge by flipping and repeating the action as before until the edge is removed.
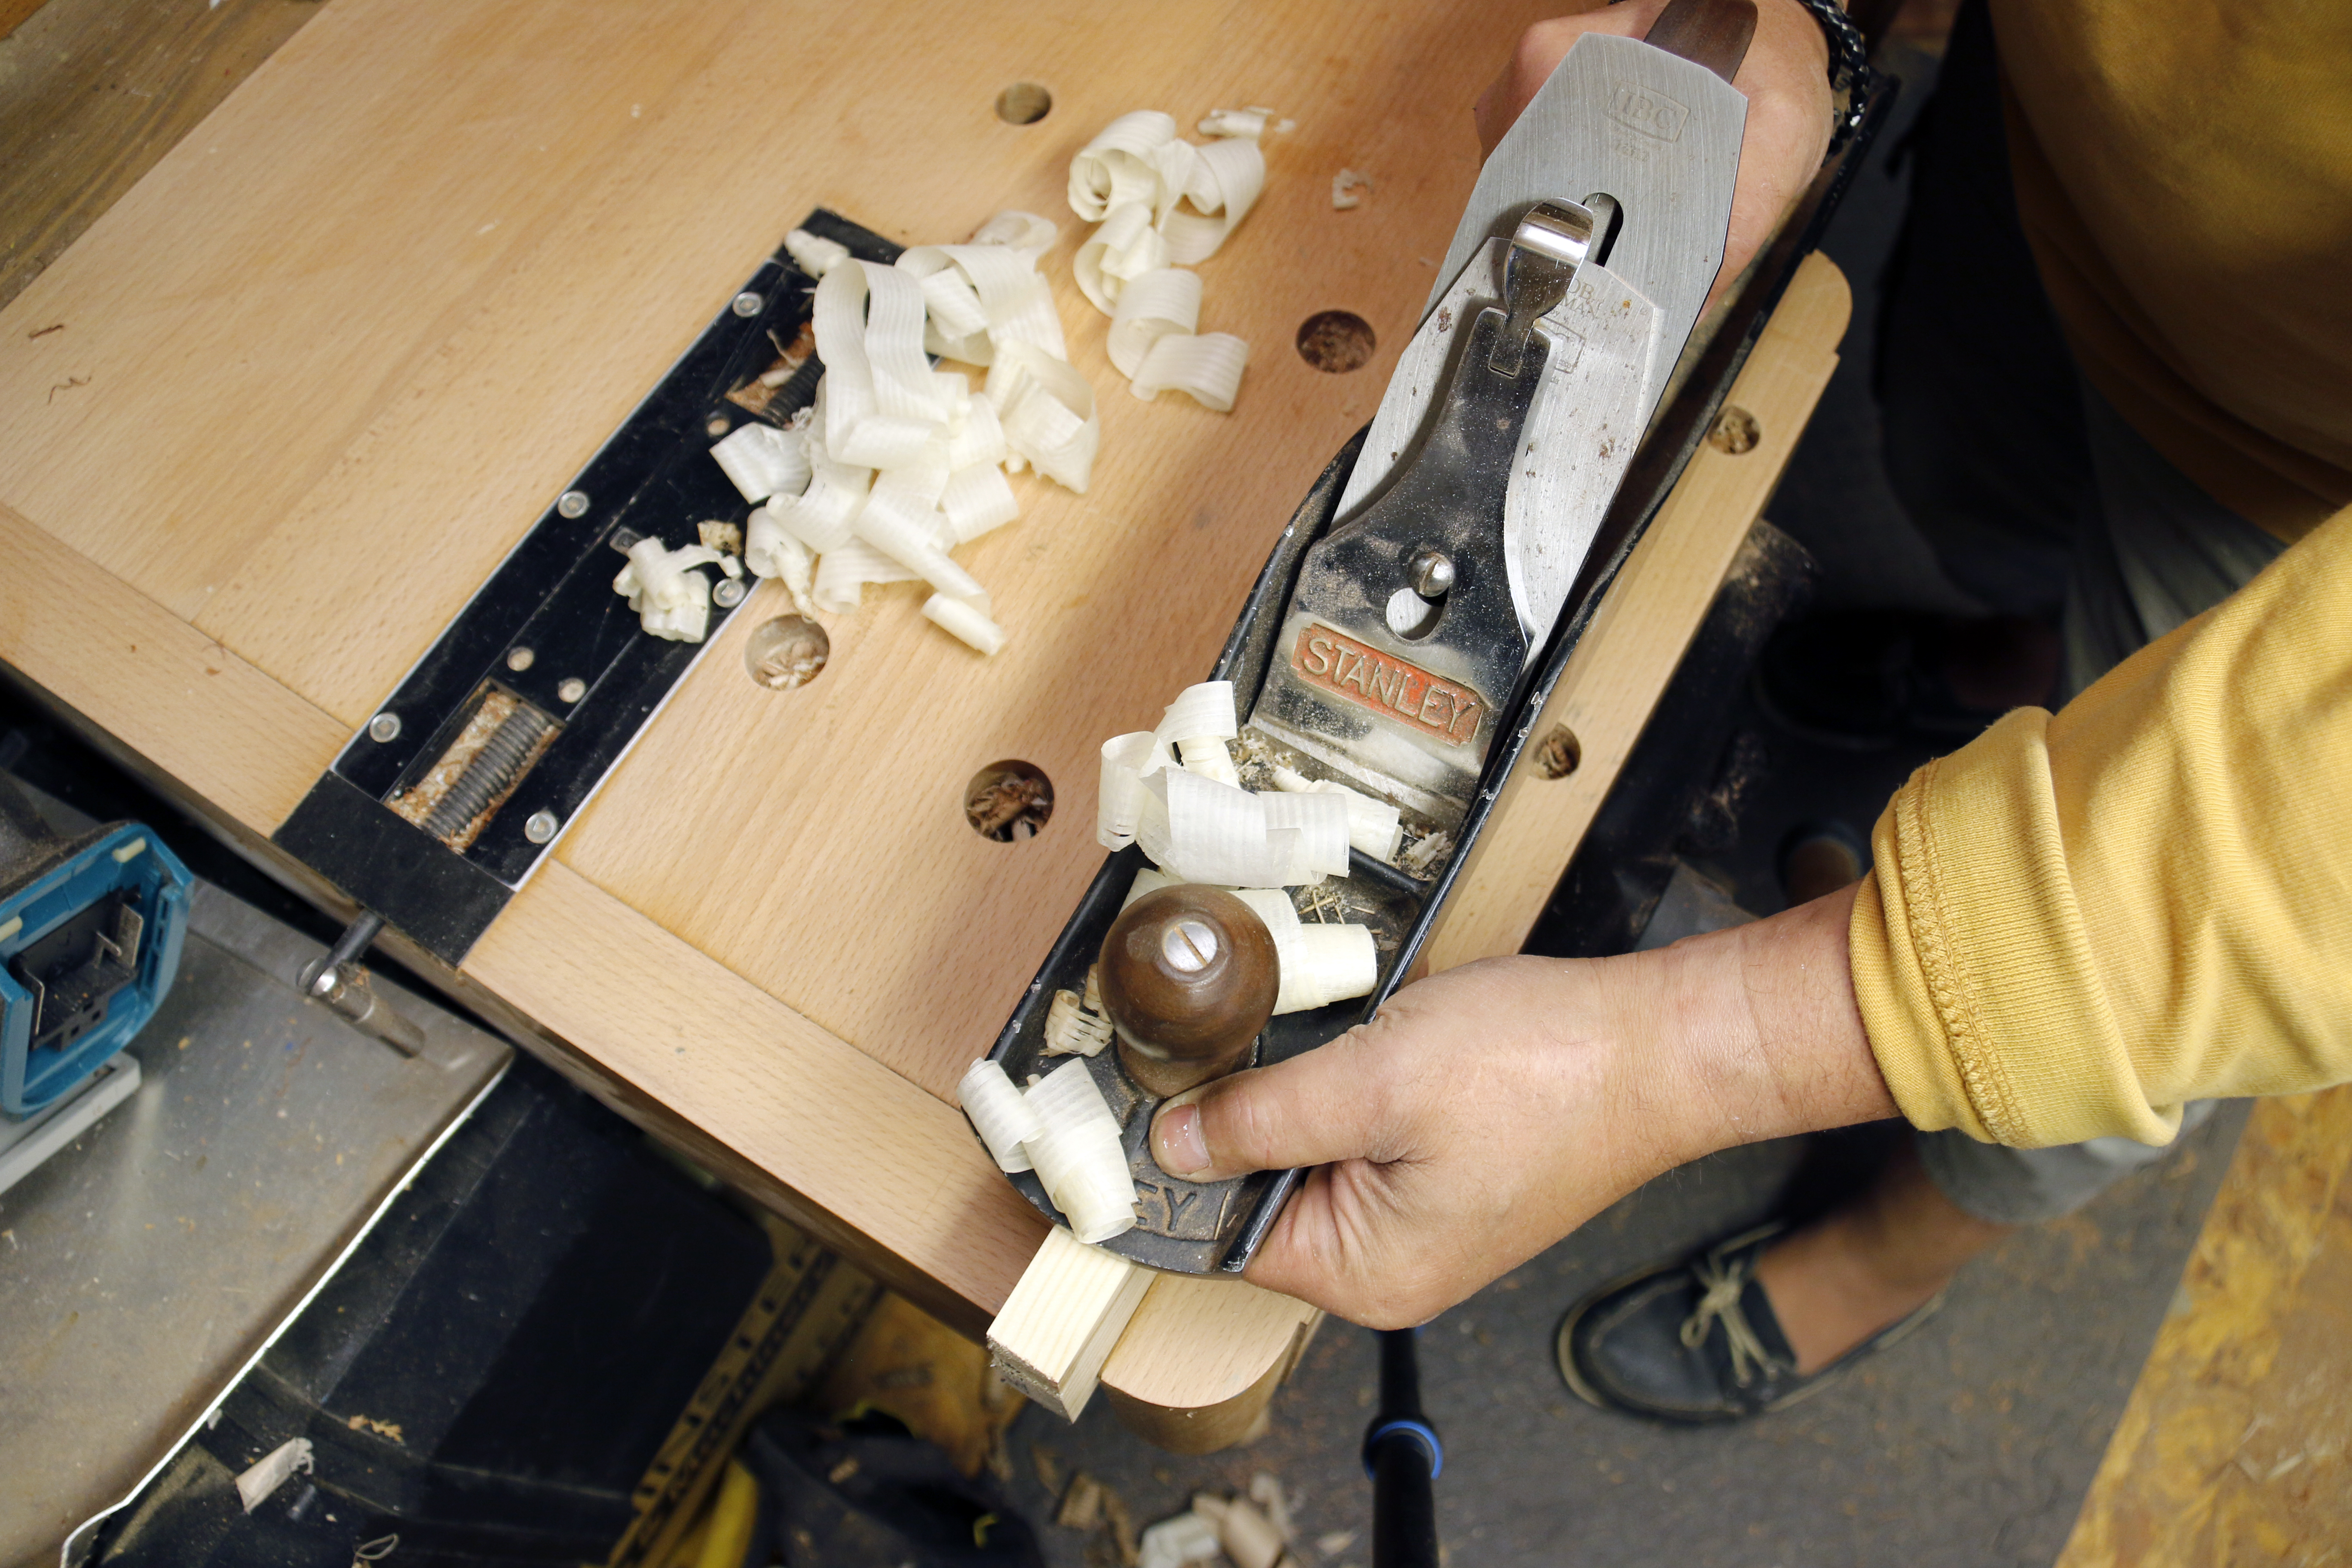
You can test the edge by paring some end grain or taking a few shavings. Both should offer little resistance and leave an almost polished surface.
Stropping The Edge
To enhance the edge that bit further a leather strop and honing compound can be used to polish and refine the edge.
Using the same honing principle of working the flat back and bevel sides, this time you need to drag the tool back over the strop as it will dig in if you push it.
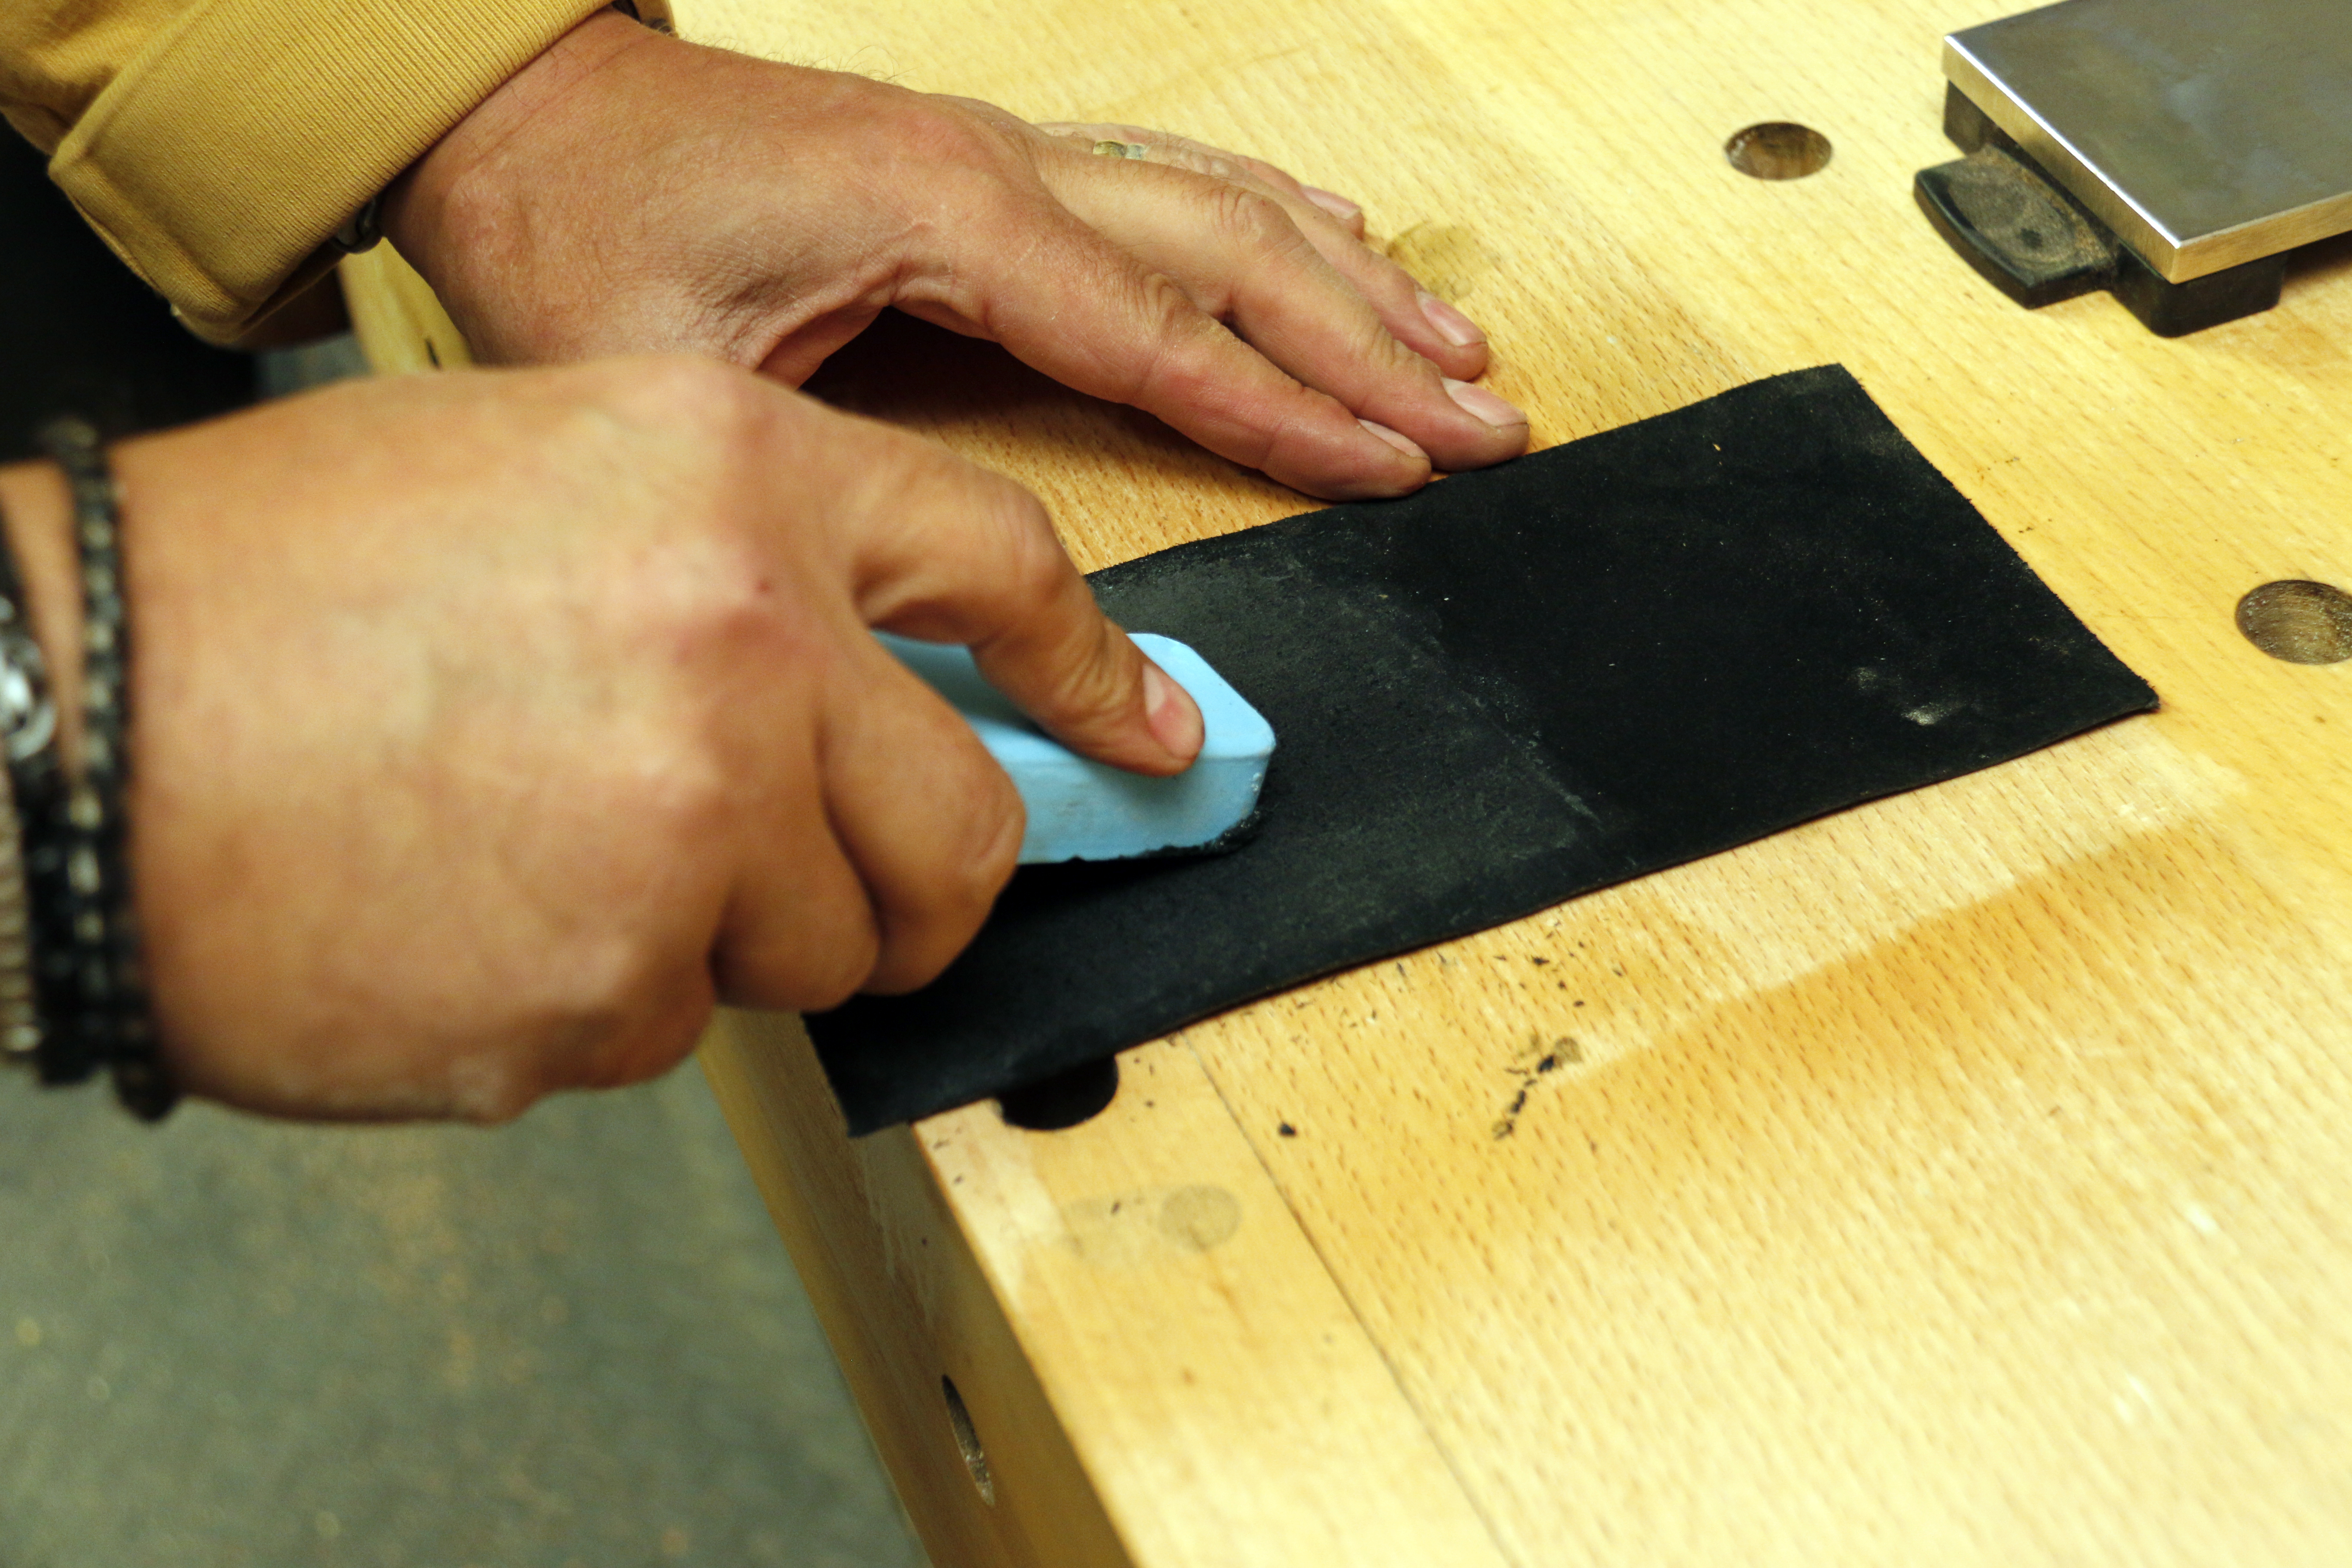
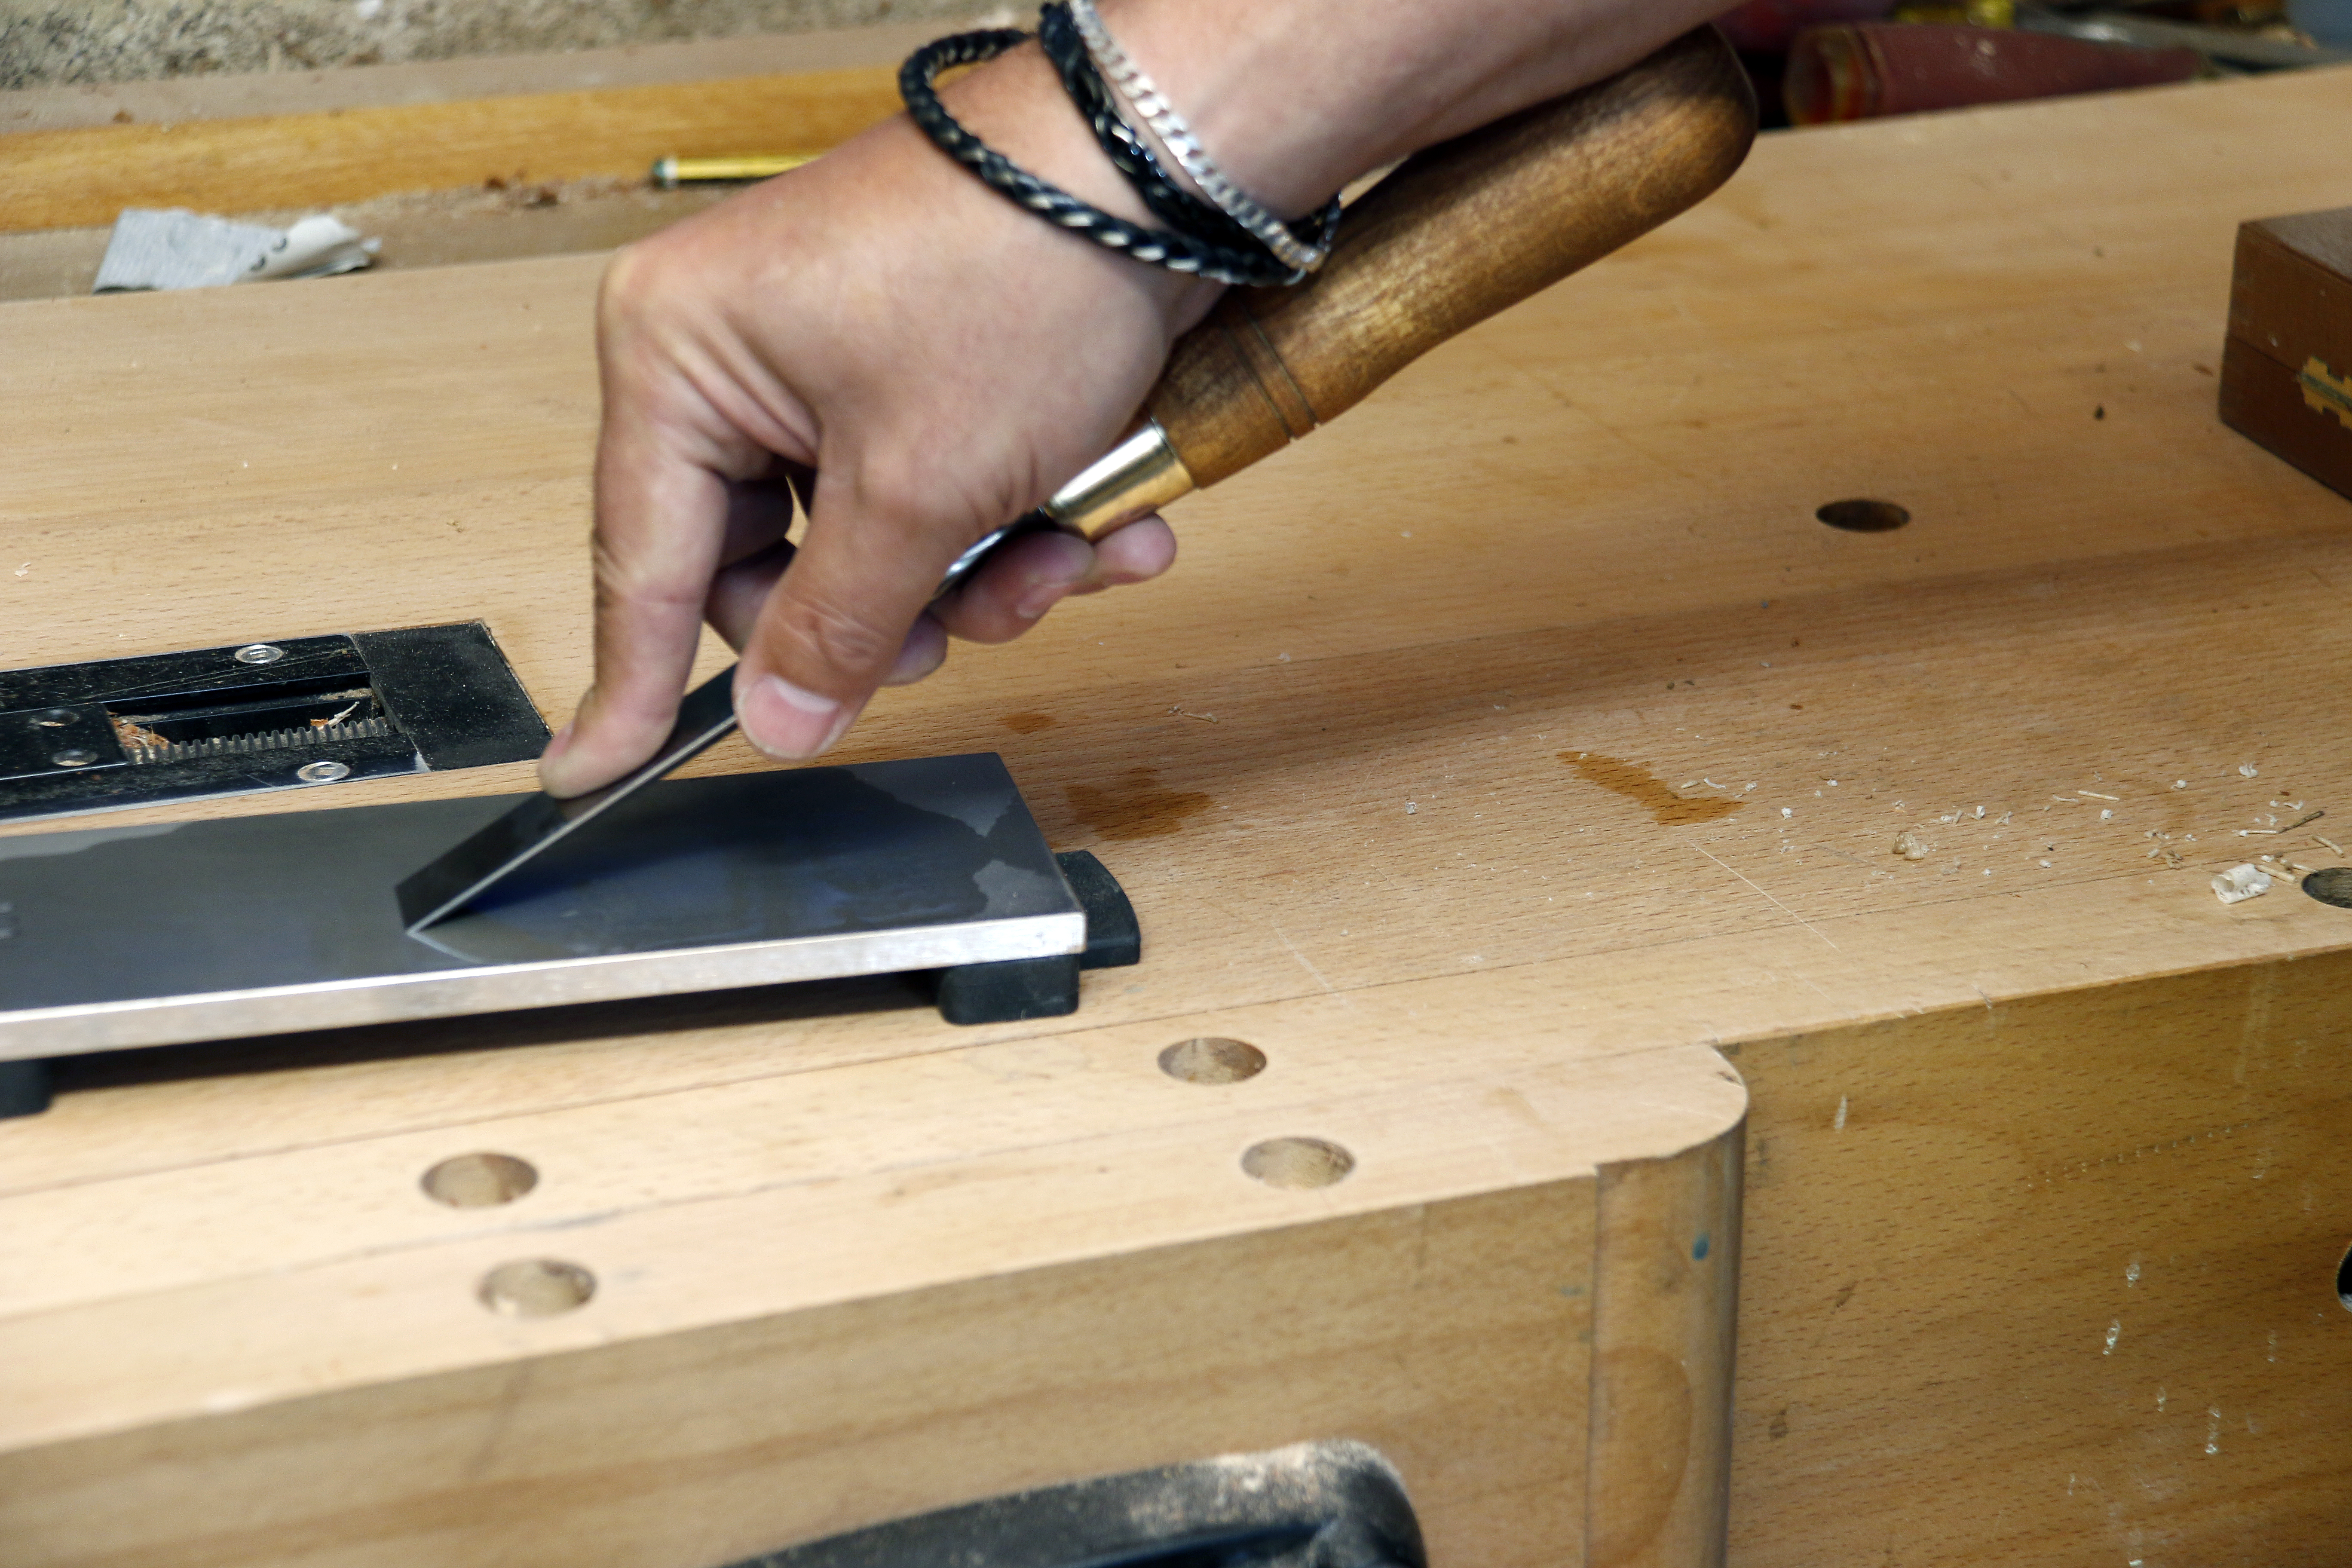
The begin stropping, first charge the leather strop with honing compound.

Drag the tool across the leather keeping it flat to prevent rounding the edge.
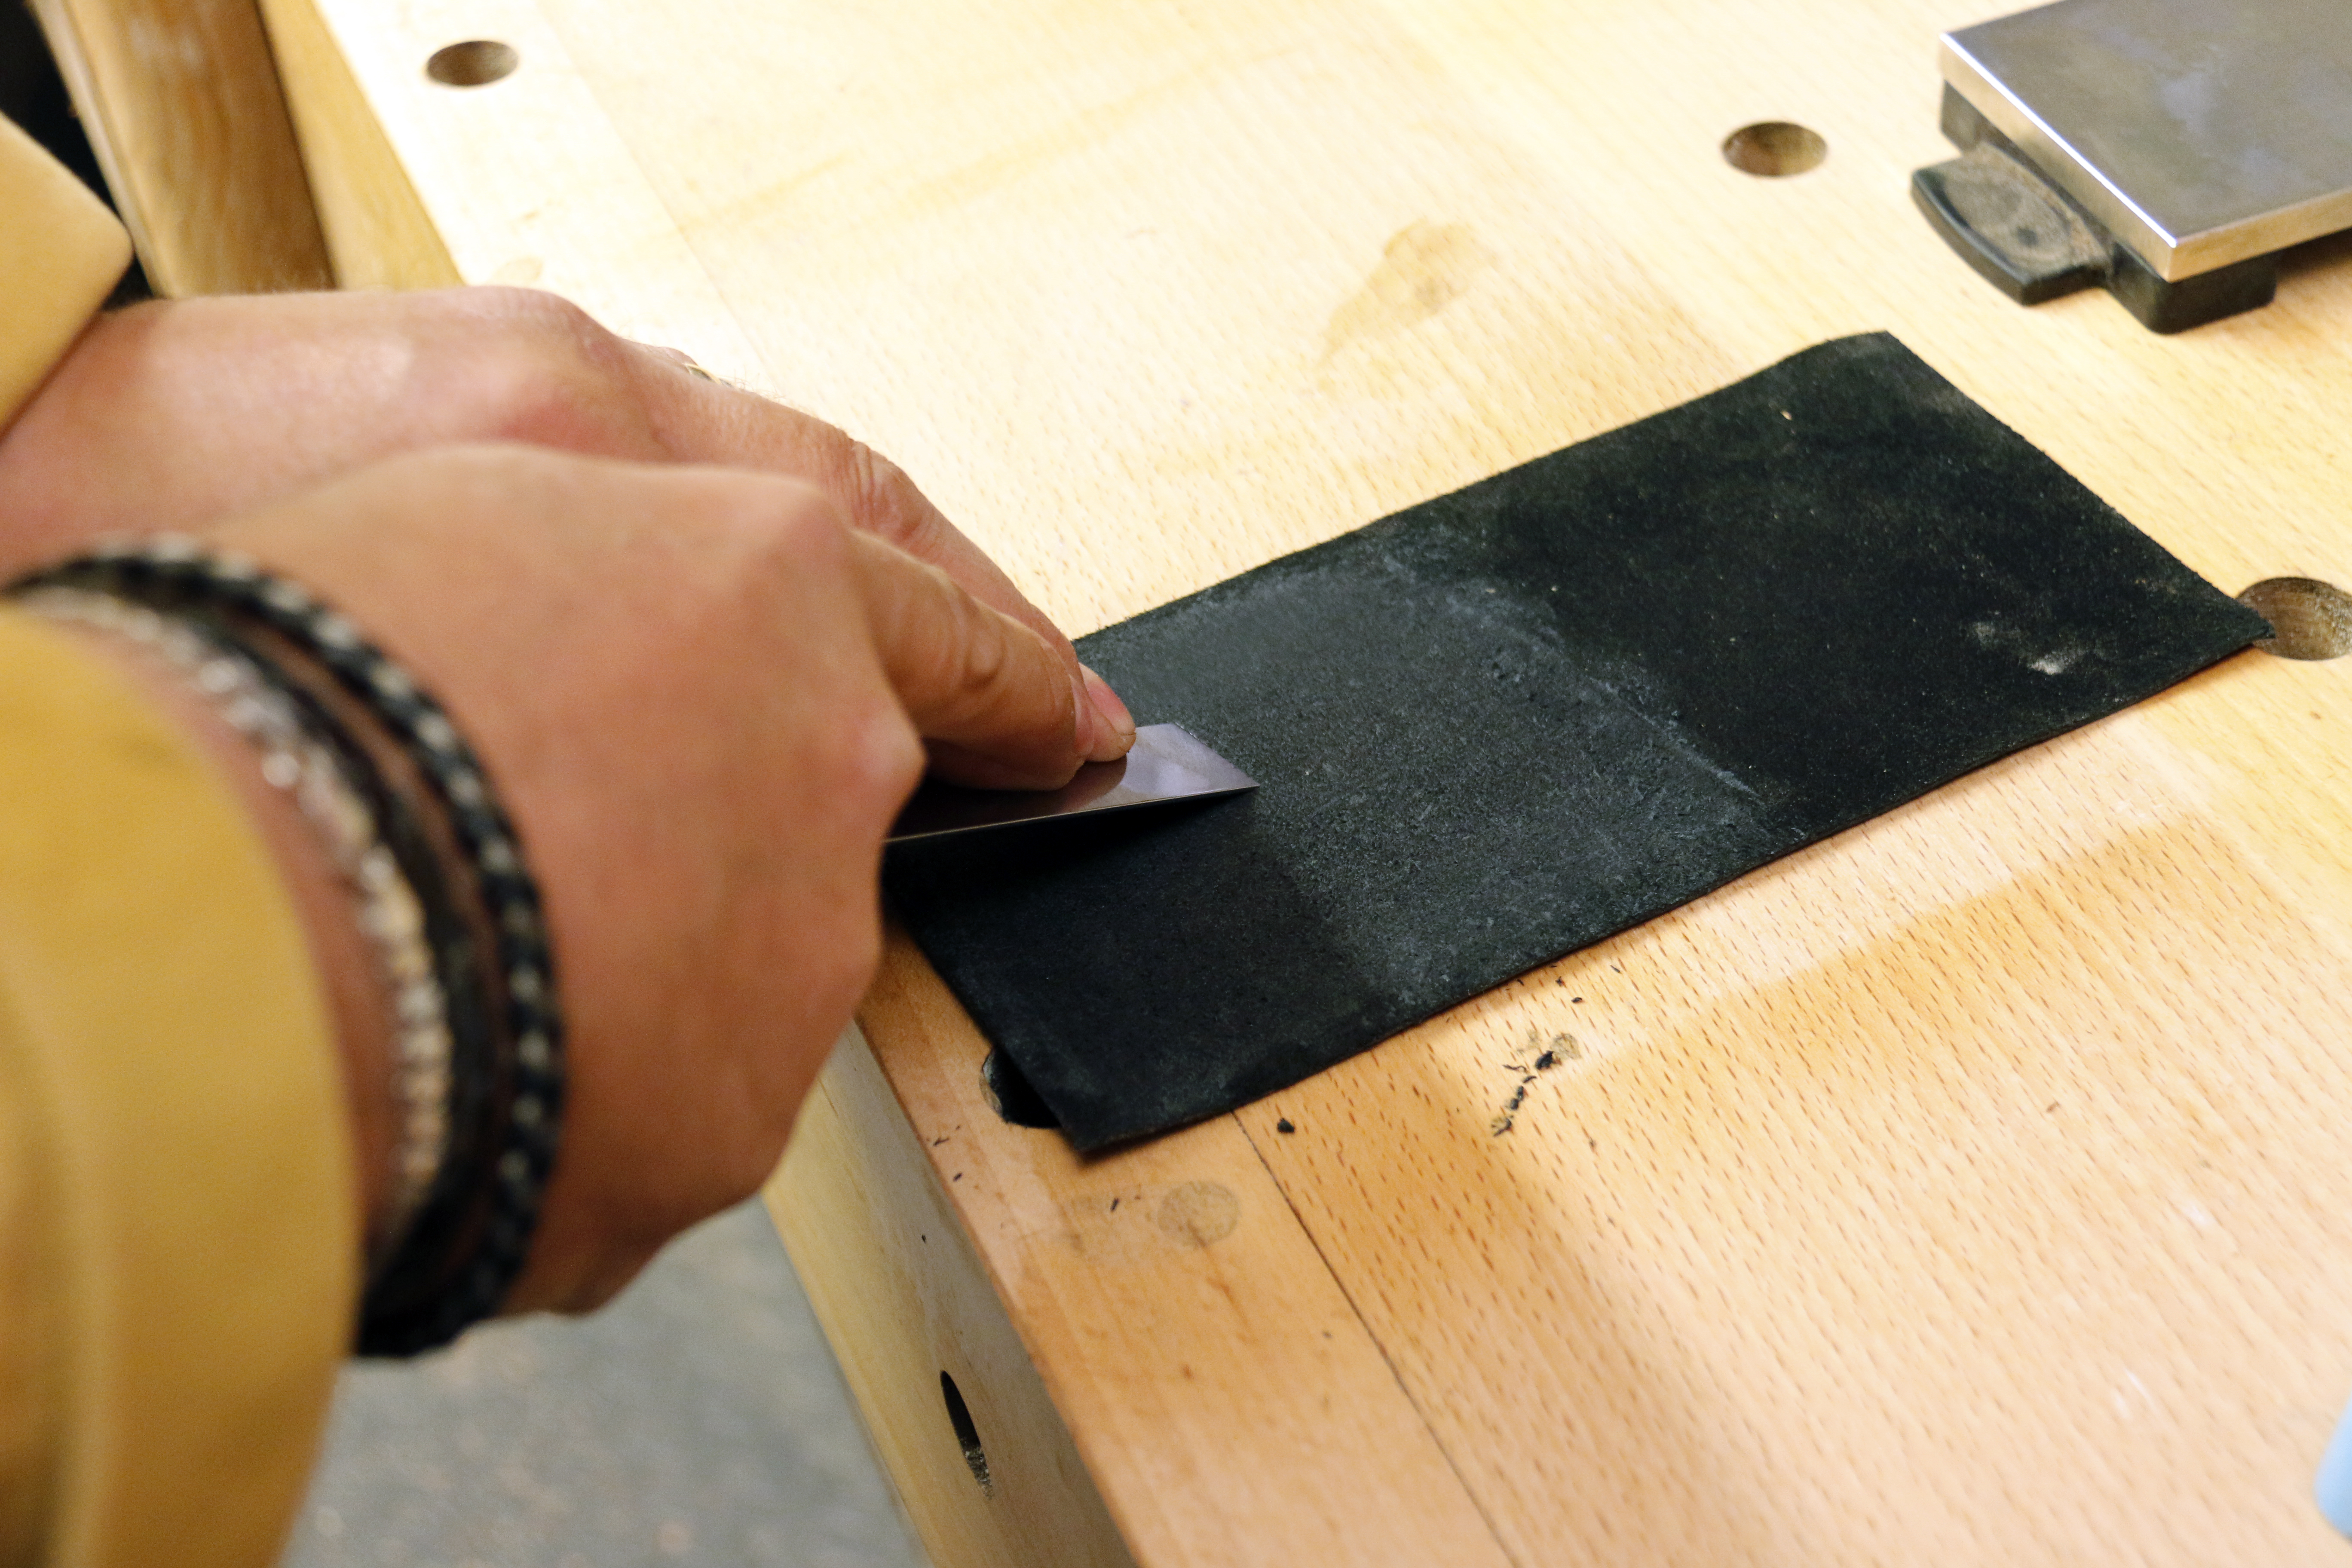
The bevel is worked in the same way, dragging back along the leather. Repeat a couple of times to gain the keenest of edges. Depending on the hardness of the material being worked, the edge can be rejuvenated a few times by returning to the strop before it needs to be rehoned.