HOW TO USE A LETTERBOX JIG
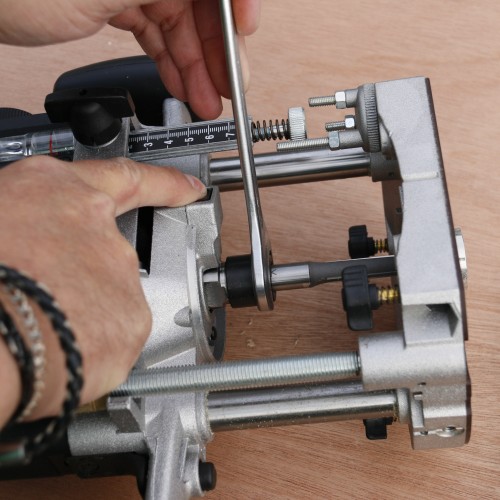

Cutting a letter box aperture in a door can be done in a number of ways including using a jigsaw or circular saw. However, a jigsaw blade can drift on the underside of the cut and leave a ragged opening that will need more work and a circular saw will still need the corners cut with a jig or hand saw and then additional cleaning up.
The use of a router jig will ensure the opening is not only clean but with perfectly square sides to allow the flap to run smoothly through the door.
The Trend Letterbox Jig LB/JIG is designed to cover any letterbox plate from 46mm x 210mm to 82mm x 310mm.
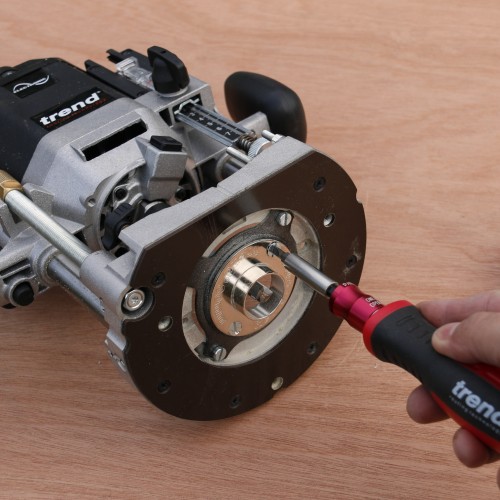

The jig comes supplied with a 30mm guide bush that is fitted to the router.
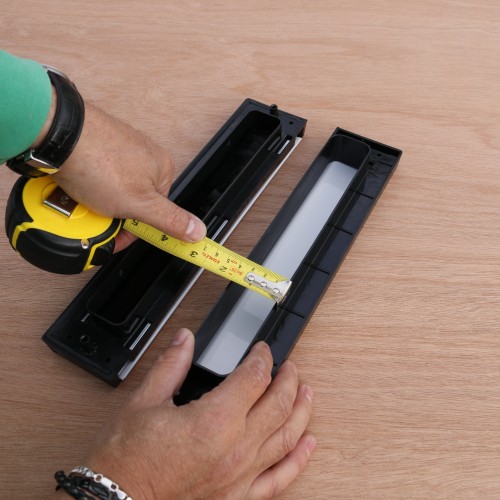

To set up the jig the width is taken directly from the letterbox.
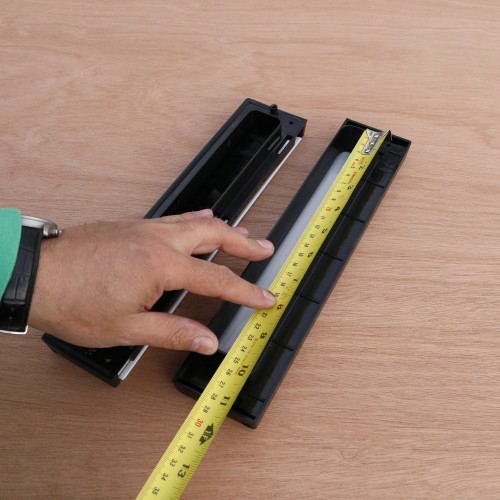

The length measurement of the letterbox is also taken and the jig adjusted to suit.
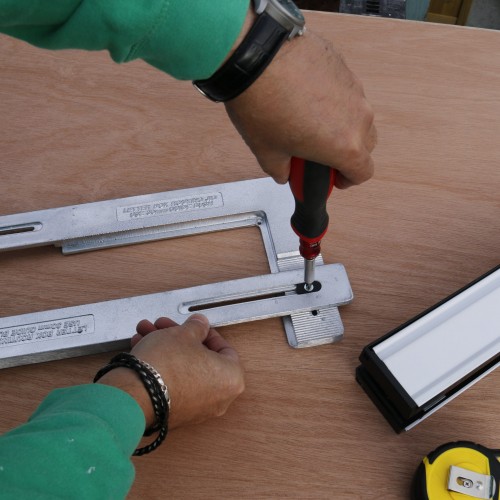

The two-piece jig design has elongated slots that are secured with two screws through nylon bushes.
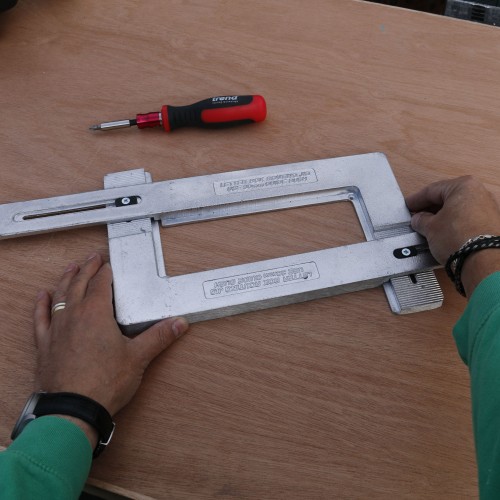

Slackening the screws allows each part to slide over one another to close down the length.
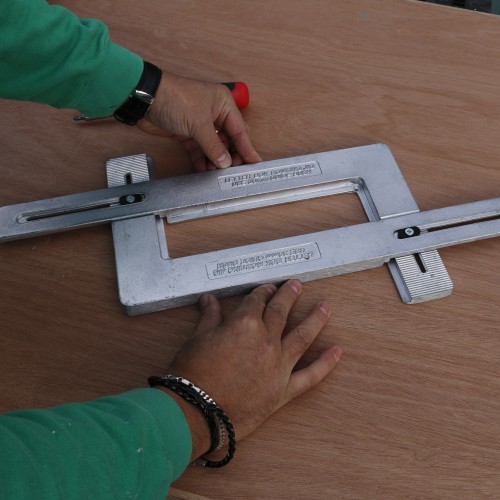

To alter the width there are a series of milled ridges that interlock and keep the aperture square.
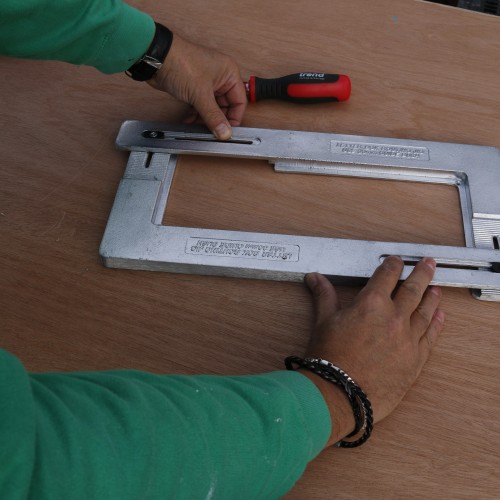

Adjust the jig to the required size allowing for the offset of the guide bush and cutter ratio and also to allow for clearance of the letterbox through the door if it is a sleeve type or for the flap to pivot through the door on a hinged type.
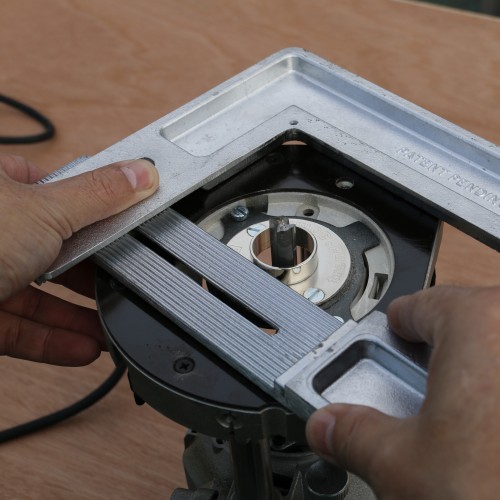

The jig allows the guide bush to run along the inner edge.
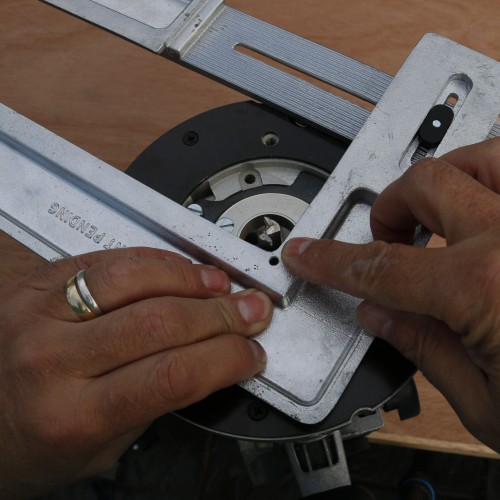

A partial rebated lip aids setting up by leaving 2mm cutter clearance where the guide bush runs alongside these areas so the opening is set to account for this, plus clearance.
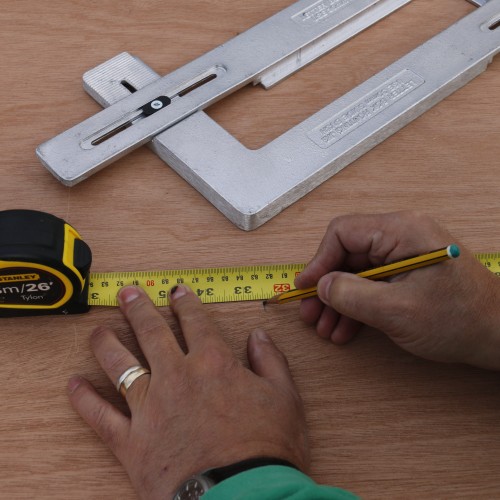

Mark the door position for the required opening and adjust the jig to the required size by measuring the jig as you adjust it.
By setting the jig 10mm over the size of the actual flap or sleeve the resulting cut will give 3mm clearance all round as it takes into account the guide bush and cutter ratio.
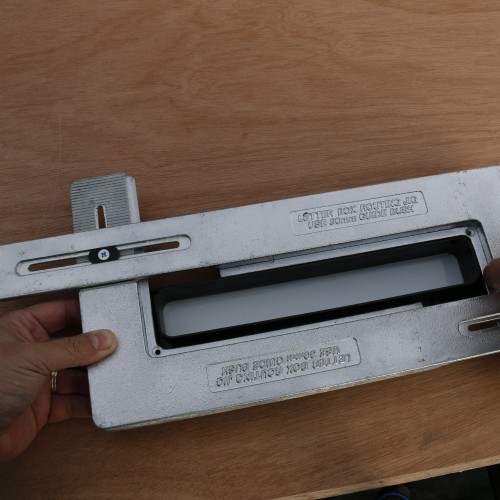

Check the clearances by positioning the jig over the letterbox to make sure your settings are correct.
The serrations and slots keep the jig square as it is adjusted to make any adjustments easy and accurate. Tighten off the locking screws once the size has been set.
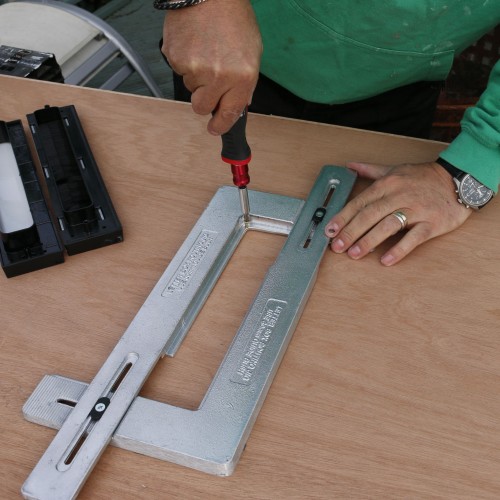

Fix the jig to the door with two No6 (3.5mm) x 25mm screws. The jig is designed to put these screws close to the finished opening once routed and will be covered by the letterbox once it is fitted.
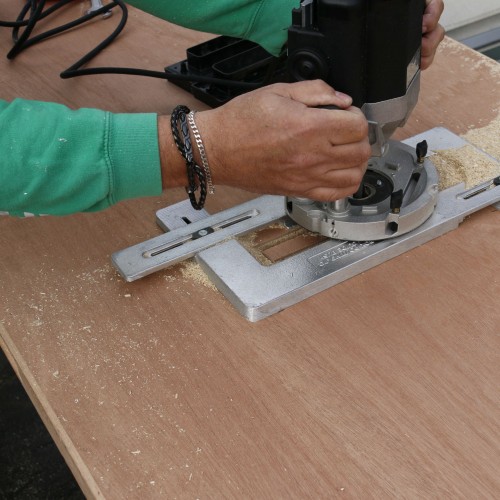

Make a final check of the measurements and position on the door and rout the aperture in a series of passes.
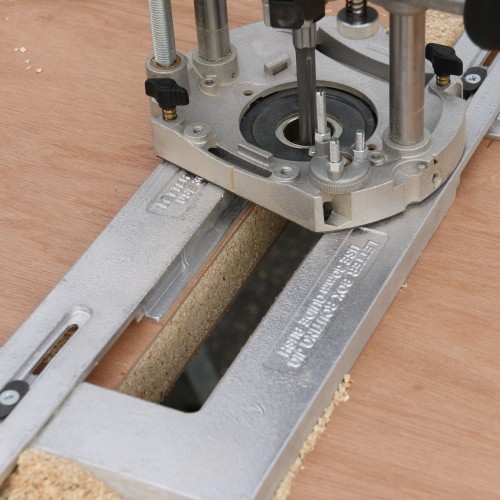

Plunge by around 8mm per pass until the waste is removed and drops away.
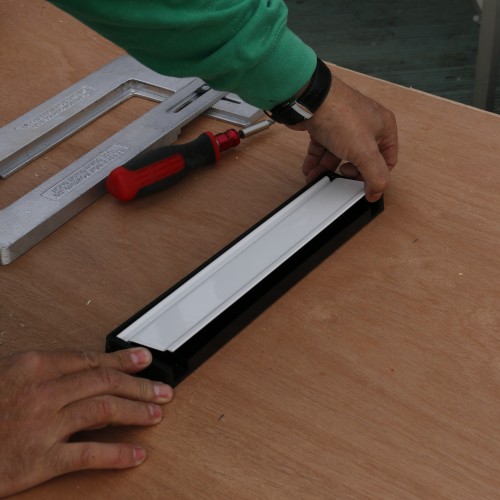

Check the fit and secure.
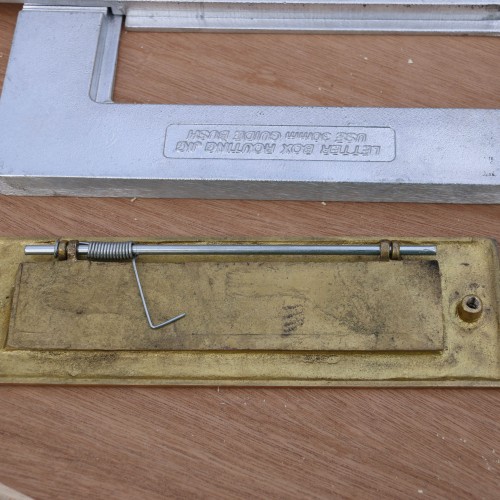

Some letterboxes will have a spring mechanism that will need rebating to allow for this.
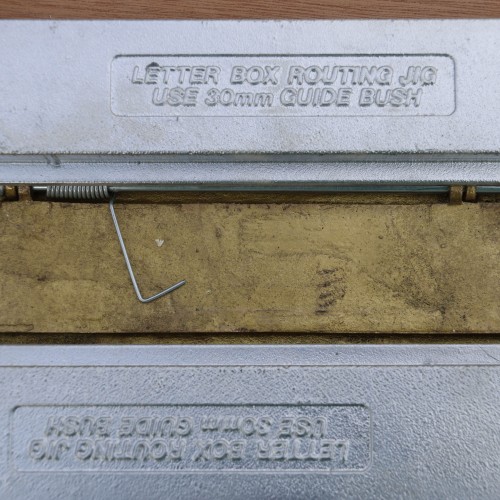

Set up the jig in the same way to allow for clearances of the hinged plate only and check against the letterbox.
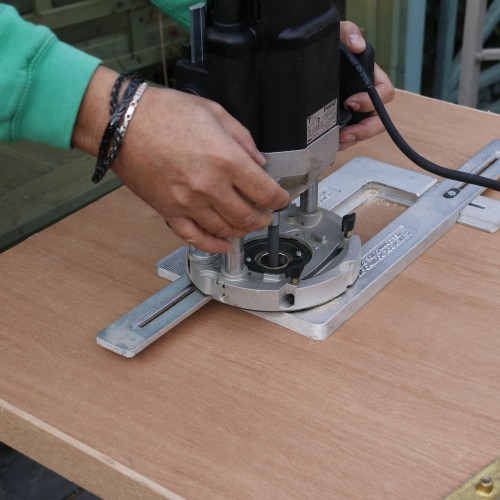

Rout the opening in the same way until the waste is removed.
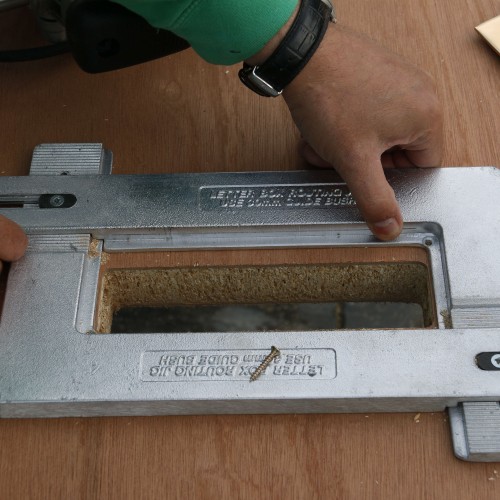

Adjust the jig by removing the uppermost screw that holds the jig to the door and slacken the locking screws to allow the jig to open the width up enough to allow for the spring.
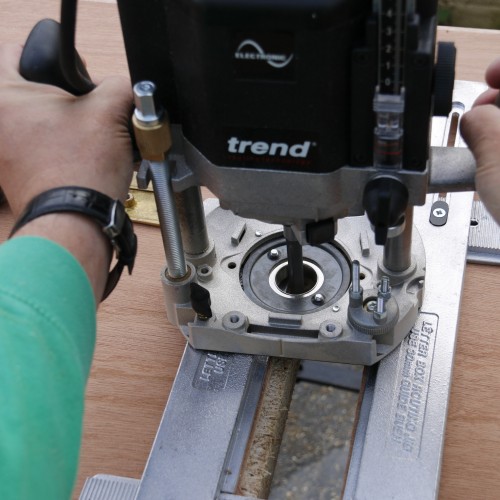

Secure the jig back to the door and rout a small rebate to allow the spring to sit in without fouling.
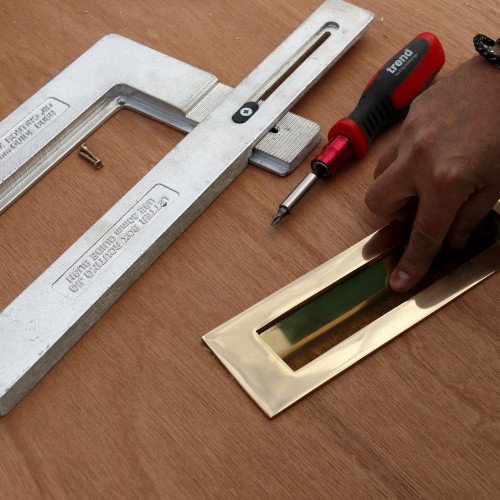

Remove the jig and check the fit of the letterbox and test that the plate operates freely through the routed aperture and secure the letterbox to the door.


